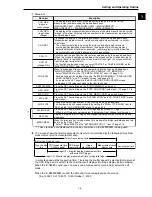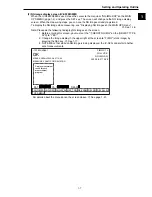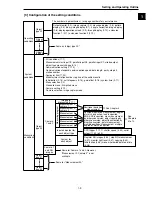
1-10
Setting and Operating Outline
1
1-4 Setting the measurement programs
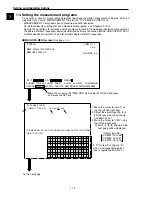
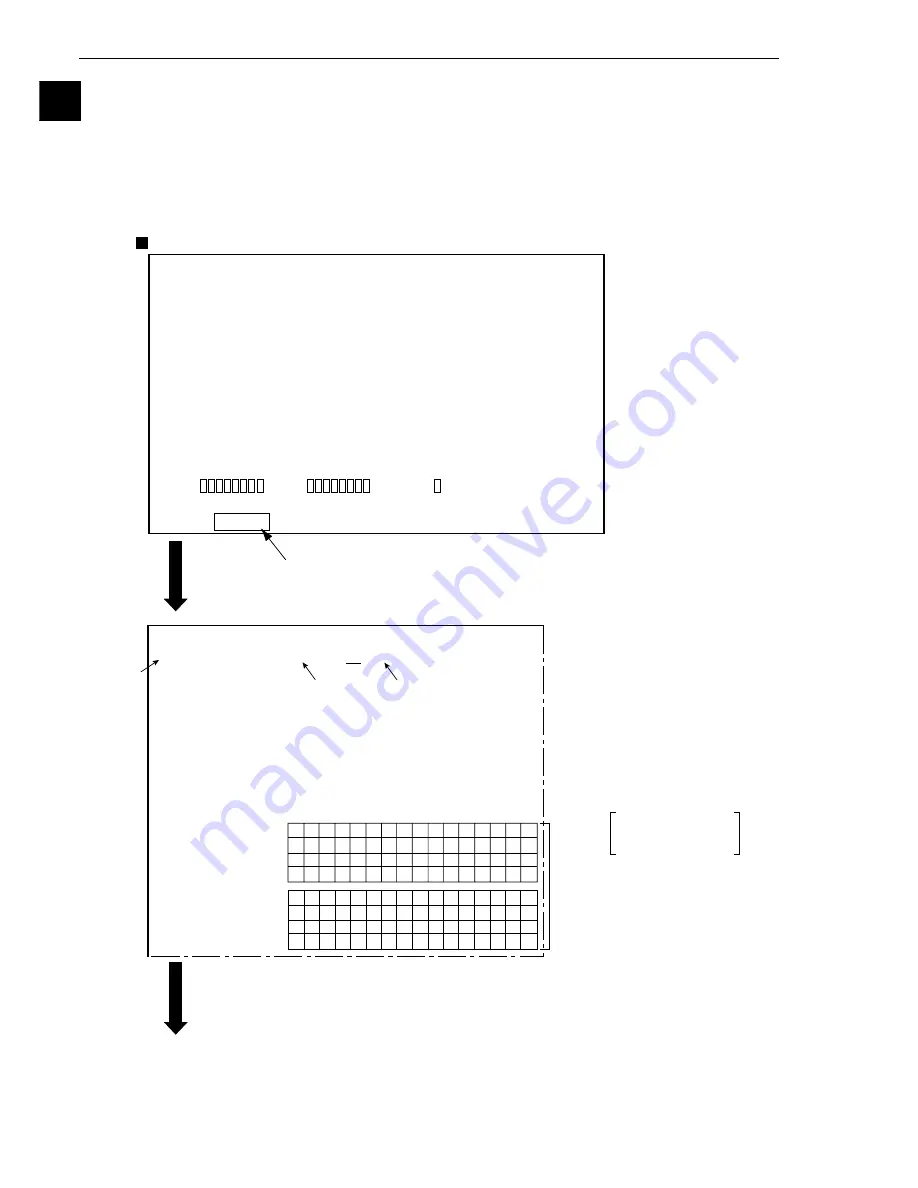
To execute a specific measurement program (positional deviation measurement, degree of match
inspection, etc.), select MEASUREMENT 0 to 4 on the "TYPE MEAS COND" menu.
- MEASUREMENT 0 only allows you to measure positional deviation.
- For details about the settings for each measurement program, see Chapters 4 to 14.
- Specify the conditions for distance and angle measurement in the positional deviation measurement,
the degree of match inspection, object identification by binary conversion (MEAS GRAV CENTR: YES),
multiple position measurement, and for multiple degree of match inspection.
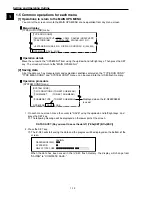
MAIN OPS MENU screen
(See page 1-4.)
T.IMG C1 L
VX.X
NG IMGS 0( 0)
(TYPE00)
MEAS 0000ms 1999-07-09 14:48
MEASURE 0 CAM1 NO
X0~7
X0~7
READY
To the next page
CHG-MEA CHG-REG CHG-RST CHG-C1 CHG-C2 CHG-EVAL CUSTOM-MNU
OPS-CND MEA-CND SYS-CND CHG-TYPE NEXT-NG RE-EXAM-NG MANL-MEAS
Move the cursor to the "MEA-CND" item using the left and right keys,
and press the SET key.
1. Move the cursor to item
1
us-
ing the left and right keys.
2. Select the object type No. (0 to
63) that you want using the up
and down keys.*
3. Move the cursor to "YES" using
the left and right keys.
-
Items
2
to
8
shown on the
next page will be displayed.
A "X" mark will change to "O"
when a corresponding object
type is registered from No. (*).
[TYPE MEAS COND]
[OBJCT REG.LIST]
①
OBJECT TYPE NO.
00(0~63) NO YES
OPS-MENU SAVE LOCK TITLE FINAL-CALC FINAL-OUTPUT I/O SYSTEM
00 01 02 03 04 05 06 07 08 09 10 11 12 13 14 15
× × × × × × × × × × × × × × × ×
16 17 18 19 20 21 22 23 24 25 26 27 28 29 30 31
× × × × × × × × × × × × × × × ×
1
2
3
32 33 34 35 36 37 38 39 40 41 42 43 44 45 46 47
× × × × × × × × × × × × × × × ×
48 49 50 51 52 53 54 55 56 57 58 59 60 61 62 63
× × × × × × × × × × × × × × × ×
←
*Object type No.
IV-S33M: 00 to 63
IV-S32M: 00 to 31
IV-S31M: 00 to 15

