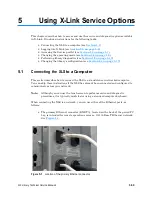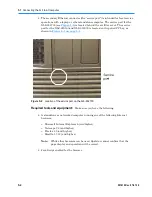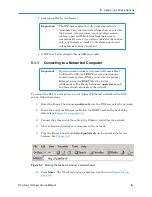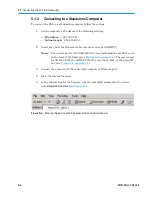
4.3
Inspecting the Cartridge Slots and Fiducials
4-6
501610 Rev. 07-01-19
To inspect or clean the library
’s
interior, follow these steps:
1.
Shut down the library (see
Section 6.2 on page 6-1
).
2.
Open the door(s).
3.
As needed, use a vacuum cleaner or slightly damp cloth to dust the inside of the
cabinet.
4.
Inspect each cartridge magazine and the fiducial targets on each side of the
magazine. If you notice broken or worn parts, replace the magazine. See
Section 9.2 on page 9-2
.
5.
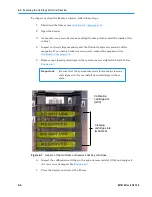
Replace any cleaning cartridges in the system-reserved slots (G46 to G49). See
Figure 4-7
.
Important:
Be sure that the system-reserved slots contain cleaning
cartridges only. Never install data cartridges in these
slots.
Calibration
cartridge slot
(G50)
Cleaning
cartridge slots
(G46-G49)
Figure 4-7
Location of the calibration and reserved cleaning cartridges
6.
Inspect the calibration cartridge in the system-reserved slot (G50) and replace it
if it is worn or damaged. See
Figure 4-7
.
7.
Close the door(s) and restart the library.
Summary of Contents for XLS Series
Page 1: ...Technical Service Manual Document No 501610 Rev 07 01 19 XLS Series of Tape Libraries...
Page 14: ...501610 Rev 07 01 19 Part I Before You Begin Notes...
Page 58: ...3 7 Cabling for the Carousel Controller 3 12 501610 Rev 07 01 19 Notes...
Page 70: ...4 5 Inspecting and Cleaning the Gripper and Barcode Reader 4 12 501610 Rev 07 01 19 Notes...
Page 72: ...Part II Using X Link 501610 Rev 07 01 19 Notes...
Page 96: ...Part III Replacing FRUs 501610 Rev 07 01 19 Notes...
Page 136: ...8 8 Bringing a Tape Drive Online 8 14 501610 Rev 07 01 19 Notes...
Page 158: ...9 5 Replacing a Drive Bay with a Cartridge Bay 9 22 501610 Rev 07 01 19 Notes...
Page 172: ...10 3 Replacing a Side Panel 10 14 501610 Rev 07 01 19 Notes...
Page 186: ...11 3 Upgrading a Fixed Port Assembly to an I O Port 11 14 501610 Rev 07 01 19 Notes...
Page 226: ...12 6 Replacing the Y Motor Assembly 12 40 501610 Rev 07 01 19 Notes...
Page 324: ...Part IV Reference 501610 Rev 07 01 19 Notes...
Page 352: ...B 2 Packing the XLS B 14 501610 Rev 07 01 19 Notes...
Page 354: ...C 2 501610 Rev 07 01 19 Notes...

