12.2
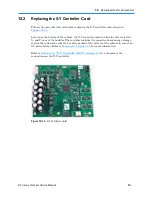
Replacing the X-Y Controller Card
12-18
501610 Rev. 07-01-19
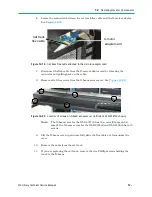
9.
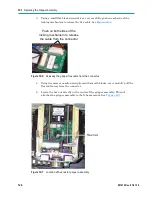
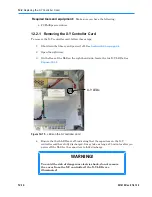
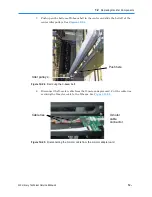
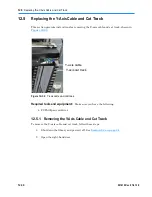
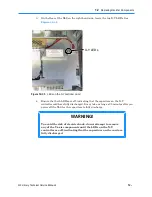
Lift out the card.
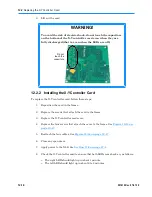
WARNING!
To avoid the risk of electric shock, do not touch the capacitors
on the bottom of the X-Y controller card even when they are
fully discharged (that is, even when the LEDs are off).
Do not
touch the
capacitors
12.2.2 Installing the X-Y Controller Card
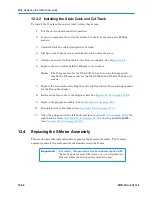
To replace the X-Y controller card, follow these steps:
1.
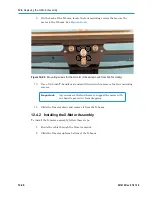
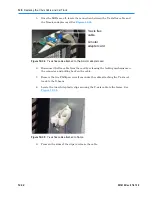
Reposition the card in the frame.
2.
Replace the screws that attach the card to the frame.
3.
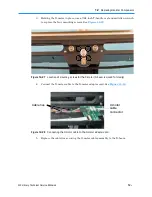
Replace the X-Y controller card cover.
4.
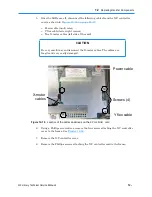
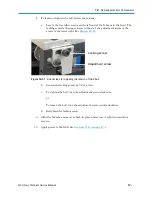
Replace the four screws that attach the cover to the frame. See
Figure 12-16 on
page 12-17
.
5.
Reattach the four cables. See
Figure 12-16 on page 12-17
.
6.
Close any open doors.
7.
Apply power to the XLS. See
Section 17.3 on page 17-4
.
8.
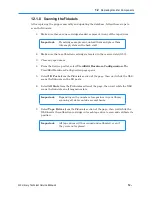
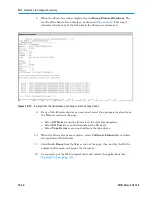
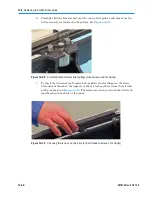
Check the X-Y controller card to ensure that both LEDs come back on, as follows:
–
The right LED should light up in about 1 minute
–
The left LED should light up in about 6 to 8 minutes.
Summary of Contents for XLS Series
Page 1: ...Technical Service Manual Document No 501610 Rev 07 01 19 XLS Series of Tape Libraries...
Page 14: ...501610 Rev 07 01 19 Part I Before You Begin Notes...
Page 58: ...3 7 Cabling for the Carousel Controller 3 12 501610 Rev 07 01 19 Notes...
Page 70: ...4 5 Inspecting and Cleaning the Gripper and Barcode Reader 4 12 501610 Rev 07 01 19 Notes...
Page 72: ...Part II Using X Link 501610 Rev 07 01 19 Notes...
Page 96: ...Part III Replacing FRUs 501610 Rev 07 01 19 Notes...
Page 136: ...8 8 Bringing a Tape Drive Online 8 14 501610 Rev 07 01 19 Notes...
Page 158: ...9 5 Replacing a Drive Bay with a Cartridge Bay 9 22 501610 Rev 07 01 19 Notes...
Page 172: ...10 3 Replacing a Side Panel 10 14 501610 Rev 07 01 19 Notes...
Page 186: ...11 3 Upgrading a Fixed Port Assembly to an I O Port 11 14 501610 Rev 07 01 19 Notes...
Page 226: ...12 6 Replacing the Y Motor Assembly 12 40 501610 Rev 07 01 19 Notes...
Page 324: ...Part IV Reference 501610 Rev 07 01 19 Notes...
Page 352: ...B 2 Packing the XLS B 14 501610 Rev 07 01 19 Notes...
Page 354: ...C 2 501610 Rev 07 01 19 Notes...


