QIAsymphony SP/AS Consolidated Operating Guide 12/2017
140
3.
Press
Zoom in
.
Details for the assay positions are shown, including sample ID and, for an
assay with normalization, concentration.
4.
Press
Zoom out
.
Return to the previous view of the
Assay assignment
screen.
5.
If a work list(s) is used, Assay Parameter Sets are automatically assigned to
samples, as defined in the work list(s).
Those samples that have assays assigned to them appear green and are
marked with a work list symbol.
6.
To view a detailed overview of each sample position, press
List view.
7.
After assigning assays to sample positions, press
Queue
in the
Assay
Assignment
screen to proceed with loading the QIAsymphony AS.
The
Loading Information
screen appears. The
Queue
button is only active
when each Assay Parameter Set has been assigned to at least one position
in each “Sample” slot that has been defined.
If a work list is not available, Assay Parameter Sets must be manually assigned to samples.
Only samples that have assays assigned to them will be processed in the assay setup run.
Important
After pressing
Queue
, the assignment and modification of Assay Parameter Sets
is saved and cannot be changed, and it is not possible to return to the
Assay
Assignment
screen.
If you press
Cancel
, all defined settings will be deleted. Press
Yes
to confirm.
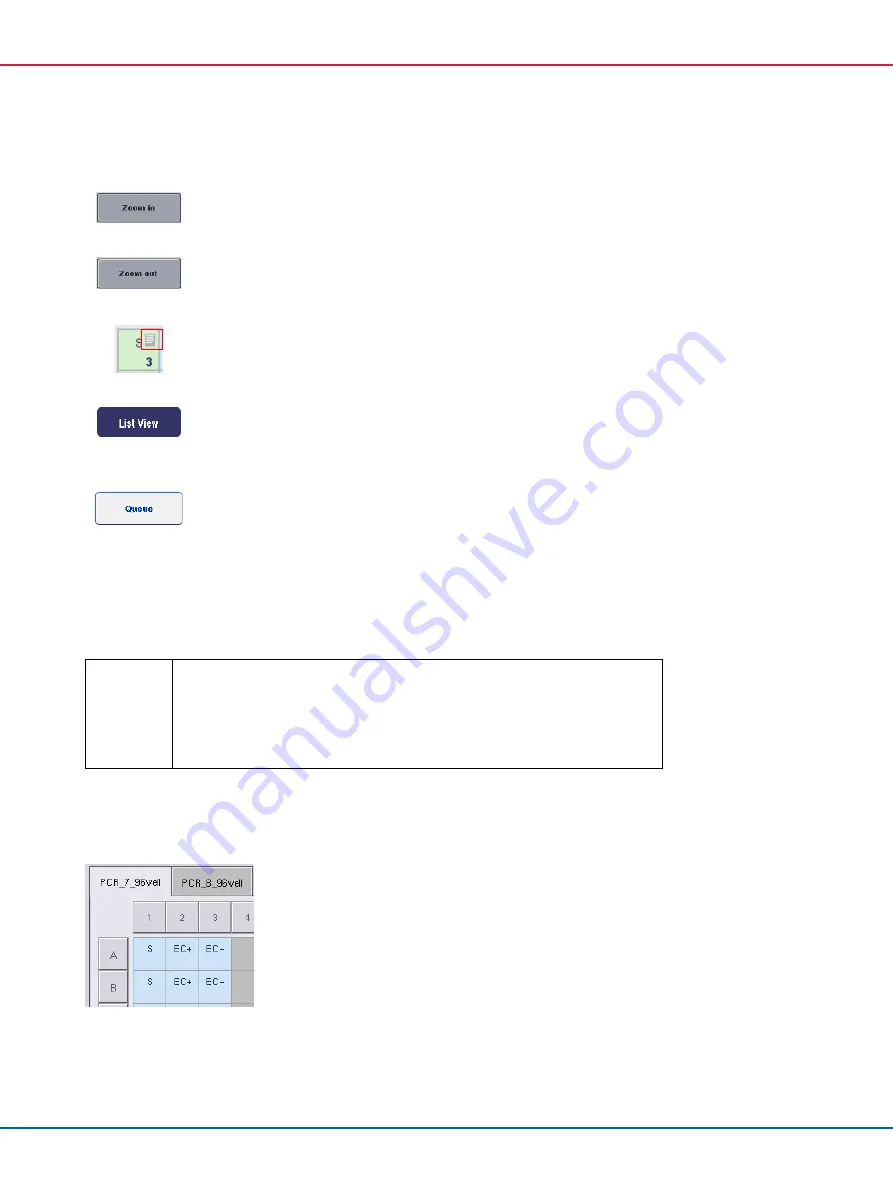
Manually assigning Assay Parameter Sets
1.
Select an Assay Parameter Set to be assigned from the tabs.
Summary of Contents for QIAsymphony SP
Page 213: ...QIAsymphony SP AS Consolidated Operating Guide 12 2017 213 This page intentionally left blank...
Page 214: ...QIAsymphony SP AS Consolidated Operating Guide 12 2017 214 This page intentionally left blank...
Page 216: ...QIAsymphony SP AS Consolidated Operating Guide 12 2017 216 www qiagen com...


