3.
Select the desired ring pattern assigned for fax.
OK/SET
*1
For 2-line LCD models only. (
)
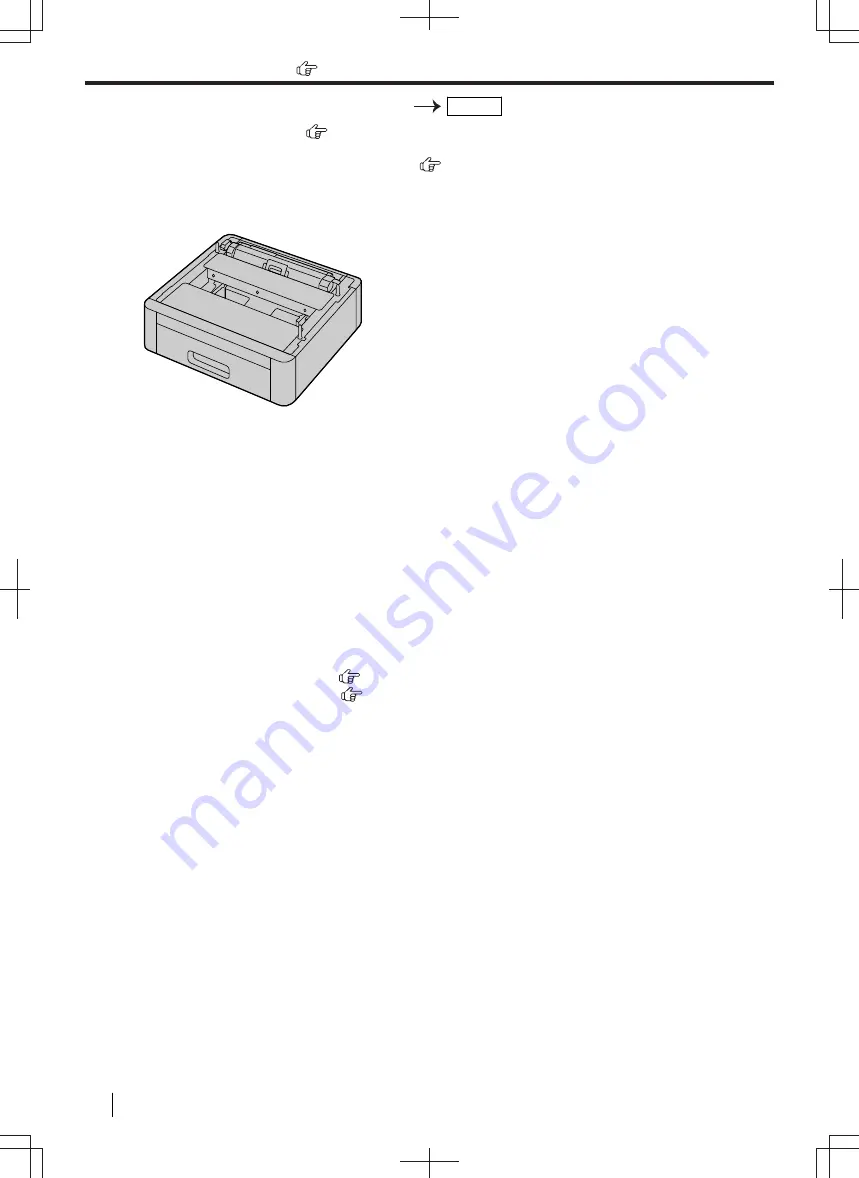
10.12 Lower input tray (optional)
You can add a lower input tray. See page 19 for accessory information.
For number of sheets the unit can load, see page 187.
Important
•
Before starting installation of the lower input tray, be sure to unplug the power cord from the unit.
•
You should be set the type of lower input tray before use. See page 146 for details.
•
After installation, you can select the lower input tray to be used for the following:
–
Paper input tray setting for lists and reports printing (feature #390).
–
Paper input tray setting for faxing (feature #440).
–
Paper input tray setting for copying (feature #460).
–
Paper input tray for PCL (feature #760).
•
To use the lower input tray with your computer, you need to change the printer properties. See
page 146 for details.
•
To set the recording paper size and type:
–
Paper size of Lower input tray 1 (feature #382)
–
Paper type of Lower input tray 1 (feature #385)
–
Paper size of Lower input tray 2 (
) (feature #389)
–
Paper type of Lower input tray 2 (
) (feature #386)
•
You can change the left margin (feature #394).
• When setting only a few sheets of recording paper, we recommend using the multi-purpose tray.
• If the recording paper shifts while removing the input tray from the unit, move it back into place in the input
tray. Shifted paper may cause a paper jam.
10.12 Lower input tray (optional)
144
Operating Instructions


