5.
If necessary, change the
"
PC PRINT
"
or
"
COPY
"
setting.
Select the desired setting.
"
OK
"
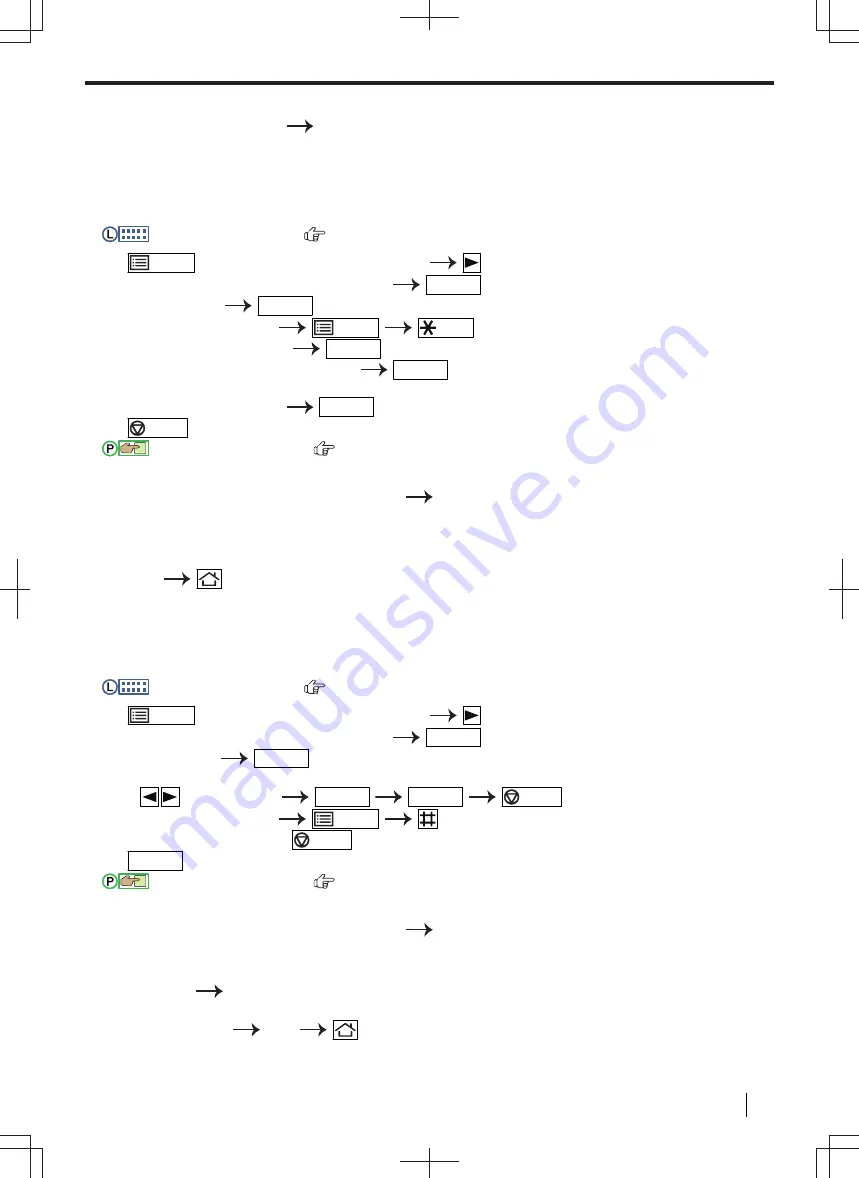
Editing mode restriction for departments
Important
• Make sure feature #154 is set to
"
ON
"
beforehand.
For 2-line LCD models (
):
1.
/MENU
(repeatedly):
"
DEPARTMENT SETUP
"
2.
Enter the administrator code (feature #151).
OK/SET
3.
Select
"
EDIT
"
.
OK/SET
4.
Display the desired item.
/MENU
/Tone
5.
Edit the name if necessary.
OK/SET
6.
Edit the department code if necessary.
OK/SET
7.
Edit the department settings if necessary.
Select the desired setting.
OK/SET
8.
/STOP
For touch panel models (
):
1.
Display
"
DEPARTMENT SETUP
"
screen (page 136).
• Enter the administrator code (feature #151).
"
OK
"
2.
"
Department List Display
"
3.
Select desired item.
4.
Edit the name, department cord, and settings if necessary.
5.
"
OK
"
Erasing a stored item
Important
•
Make sure feature #154 is set to
"ON"
beforehan
d.
For 2-line LCD models (
):
1.
/MENU
(repeatedly):
"
DEPARTMENT SETUP
"
2.
Enter the administrator code (feature #151).
OK/SET
3.
Select
"
EDIT
"
OK/SET
• To erase all items:
:
"
ERASE ALL
"
OK/SET
OK/SET
/STOP
4.
Display the desired item.
/MENU
• To cancel erasing, press
/STOP
.
5.
OK/SET
For touch panel models (
):
1.
Display
"
DEPARTMENT SETUP
"
screen (page 136).
• Enter the administrator code (feature #151).
"
OK
"
2.
"
Department List Display
"
3.
Select desired item.
4.
"
Delete
"
"
OK
"
• To erase all items:
"
Erase All
"
"
OK
"
10.4.2 Setting the mode restriction
Operating Instructions
137


