


Touch-screen
The integrated touch-screen provides extended control for connected DAW
computers, allowing side-by-side integration of console and DAW so the
two can be used as one seamless system.
Connections
The touch-screen is connected to the DAW computer (Mac or PC) via USB.
For PC systems a USB3 cable should be used, and if the use of any
extenders or KVM systems is required they should support the USB3
standard. A USB3 cable is supplied with the console, and is one of the 3
cables exiting the centre section. For Mac systems, either USB2 or USB3
cables can be used.
Also from the centre section is a secondary USB cable which is a standard
USB2 extension cable from the 2 USB sockets on the front of the console
(underneath the front buffer/keyboard tray). This connection is provided
as a convenience to stop long cable runs being necessary, and to keep
cable numbers down.
Finally, there is an HDMI cable that should be connected to the video
output of the DAW computer. The touch-screen will then show the DAW
computer's display.
Note: It is also possible to show the Genesys Computer display on this
screen – to do this connect the DVI (or VGA with supplied adaptor) output
from the computer cassette to the additional DVI or VGA input on the rear
of the touch-screen (cable not supplied). Note that switching the
keyboard/mouse or touch-screen output to the Genesys Computer is not
supported, and a seperate keyboard/mouse is recommended if required.
Driver Installation (Mac)
No drivers are required for PC systems, as long as they are running
Windows 7 or newer.
For Mac systems the required driver may have been supplied with the
console. If not it can be obtained from AMS Neve by filling out a support
form online at
http://ams-neve.com/support/console-fault-report
and stating that the Genesys Black touch-screen driver is needed.
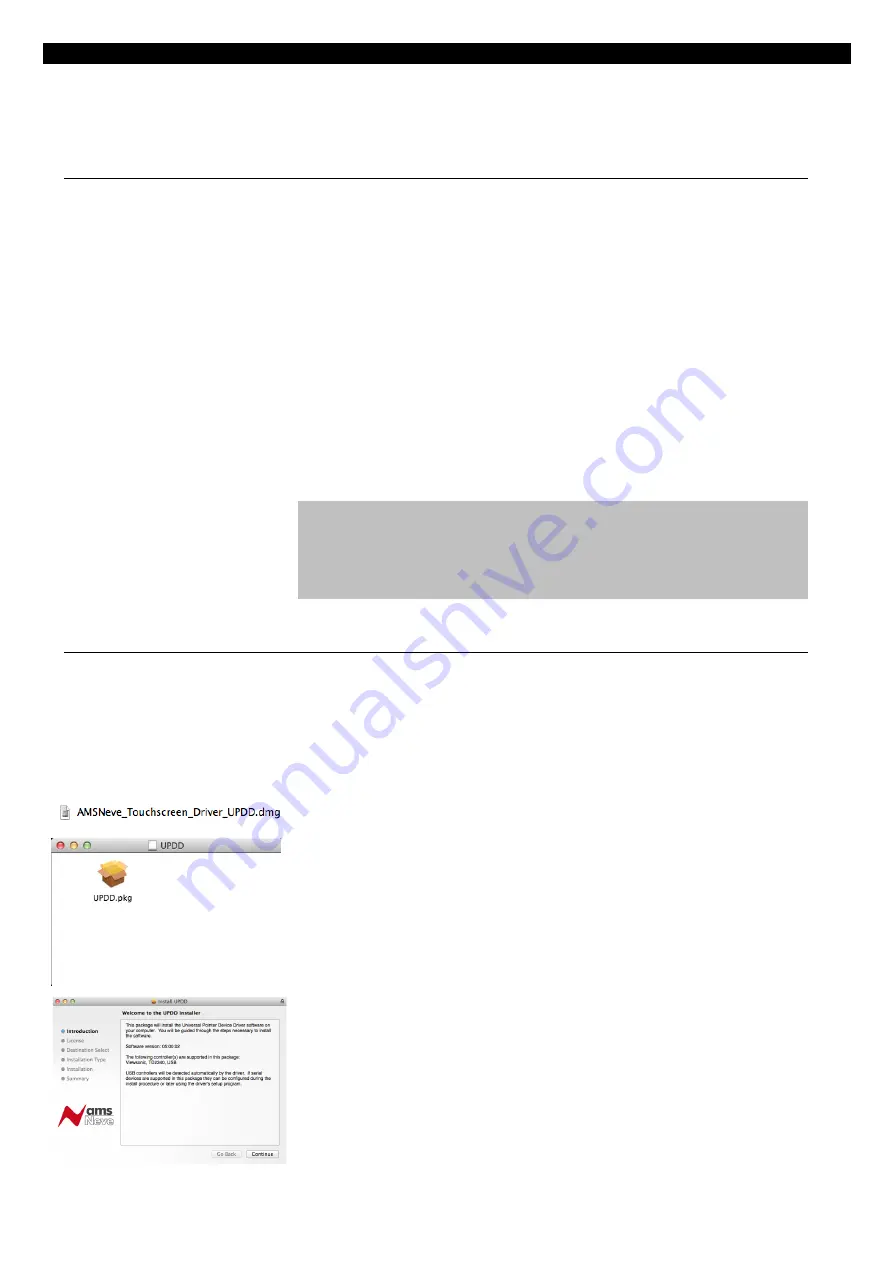
The file
AMSNeve_Touchscreen_Driver_UPDD.dmg
is the driver, and
should be double-clicked to mount the disk image.
Double-click
UPDD.pkg
to start the installation process.
The welcome screen will be displayed. Click
Continue
to move through
the installation process. The installer may require a password to
complete.
- 24 -


