Capacitive Touchscreen
User Manual H12 / SCAMAX® 8x1 - Version 2019.12
All fields relating to a Tray 2 are available only if the scanner is equipped with a 2nd Output Hopper
(
see chapter
). The operation of each of the fields will be discussed in more detail, below.
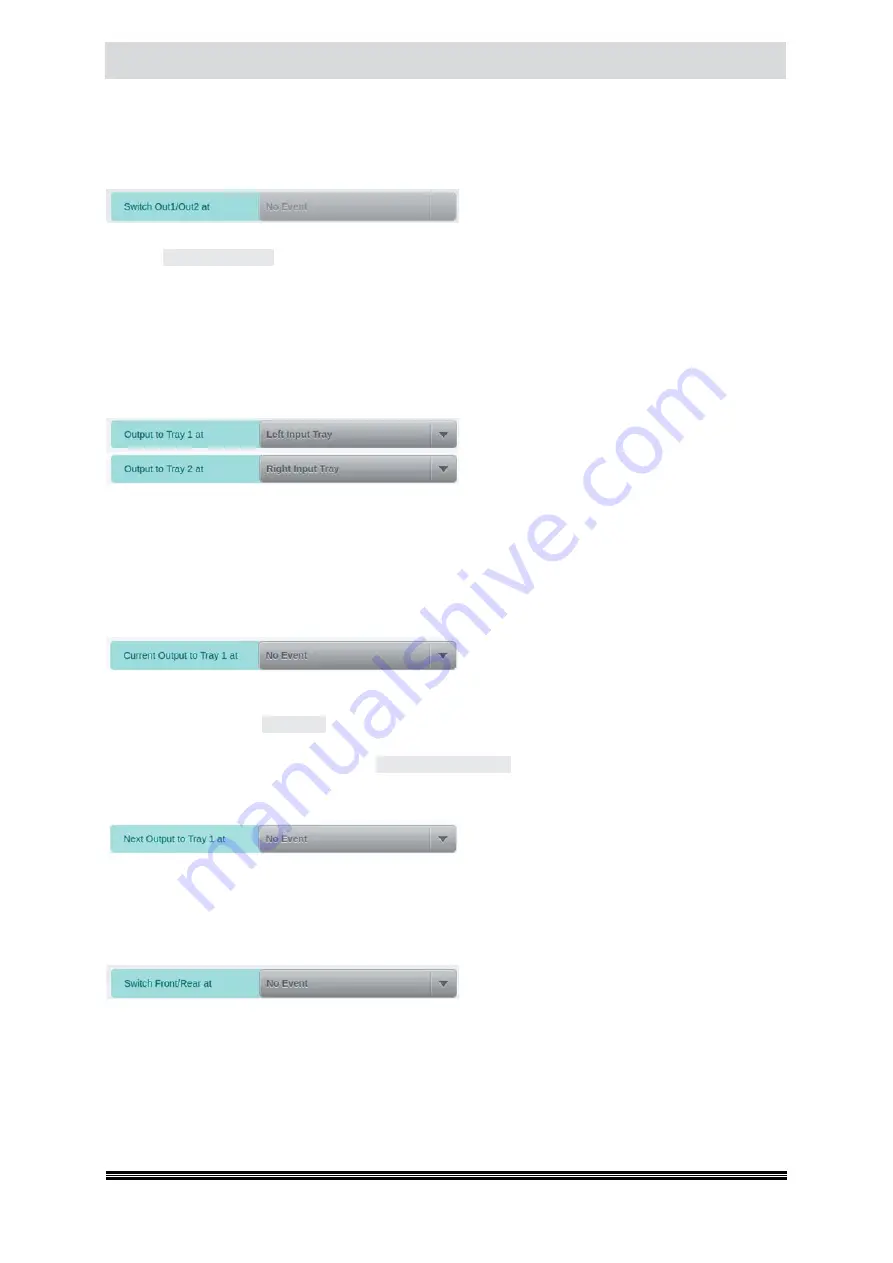
4.6.3.3.1. Switch Out1/Out2 at
This setting will switch back and forth between
the two front output hoppers, whenever the
selected event occurs. The typical trigger used in combination with a Dual Input Hopper (
see chapter
) is
Switch Input Tray
, which also includes a special handling feature: Whenever the output hop-
pers are switched because of of a change in input trays, the previous (
and now full
) output hopper
is automatically lowered, making it easy to remove scanned documents while the other hopper is
already filling up. The empty output hopper will return to its top position whenever it is activated
next. If setting
Switch Out1/Out2 at
is unavailable (
grayed out
), one of the related choices described
in the following chapter must be in use – these settings are mutually exclusive.
4.6.3.3.2. Output to Tray 1/2 at
These two settings will perform an immediate
switch to the respective output tray, whenever
their selected events occur. If the scanner is
fitted with a Dual Input Hopper (
see chapter
), the default settings shown here will cause documents from the left input tray to be ejected
into output tray 1 and documents from the right input tray to be ejected into output tray 2. This is
accompanied with the special handling feature described in the previous chapter. If both settings are
unavailable (
grayed out
), setting
Switch Out1/Out2
at described in the previous chapter must be in
use – these settings are mutually exclusive.
4.6.3.3.3. Current Output to Tray 1/Tray 2/Rear at
This setting is available for each of the possible
output hoppers (
1/2/Rear
) and performs a tem-
porary switch of output path for the document causing the trigger event. All following documents
will be routed to the original hopper. A typical use for these settings would be e.g. to combine
Current
Output to Rear at
with
Any Patch
.This setting would ensure that all patch codes are sorted to the rear
output hopper (
see chapter
). If all documents need to be ejected to the rear hopper, you would
have to set
Current Output to Rear at
to
Every scanned Sheet
.
4.6.3.3.4. Next Output to Tray 1/Tray 2/Rear at
This setting, just like the previously described
settings, is available for each of the possible
output hoppers and will also perform a temporary switch of output path. However here, the switch is
performed for the document
following
the trigger event. After that, output will return to the original
hopper.
4.6.3.3.5. Switch Front/Rear at
As with the topmost setting on this screen, this
setting will switch back and forth between two
output hoppers, whenever the selected event occurs. This time, however, the switch is performed
between the rear (
see chapter
) and a front output hopper. If the scanner is fitted with a second
output tray (
see chapter
), the most recently used front output tray will be used, for this purpose.


