-22-
GENERAL INFORMATION
- 22 -
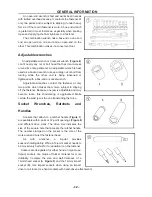
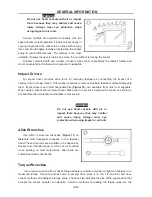
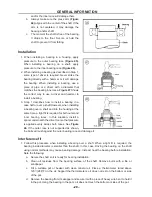
Compression Gauge
A compression gauge
(Figure 33
) measures combustion chamber (cylinder) pressure, usually in
PSI or kg/ cm
2
. The gauge adapter is either inserted or screwed into the spark plug hole to obtain the
reading. Disable the engine so it does not start and hold the throttle in the wide-open position when
performing a compression test An engine that does
not have adequate compression cannot be properly
tuned. Refer to Chapter Three.
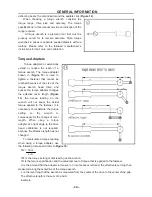
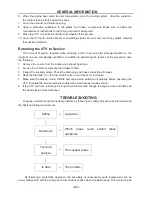
Multimeter
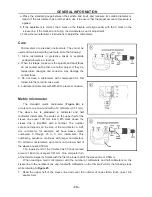
A multimeter
(Figure 34)
is an essential tool for
electrical system diagnosis. The voltage function
indicates the voltage applied or available to various
electrical components. The ohmmeter function tests
circuits for continuity, or lack of continuity, and measures the resistance of a circuit.
Some manufacturer’s specifications for electrical components are based on results using a specific
test meter. Results may vary if using a meter not recommended by the manufacturer. Such
requirements are noted when applicable.
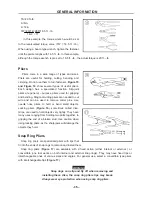
Ohmmeter (analog) calibration
Each time an analog ohmmeter is used or if the
scale is changed, the ohmmeter must be calibrated.
Digital ohmmeters do not require calibration.
1. Make sure the meter battery is in good condition.
2. Make sure the meter probes are in good condition.
3. Touch the two probes together and observe the
needle location on the ohms scale. The needle
must Align with the 0 mark to obtain accurate
measurements.
4. If necessary, rotate the meter ohms adjust knob until the needle and 0 mark align.
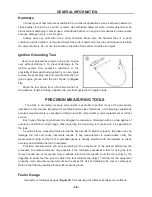
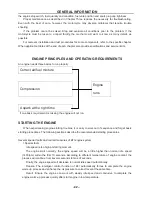
Clip-on ammeter
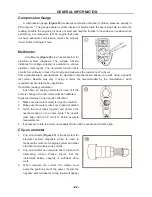
1. Clip-on ammeter
(Figure 35)
is the basic tool for
electrical system diagnosis which is used to
measure the current of charging system and other
electrical components work current.
2. Clip-on ammeter can measure direct current and
alternating current. Please ensure that the
instrument battery capacity is sufficient when
work.
3. When measure the current, the calliper must
seize the positive pole of the power. If seize the
negative pole mistakenly, wrong result will appear.
Summary of Contents for HS200UTV
Page 3: ......
Page 15: ......
Page 94: ... 79 SPECIFICATIONS 79 HYDROGRAPHIC CHART Hydrographic chart Pressure ...
Page 95: ... 80 SPECIFICATIONS 80 LUBRICATION OIL WAY LUBRICATION OIL WAY Pressure splashing oil ...
Page 248: ... 233 CHASSIS 233 Fuel tank cap Remove the fuel tank cap by turning it counterclockwise ...
Page 263: ... 248 ...
Page 304: ... 289 ...
Page 305: ... 290 ...
Page 306: ... 291 ...
Page 307: ... 292 ...
Page 308: ... 293 ...
Page 309: ... 294 ...
Page 310: ... 295 ...
Page 311: ... 296 ...

