-86-
MAINTENANCE AND ADJUSTMENT OF THE UTV
- 86 -
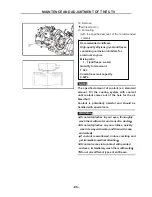
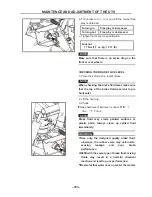
CHECKING THE SPARK PLUG
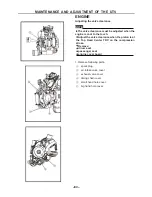
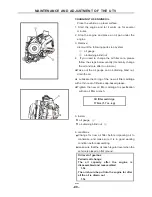
1. dismount the seat and engine cover board.
2. Remove:
pull out the spark plug cap
①
3. Check:
·
spark plug type
Incorrect
Replace.
Standard spark plug
DR8EA/NGK
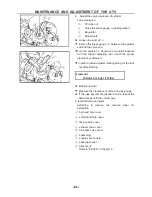
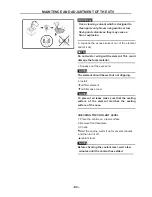
4. Check:
·
electrode
①
To check if it is burned blunt or much carbon is
there, then check the pole clearance by thickness
gauge. It is qualified if the pole clearance is between
0.8 to 0.9mm. Otherwise it should be adjusted.
Wear/damage
Replace.
·
insulator
②
Abnormal color
Replace.
Normal color is a medium-to-light tan color.
5. Clean the spark plug with a spark plug cleaner or
wire brush.
6. Install:
·
spark plug
17.5 Nm(1.75 m·kgf, 12.7 ft·lbs)
·
Then hook up the spark plug cap.
NOTE
:
Before installing a spark plug, clean the gasket
surface and plug surface.
7. Install:
·
engine cover board
·
passenger seat
·
driver seat
MAINTENANCE AND ADJUSTMENT OF THE UTV
- 87 -
CHECKING THE IGNITION TIMING
NOTE
:
before checking the ignition timing, adjust the
engine’s racing speed and throttle cable.
1. Remove:
·
driver seat
·
passenger seat
·
engine cover board
Refer to “SEATS” in chapter 5.
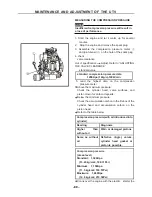
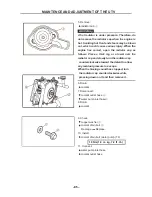
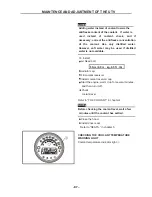
2. Attach:
·
Engine tachometer
③
(to the spark plug lead)
3. Remove:
Refer to remove manual starting mechanism
②、
①
name
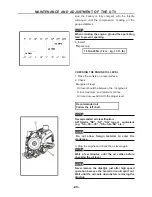
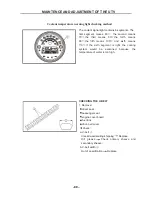
4. Check:
·
Engine tachometer
a. worm up the engine at specified speed
Engine speed
1,400 ~ 1,500 r/min
b. Visually check the stationary pointer
①
to verify it
is within the required firing range indicated on the
flywheel.
Incorrect firing range
Check the pulser coil
assembly.
c. Install the timing plug.
5. Install:
·
Engine manual starting mechanism
7 Nm (0.7 m · kg, 5.1 ft · lb)
6. Install:
·
manual starting mechanism cover
10 Nm (1.0 m · kg, 7.2 ft · lb)
7. Detach:
·
timing light
8. Install:
·
engine cover board
·
passenger seat
·
driver seat
Refer to “SEATS” in chapter 5.
Summary of Contents for HS200UTV
Page 3: ......
Page 15: ......
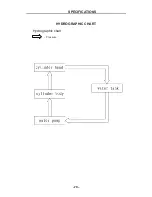
Page 94: ... 79 SPECIFICATIONS 79 HYDROGRAPHIC CHART Hydrographic chart Pressure ...
Page 95: ... 80 SPECIFICATIONS 80 LUBRICATION OIL WAY LUBRICATION OIL WAY Pressure splashing oil ...
Page 248: ... 233 CHASSIS 233 Fuel tank cap Remove the fuel tank cap by turning it counterclockwise ...
Page 263: ... 248 ...
Page 304: ... 289 ...
Page 305: ... 290 ...
Page 306: ... 291 ...
Page 307: ... 292 ...
Page 308: ... 293 ...
Page 309: ... 294 ...
Page 310: ... 295 ...
Page 311: ... 296 ...


