


-104-
MAINTENCE AND ADJUSTMENT OF THE UTV
- 104 -
.
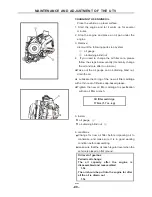
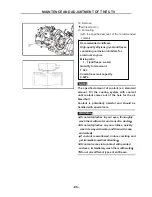
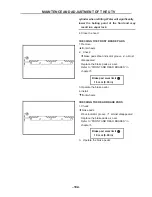
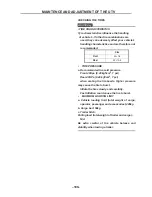
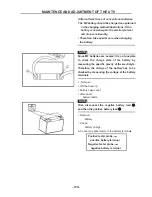
d. Place the other end of the hose into a container.
e. Slowly apply the brake pedal several times.
f. Push down on the pedal and hold it.
g. Loosen the bleed screw and allow the pedal to
travel towards its limit.
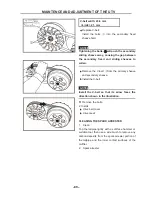
h. Tighten the bleed screw when the pedal limit
has been reached, then release the pedal.
i. Repeat steps (e) to (h) until all the air bubbles
have disappeared from the fluid.
j. Tighten the bleed screw.
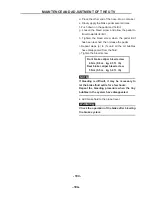
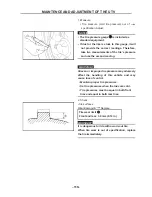
Front brake caliper bleed screw
6 Nm (0.6 m · kg, 4.3 ft · lb)
Rear brake caliper bleed screw
5 Nm (0.5 m · kg, 3.6 ft · lb)
NOTE
:
If bleeding is difficult, it may be necessary to
let the brake fluid settle for a few hours.
Repeat the bleeding procedure when the tiny
bubbles in the system have disappeared.
k. Add brake fluid to the proper level.
WARNING
:
Check the operation of the brake afte
r
bleeding
the brake system.
.
MAINTENCE AND ADJUSTMENT OF THE UTV
- 105 -
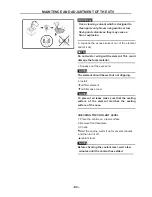
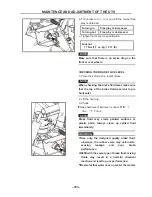
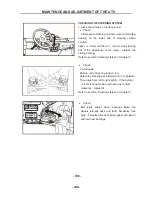
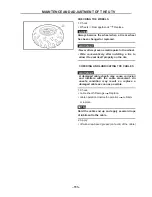
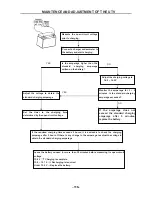
ADJUSTING THE SELECT LEVER SHIFT ROD
①
Neutral
②
High
③
Low
④
Reverse
⑤
Select lever shift rod
WARNING
:
Before shifting, you must stop the vehicl
e
and
take your foot off the accelerator pedal.
Otherwise, the transmission may b
e damaged.
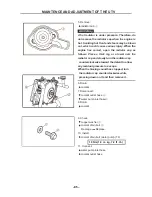
1. Adjust:
·
Select lever shift rod
a. Make sure the select lever is in NEUTRAL.
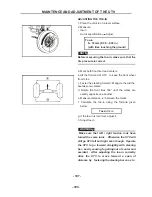
b. Loosen both locknuts
⑥
.
WARNING
:
The select lever shift rod locknut (select leve
r
side) has left-handed threads. To loosen th
e
locknut, turn it clockwise.
c. Tighten the locknuts
⑥
.
.
Summary of Contents for HS200UTV
Page 3: ......
Page 15: ......
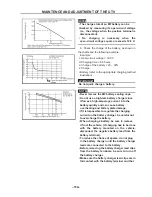
Page 94: ... 79 SPECIFICATIONS 79 HYDROGRAPHIC CHART Hydrographic chart Pressure ...
Page 95: ... 80 SPECIFICATIONS 80 LUBRICATION OIL WAY LUBRICATION OIL WAY Pressure splashing oil ...
Page 248: ... 233 CHASSIS 233 Fuel tank cap Remove the fuel tank cap by turning it counterclockwise ...
Page 263: ... 248 ...
Page 304: ... 289 ...
Page 305: ... 290 ...
Page 306: ... 291 ...
Page 307: ... 292 ...
Page 308: ... 293 ...
Page 309: ... 294 ...
Page 310: ... 295 ...
Page 311: ... 296 ...


