Chapter 12: Image Management
5495975-1EN Rev.9
12-9
© 2013-2017 General Electric Company. All rights reserved.
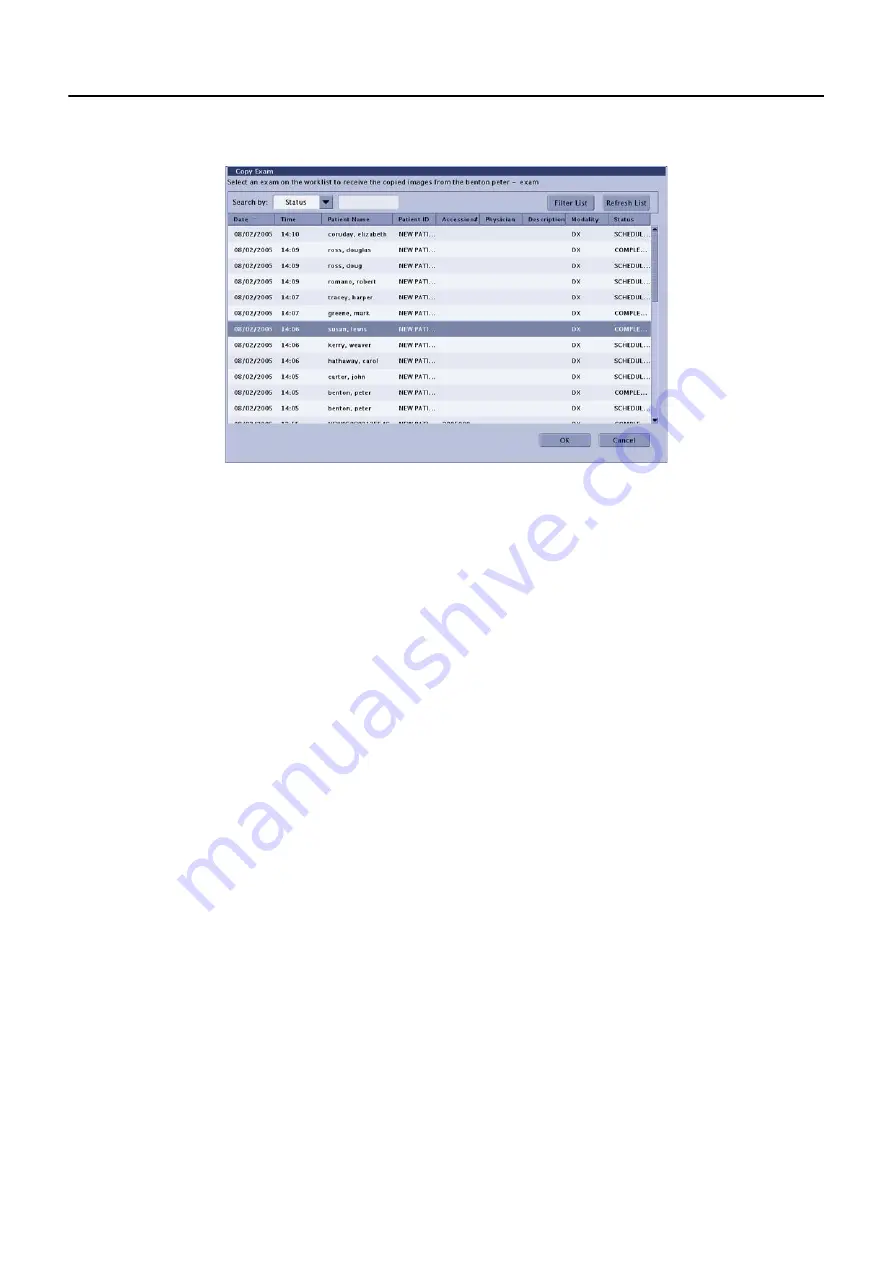
The Copy Exam screen appears.
The Copy Exam screen shows all Worklist entries with the status of “Scheduled”, “Discontinued”, or
“Suspended”.
4. Search or Filter the exam list to locate the destination exam.
5. Select the exam where you want the images copied to.
6. Click [OK].
A message appears: “Images will be copied to the selected exam. Images will not automatically be
removed from the source exam. The destination exam will be marked as Completed.”
7. Click [OK].
The message closes.
A message appears: “Copying Images”
[CANCEL] stops the copy process, closes the message, and returns you to the Image Management
screen.
All series and images are copied to the exam.
Copy Exams to a CD or DVD
Exams may be copied to a CD or DVD for archiving purposes, to send to a location that is not within the
network, or to include with a patient’s medical records.
Note:
The discs used for copying images must be recordable. That is, the disk should be labeled “CD-R”
or “DVD-R” (recordable).
DO NOT
use re-writable (CD-RW or DVD-RW) disks. The system cannot write to this type of disk.
Note:
You cannot copy exams to a disk that already has exams or other information saved on it. You
will receive a message, “CD is not blank. Please insert a blank CD to proceed” when you attempt
to copy images to the disk. Always use a new, blank disk.
1. Open the disk tray. (Select Eject from the [CD1] drop-down list.)


