Chapter 11: Image Viewer
5495975-1EN Rev.9
11-16
© 2013-2017 General Electric Company. All rights reserved.
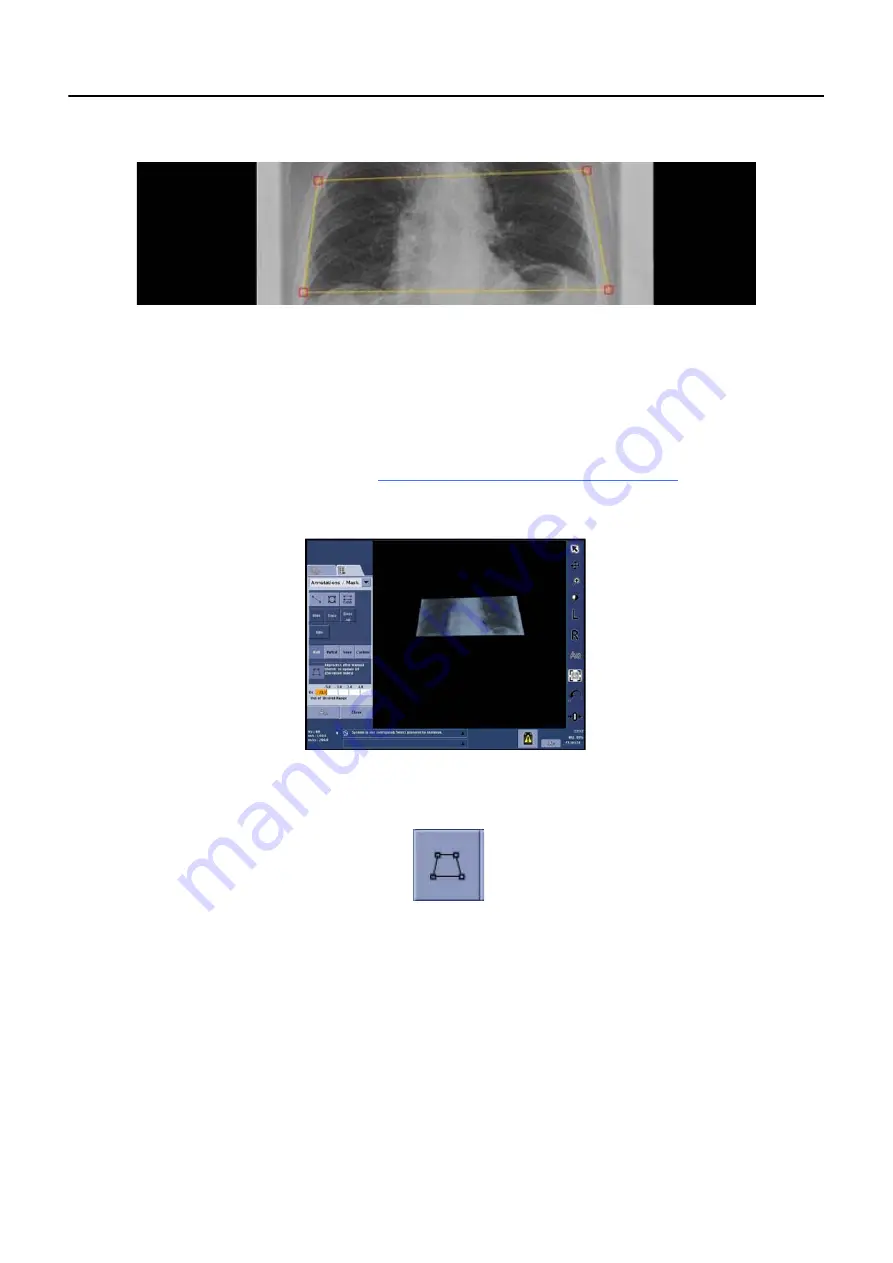
Figure 11-10
Close up of manual shutter
3. Click and drag the red corner handles or the yellow side lines to the desired shape and size.
Note:
Any image annotations (line, Cobb, ellipse, R/L marker) that are outside of the yellow lines (visible
image area) will be lost when the exam is closed. Make sure that annotations are within the active
image area. Manual shutters do not affect system annotations.
4. Click [MANUAL SHUTTER] to apply the adjustment.
If the image does not return to its selected size, click the Zoom buttons on the Viewer Display panel
to re-select the viewing size. Refer to
Change Viewing Format and Size (p. 11-6)
for more informa-
tion.
Figure 11-11
Image after adjusting shutter
5. Click [MANUAL SHUTTER] again to edit. (
).
Figure 11-12
MANUAL SHUTTER
Automatic Shutter
Automatic shuttering or masking of the image occurs two ways:
Automatic Collimator Edge Detection (ACED) uses system feedback from the position of the collima-
tors to provide masking of the image.
The Intelligent Collimator Edge Detection (ICED) algorithm relies solely on image information in order
to locate any collimation edges present in an x-ray radiograph when the system is in override mode


