RX Series User Manual
Installation
2-16
Step 1:
Connecting your GCC cutter
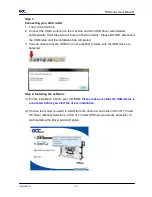
1. Turn on the machine.
2. Connect the USB connector to the machine and then USB driver will installed
automatically. It will take a few minutes to find the device. Please DO NOT disconnect
the USB cable until the installation has completed.
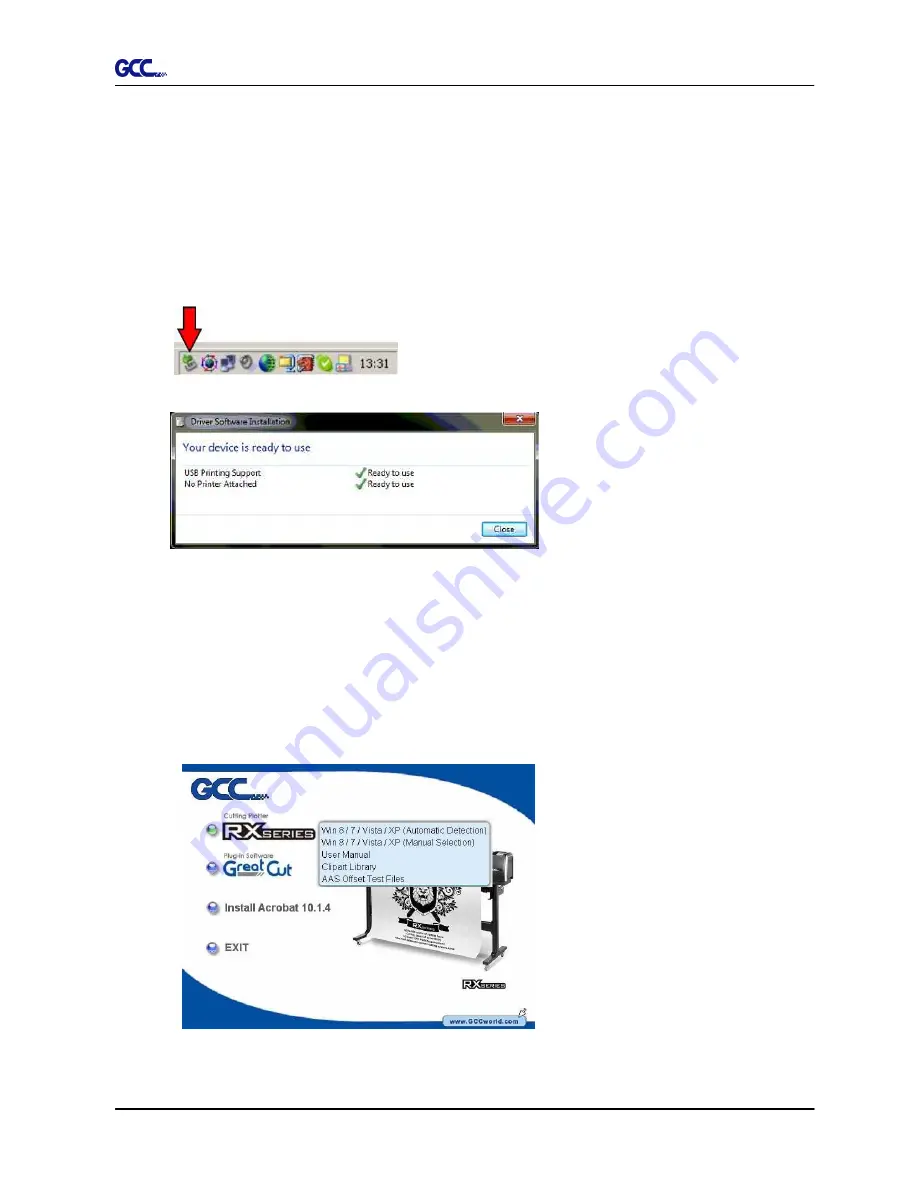
3. You can double click the USB icon on the taskbar to make sure the USB device is
detected.
Step 2:
Installing the software
(1) Put the installation CD into your CD-ROM.
Please make sure that the USB device is
connected before you start the driver installation.
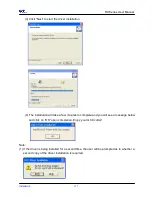
(2) Choose the model you want to install from the driver list and click on Win 8/ 7/ Vista/
XP Driver (Manual Selection) or Win 8/ 7/ Vista/ XP Driver (Automatic detection) to
start installing the Driver and AAS plugin.
Summary of Contents for RX Series
Page 1: ...V 7 2014 Mar RX Series User Manual http www GCCworld com ...
Page 33: ...RX Series User Manual Installation 2 20 3 Select Driver page ...
Page 48: ...RX Series User Manual The Control Panel 3 3 3 2 Menu in On line Mode ...
Page 49: ...RX Series User Manual The Control Panel 3 4 3 3 Menu in Off line Mode ...
Page 50: ...RX Series User Manual The Control Panel 3 5 ...
Page 51: ...RX Series User Manual The Control Panel 3 6 ...
Page 115: ...RX Series User Manual SignPal 10 5 Instruction A 4 8 ...
Page 118: ...RX Series User Manual SignPal 10 5 Instruction A 4 11 ...
Page 125: ...RX Series User Manual SignPal 10 5 Instruction A 4 18 ...
Page 155: ...Jaguar IV User Manual GreatCut Instruction A 5 Click Multi Copy in GreatCut2 under File ...

