RX Series User Manual
Installation
2-2
2.2 Stand & Flexible Media Support System (for RX-101S/132S/183S)
Step 1
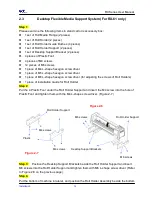
Please examine supplied items in the accessory box of stand carton:
2 pieces of base beams
2 pieces of side beams
1 piece of stand beam
20 pieces of M6 screws
1 piece of M5 L-shape hexagon screw driver
1 piece of Installation Guide for Stand Set
Step 2
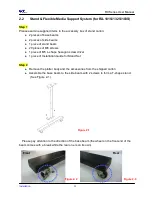
Remove the plotter body and the accessories from the shipped carton.
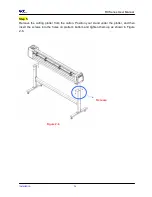
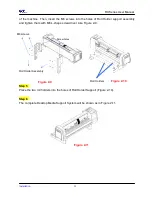
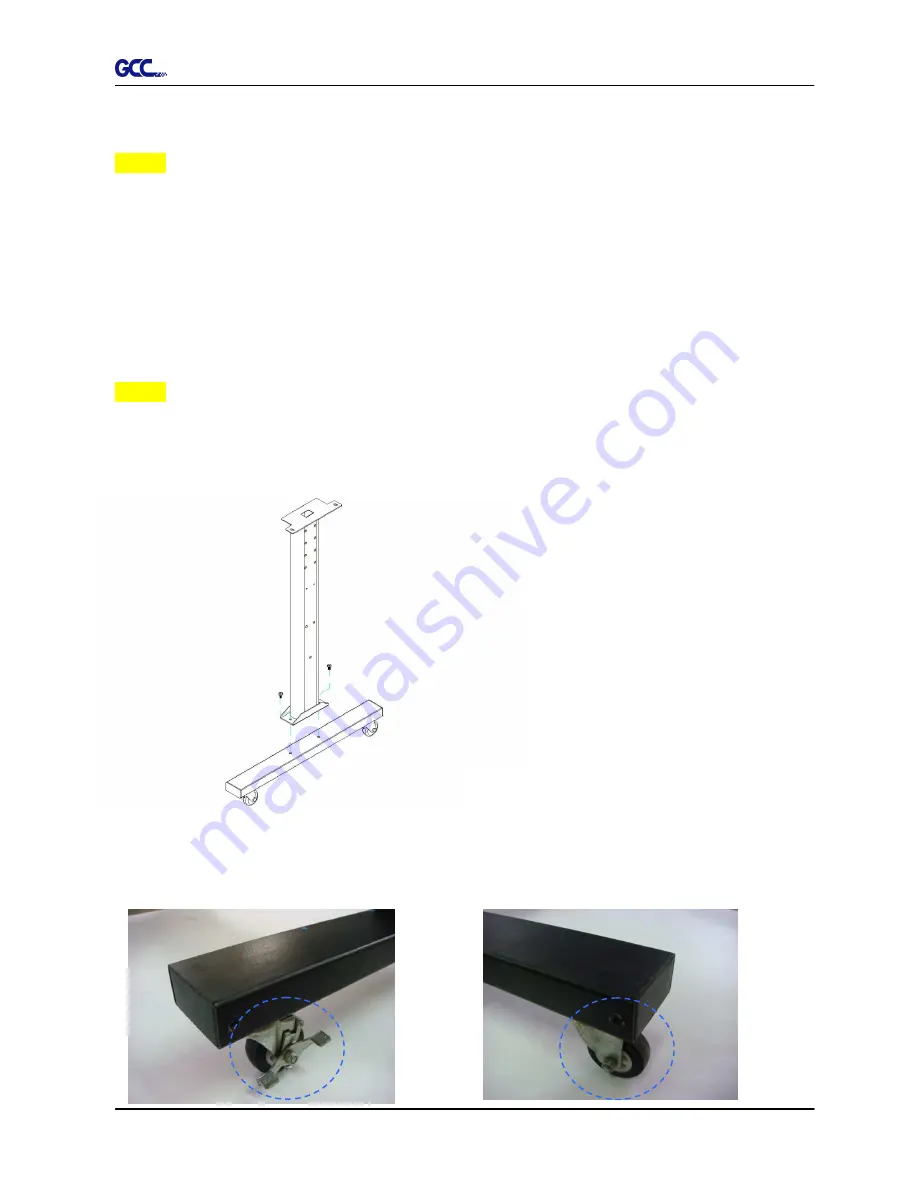
Assemble the base beam to the side beam with 2 screws to form a T-shape stand.
(See Figure 2-1)
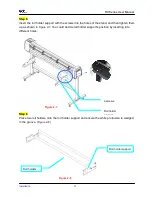
Please pay attention to the direction of the base beam (the wheel on the front end of the
beam comes with a break while the rear one is on its own).
Figure 2-1
Front
Rear
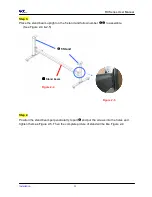
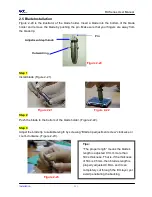
Figure2- 2
Figure 2-3
Summary of Contents for RX Series
Page 1: ...V 7 2014 Mar RX Series User Manual http www GCCworld com ...
Page 33: ...RX Series User Manual Installation 2 20 3 Select Driver page ...
Page 48: ...RX Series User Manual The Control Panel 3 3 3 2 Menu in On line Mode ...
Page 49: ...RX Series User Manual The Control Panel 3 4 3 3 Menu in Off line Mode ...
Page 50: ...RX Series User Manual The Control Panel 3 5 ...
Page 51: ...RX Series User Manual The Control Panel 3 6 ...
Page 115: ...RX Series User Manual SignPal 10 5 Instruction A 4 8 ...
Page 118: ...RX Series User Manual SignPal 10 5 Instruction A 4 11 ...
Page 125: ...RX Series User Manual SignPal 10 5 Instruction A 4 18 ...
Page 155: ...Jaguar IV User Manual GreatCut Instruction A 5 Click Multi Copy in GreatCut2 under File ...


