RX Series User Manual
Installation
2-11
2.5 Blade Installation
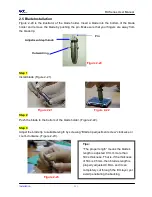
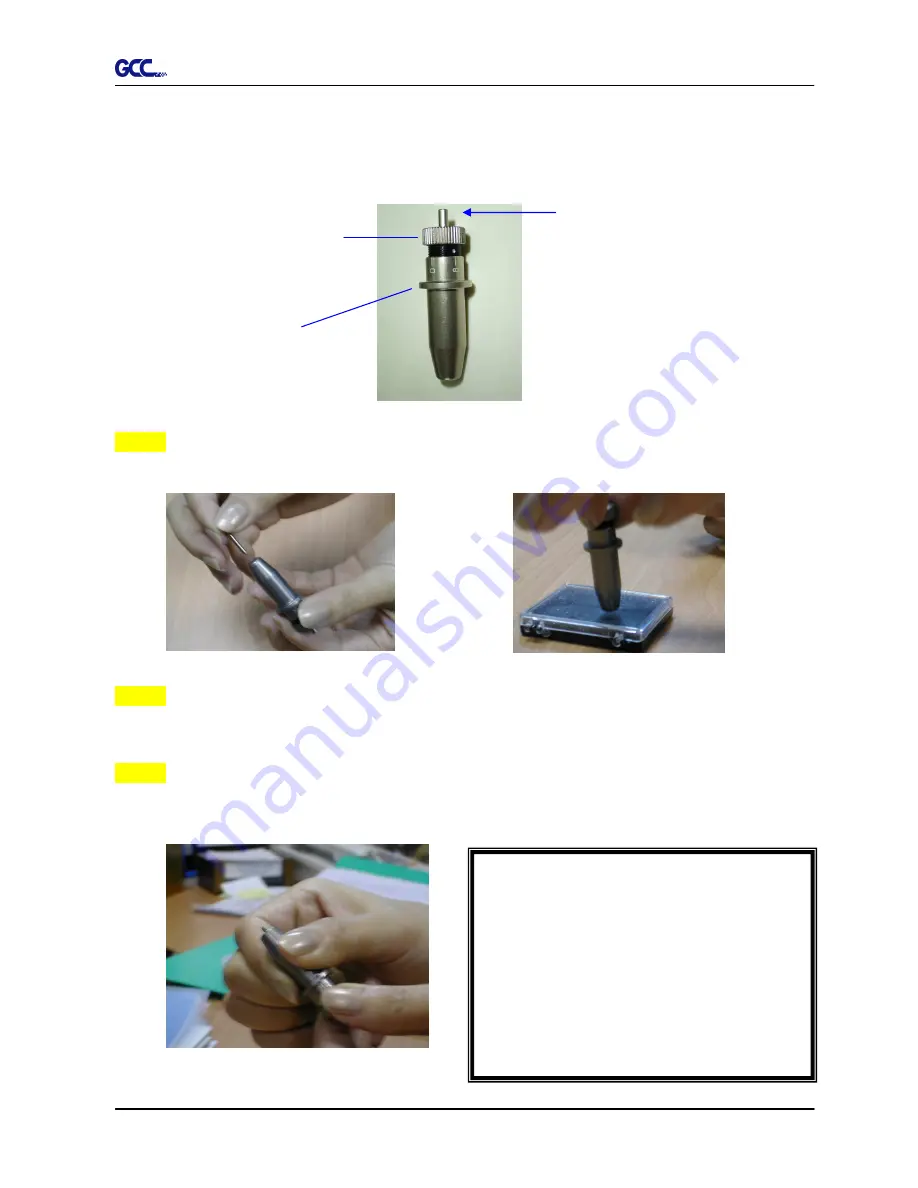
Figure 2-20 is the illustrator of the blade holder. Insert a blade into the bottom of the blade
holder and remove the blade by pushing the pin. Make sure that your fingers are away from
the blade tip.
Step 1
Install blade (Figure 2-21).
Step 2
Push the blade to the bottom of the blade holder. (Figure 2-22).
Step 3
Adjust the blade tip to suitable length by screwing “Blade tip adjustment screw” clockwise or
count-clockwise. (Figure 2-23).
Figure 2-23
Figure 2-22
Tips:
“The proper length” means the blade’s
length is adjusted 0.1mm more than
film’s thickness. That is, if the thickness
of film is 0.5mm, then blade’s length is
properly adjusted 0.6mm and it can
completely cut through the film layer yet
avoid penetrating the backing.
Figure 2-20
Pin
Outward ring
Adjustment depth knob
Figure 2-21
Summary of Contents for RX Series
Page 1: ...V 7 2014 Mar RX Series User Manual http www GCCworld com ...
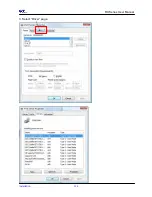
Page 33: ...RX Series User Manual Installation 2 20 3 Select Driver page ...
Page 48: ...RX Series User Manual The Control Panel 3 3 3 2 Menu in On line Mode ...
Page 49: ...RX Series User Manual The Control Panel 3 4 3 3 Menu in Off line Mode ...
Page 50: ...RX Series User Manual The Control Panel 3 5 ...
Page 51: ...RX Series User Manual The Control Panel 3 6 ...
Page 115: ...RX Series User Manual SignPal 10 5 Instruction A 4 8 ...
Page 118: ...RX Series User Manual SignPal 10 5 Instruction A 4 11 ...
Page 125: ...RX Series User Manual SignPal 10 5 Instruction A 4 18 ...
Page 155: ...Jaguar IV User Manual GreatCut Instruction A 5 Click Multi Copy in GreatCut2 under File ...

