10-8
4.
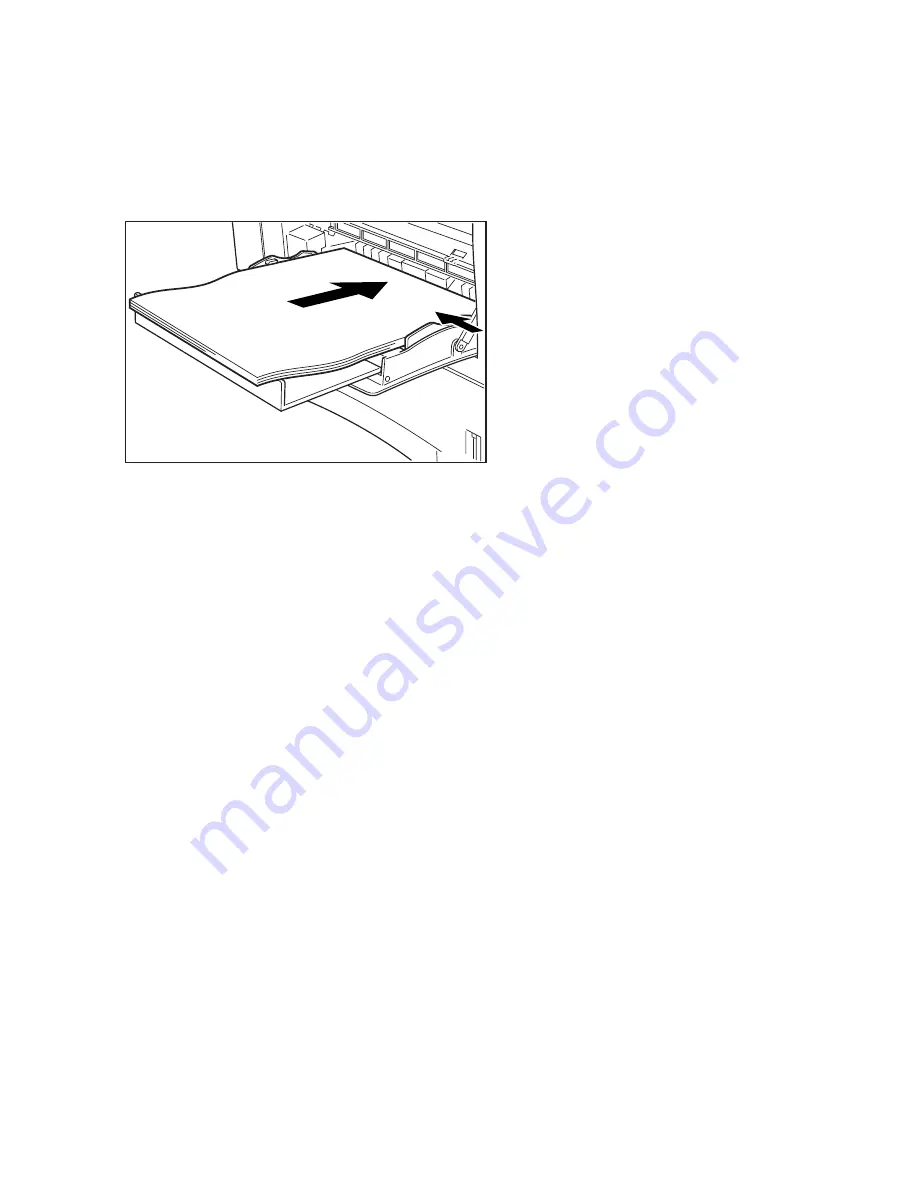
Load the paper into the tray, with the
side to be printed on facing up and
the top of the page feeding into the
printer first.
Setting the Paper Size
There are no paper size sensors on the Multi-Purpose Feeder (Tray 1), so the
printer depends on the user to manually enter the paper size for the tray using the
printer’s front menu. This can be done as follows:
• Press the Menu up or down key until Paper Handling appears.
• Press the Item up or down key until Tray 1 Size appears.
• Press the Value up or down key until the desired paper size appears.
• Press Select to accept the value.
This will cause the printer to assume that the specified paper size is loaded into
Tray 1. If a print job is sent to the tray specifying the size selected, it will print
automatically. If not, the printer will pause and request the correct size be loaded
into the tray.
Note: In the event that a print job is sent to Tray 1 (or Manual Feed, see next
section) specifying a size other than what is specified for Tray 1 on the front panel,
the printer will pause and ask for the correct paper size. Loading the correct
paper size and pressing Select will allow the job to print. This will also change the
Tray 1 Size setting in the menu to reflect the new size. You will therefore need to
re-set the Tray 1 Size setting to the original size if desired. An example of this
follows:
Summary of Contents for Elite 21 Series
Page 1: ...GCC Elite 21 Series User s Manual Elite 21N Elite 21DN...
Page 14: ...1 6 Step 4 Remove Tape 1 Remove packaging tape from the front and rear covers of the printer...
Page 143: ...5 20 Clicking on Device Settings brings up the following window...
Page 159: ...6 13...
Page 163: ...6 17 Clicking on Device Settings brings up the following window...


