8-8
• Make sure the printer is turned on and is showing “Ready” in its display window.
• Go to the Windows Start menu, then to Applications and down to “IP-P2P.” Select
the IP-P2P program within that folder.
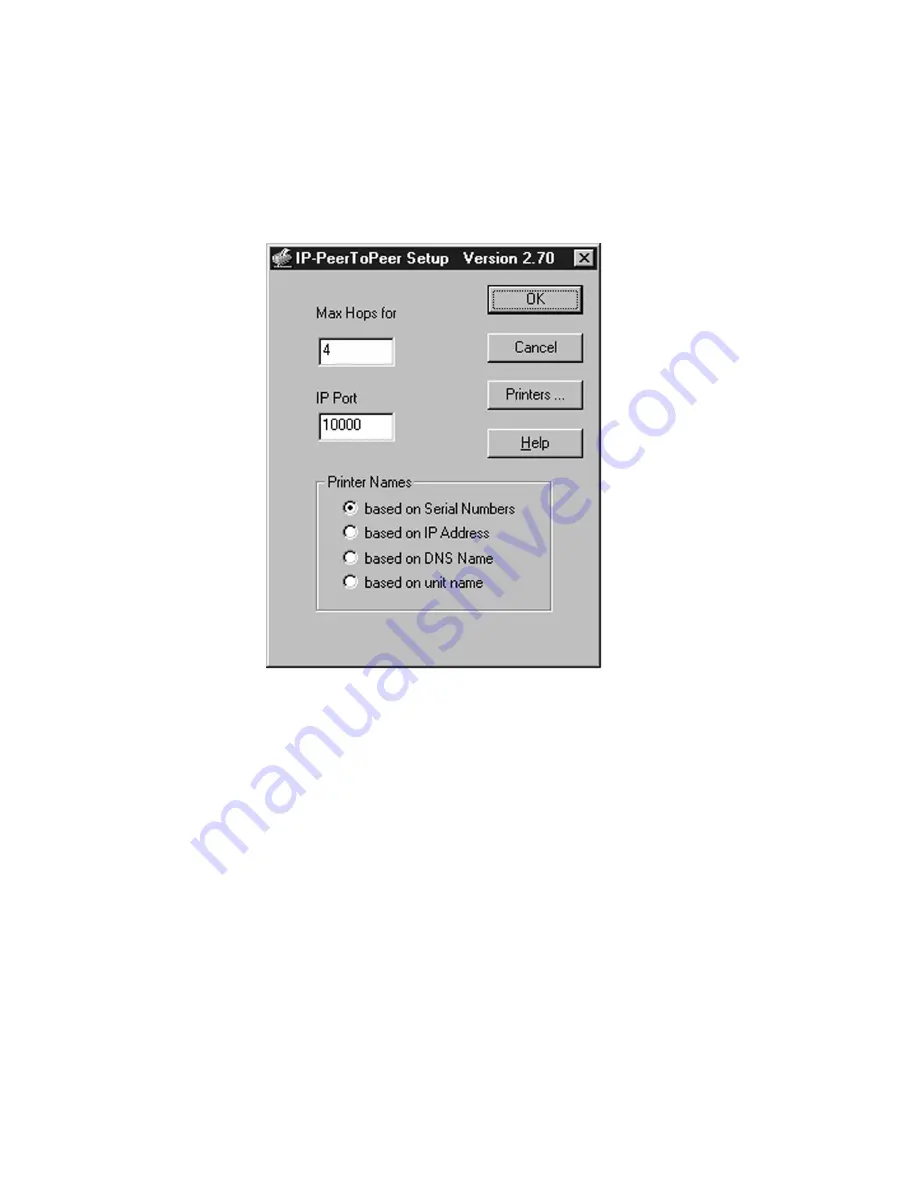
• The IP-P2P program will run, bringing up the following window:
The “Max Hops for” setting determines how many networks the program will
search for compatible printers. A setting of Zero would search only the network
directly connected to the PC, a setting of 4 would search the directly connected
network and all networks accessible through four routers. Try to use only as high
a number as necessary to access your printer, as higher numbers can produce
increased network traffic.
The “IP Port” setting is the base port number for the print server. This setting
should be set to one number below the desired port setting on the printer. The
printer defaults to a base IP port number of 10001, so the IP-P2P program defaults
to a value of 10000. This value would only need to be changed if the base IP port
on the printer was changed. To confirm the IP port of the printer, you can print
out a Network Status page, as follows:
Summary of Contents for Elite 21 Series
Page 1: ...GCC Elite 21 Series User s Manual Elite 21N Elite 21DN...
Page 14: ...1 6 Step 4 Remove Tape 1 Remove packaging tape from the front and rear covers of the printer...
Page 143: ...5 20 Clicking on Device Settings brings up the following window...
Page 159: ...6 13...
Page 163: ...6 17 Clicking on Device Settings brings up the following window...


