5.
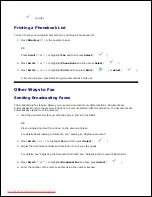
For a one-digit speed dial number, press and hold the appropriate digit button.
For a two-digit speed dial number, press the first digit button and hold the last digit button.
For a three-digit speed dial number, press the first and second digit buttons and hold the last
digit button.
6.
The corresponding entry's name briefly displays.
The document scans into the memory.
7.
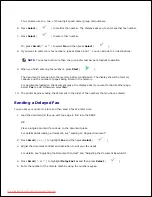
When the document is loaded on the document glass, the LCD display asks if you want to send
another page. Select
Yes
to add more documents or
No
to begin sending the fax immediately.
The fax number stored in the speed dial location is automatically dialed. The document is sent when
the remote fax machine answers.
8.
Group Dialing
If you frequently send the same document to several destinations,
you can create a group of these
destinations and set them under a one, two or three-digit group dial locations. This enables you to use a
group dial number setting to send the same document to all the destinations in the group.
NOTE:
You cannot include one group dial number within another group dial number.
Setting Group Dial
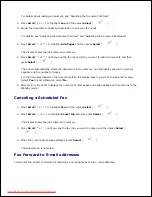
Press
Directory
( ) in the operator panel.
1.
OR
Press
Scroll
( or ) to highlight
Fax
and then press
Select
(
).
Press
Scroll
(
or
) to highlight
Phone Book
and then press
Select
(
).
2.
Press
Scroll
(
or
) to highlight
Add Group
and then press
Select
(
).
3.
Enter a name and then press
Select
(
).
4.
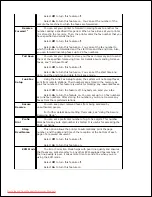
Enter a group number between 0-399 and then press
Select
(
).
5.
Or select the location you want by pressing
Scroll
( or ) and then press
Select
(
).
Enter a one, two or three-digit speed number you want to assign to the group and then press
Select
(
6.
Downloaded from ManualsPrinter.com Manuals


