Press
Scroll
( or ) to highlight
Setup
and then press
Select
(
).
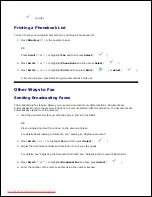
1.
Press
Scroll
(
or
) to highlight
Email Setup
and then press
Select
(
).
2.
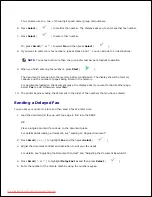
Press
Scroll
(
or
) to highlight
Email Forward
and then press
Select
(
).
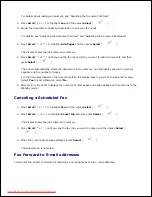
3.
Press
Scroll
(
or
) to highlight
Fax Forwarding
and then press
Select
(
).
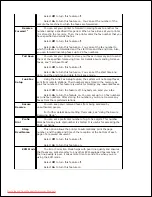
4.
Select the desired status by pressing
Scroll
(
or
) and then press
Select
(
).
Off
: Enables you to turn this feature off.
All Faxes
: Enables you to forward both incoming and outgoing faxes to a specified e-mail
address.
Tx Only
: Enables you to forward only outgoing faxes to a specified e-mail address.
Rcv Only
: Enables you to forward only incoming faxes to a specified e-mail address. When you
select this option, you should choose whether the printer prints out the incoming faxes.
5.
Press
Scroll
(
or
) to highlight
Attachment Type
and then press
Select
(
).
6.
Select the attachment type either
TIFF
or
by pressing
Scroll
(
or
) and then press
Select
(
).
7.
Press
Scroll
(
or
) to highlight
From Address
and then press
Select
(
).
8.
Enter the sender's name and then press
Select
(
).
9.
Press
Scroll
(
or
) to highlight
To Address
and then press
Select
(
).
10.
Press
Scroll
(
or
) to enter the recipient’s email address and then press
Select
(
).
11.
Press
Scroll
(
or
) to highlight
Print Local Copy
and then press
Select
(
).
On
: Prints the fax image in your local device after forwarding via email.
Off
: Enables you to turn this feature off.
12.
Press
Cancel
(
) to return to the Standby mode.
13.
Additional Features
Downloaded from ManualsPrinter.com Manuals


