9.
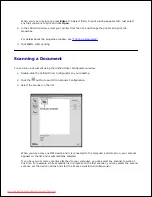
If you want to edit the scanned image,
use the toolbar. For further details about editing an image, see
"Using the Image Editor"
.
When you are finished, click
Save
on the toolbar.
10.
Select the file directory where you want to save the image and enter the file name.
11.
Click
Save
.
12.
Adding Job Type Settings
You can save your scan option settings to retrieve for a later scanning.
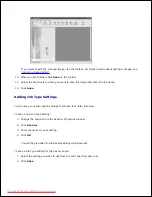
To save a new Job Type setting:
Change the options from the Scanner Properties window.
1.
Click
Save As
.
2.
Enter the name for your setting.
3.
Click
OK
.
4.
Your setting is added to the Saved Settings drop-down list.
To save a Job Type setting for the next scan job:
Select the setting you want to use from the Job Type drop-down list.
1.
Click
Save
.
2.
Downloaded from ManualsPrinter.com Manuals


