5.
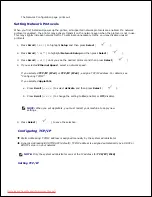
Sender's name is the one you have set in the
User Setup
setting. See "Available Options for Email
Account Setup" .
Enter your login ID and then press
Select
(
).
6.
Login ID is the one you have set in the
User Setup
setting. See "Available Options for Email Account
Setup" .
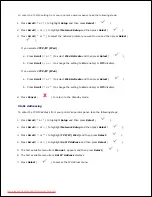
Enter your login password and then press
Select
(
).
7.
Password is the one you have set in the
User Setup
setting. See "Available Options for Email Account
Setup" .
Press
Scroll
(
or
) to enter the recipient's email address and then press
Select
(
).
8.
NOTE:
You can enter the name you have stored in the
Address Book
. See "Setting up Address
Book" .
The display asks if you want to enter another address.
To enter an additional address, press
Scroll
(
or
) to select
Add
and repeat step 8 .
9.
To continue to the next step, press
Select
(
) when
Done
appears.
The display asks if you want to review addresses.
10.
Press
Scroll
(
or
) to review addresses, press
Select
(
) to select
Yes
and check the
address you have entered.
To continue to the next setup, press
Scroll
(
or
) to select
No
and then press
Select
(
).
The display asks if you want to send the e-mail to yourself.
11.
To send to your e-mail address, press
Select
(
) to select
Yes
.
Or, press
Scroll
(
or
) to select
No
and then press
Select
(
).
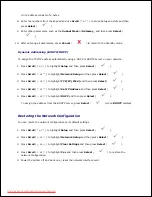
Enter the email subject and then press
Select
(
).
12.
Press
Scroll
(
or
) to select the file type to which the scanned image may be converted and then
press
Select
(
).
13.
14.
15.
Downloaded from ManualsPrinter.com Manuals

