Network Scanning
251
13
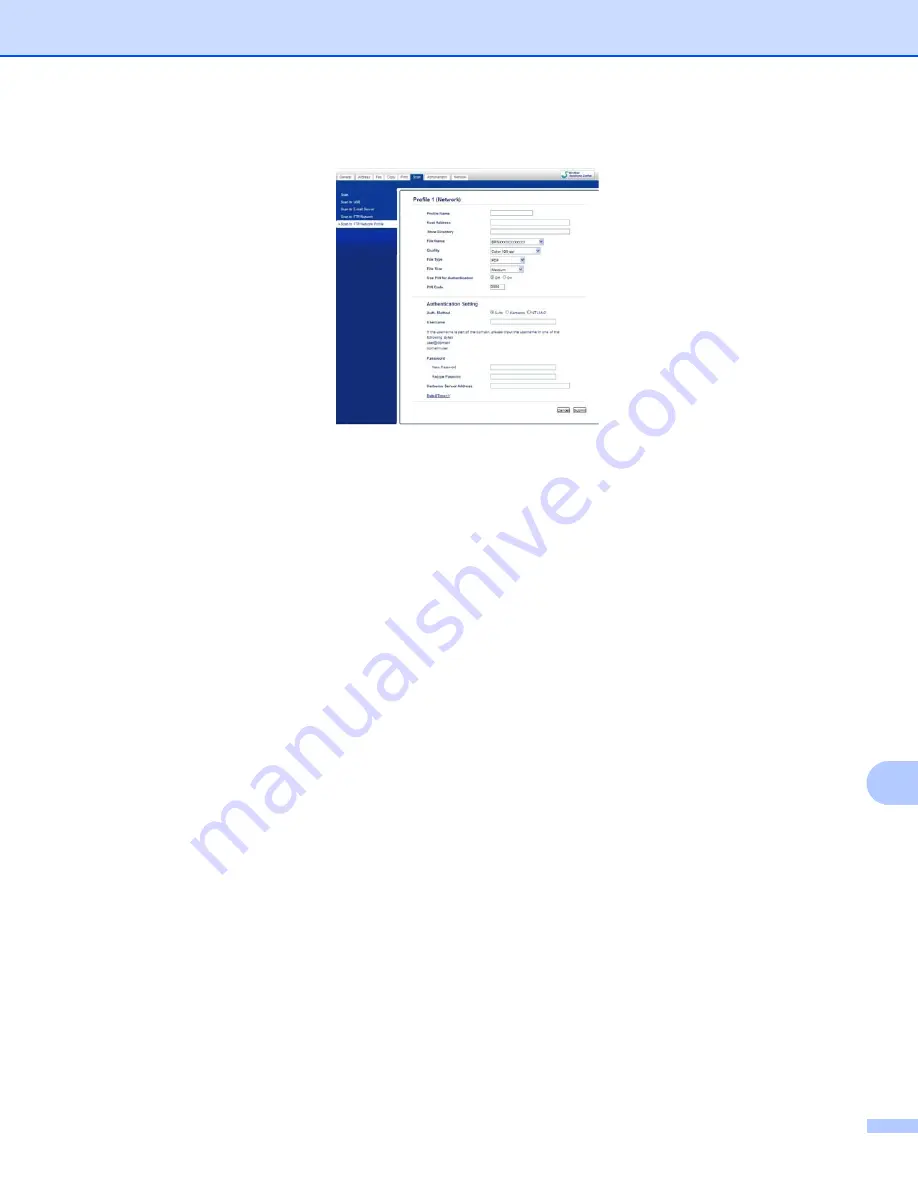
Configuring the Scan to Network Default Settings
13
a
Choose
Network
in
Scan to FTP/Network
from the
Scan
tab. Press
Submit
.
b
Choose the Profile you want to configure in
Scan to FTP/Network Profile
.
c
Enter the name that you want to use for the Scan to Network profile. This name will be displayed on the
LCD of the machine and can be up to 15 characters.
d
The Host Address is the domain name of the CIFS server. Enter the Host Address (for example
mypc.example.com) (up to 64 characters) or the IP address (for example 192.23.56.189).
e
Enter the destination folder where your document will be stored on the CIFS server (for example
brother\abc) (up to 60 characters).
f
Choose the file name you want to use for the scanned document. You can choose from seven preset
and two user defined file names. The file name that will be used for your document will be the file name
you selected plus the last 6 digits of the flatbed/ADF scanner counter plus the file extension (For
example, Estimate098765.pdf). You can also manually enter a file name up to 15 characters.
g
Choose the scan quality from the drop-down list. You can choose
Color 100 dpi
,
Color 200 dpi
,
Color 300 dpi
,
Color 600 dpi
,
Color Auto
,
Gray 100 dpi
,
Gray 200 dpi
,
Gray 300 dpi
,
Gray Auto
,
B&W 300 dpi
,
B&W 200 dpi
,
B&W 200x100 dpi
or
User Select
.
Summary of Contents for MFC-8510DN
Page 9: ...Section I Machine operation keys I Using the control panel 2 ...
Page 165: ...Printing and Faxing 157 8 For Mac OS X 10 7 x For more page setup options click Show Details ...
Page 169: ...Printing and Faxing 161 8 c When you are finished addressing your fax click Print ...
Page 212: ...Section IV Using the Scan key IV Scanning For USB cable users 205 Network Scanning 222 ...


