Job Files
Close a Job File
106
LabelMark 5.0 User’s Manual
3.
In the
Side to Print
field, click the radio button of the desired option.
Note
Note
The Side to Print field only activates if the selected label file is using a part number
that allows 2-sided printing. Likewise, the Second Side field activates only if Side 2
is selected in the Side to Print field.
4.
In the
Second Side
field, click the radio button of the desired option.
5.
Click OK.
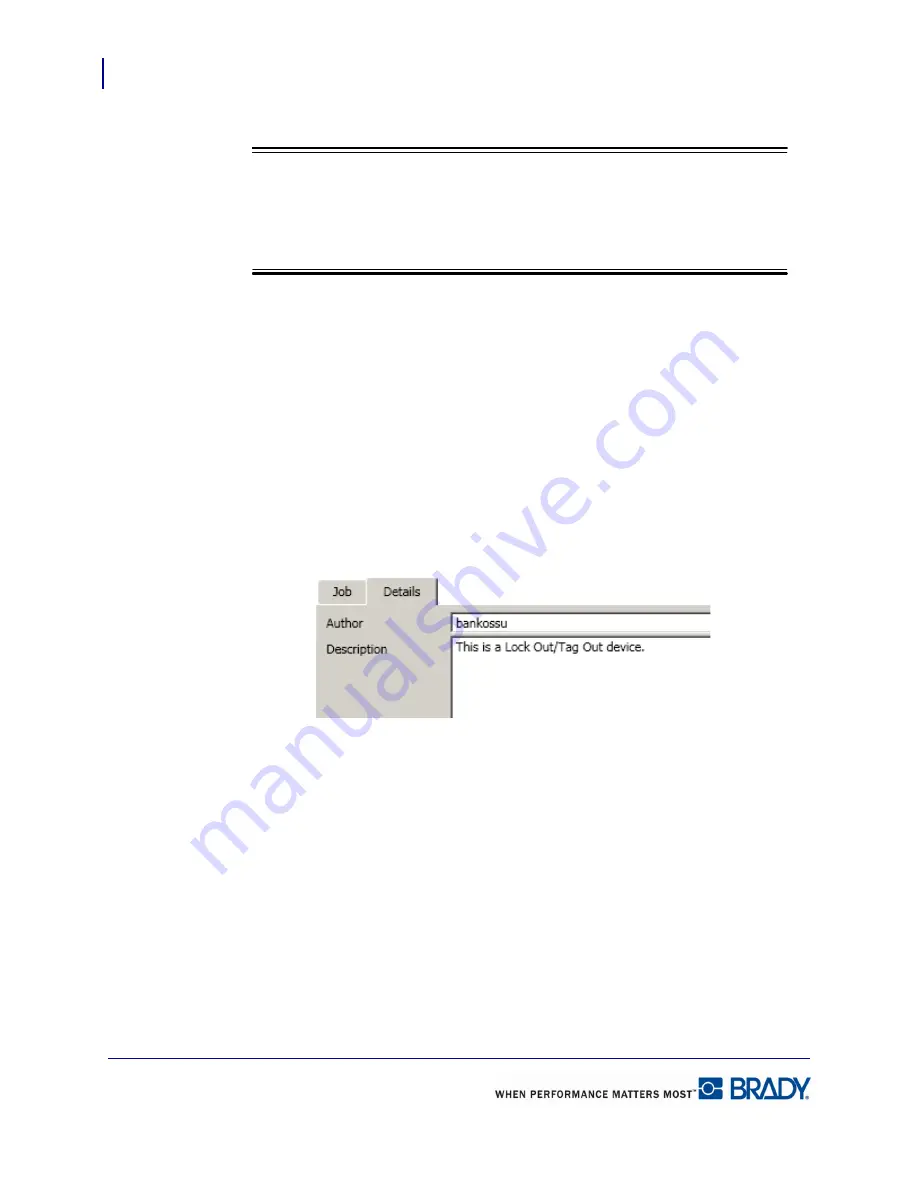
Details
When adding label files to a job file, you may want to list specifics of the file for easy
identification. To enter details:
1.
In the Job File, select the label file to which you want to add details.
2.
Click Details tab.
3.
In the
Description
field, enter any pertinent data to identify the label file or provide
important instructions.
The Windows log in name of the person who added the label file to the job file is listed in the
Author
field.
The Creation date and Last Modified date refer to the date and time that the label file was
added to the job file and when the job file parameters were modified for that label file.
Close a Job File
To close a job file:
1.
Click the X in the job file name tab.
Summary of Contents for LabelMark 5.0
Page 1: ......
Page 2: ......
Page 38: ...Print a Label File Print Dialog Box 28 LabelMark 5 0 User s Manual...
Page 122: ...Job Files Favorite Job Files 112 LabelMark 5 0 User s Manual...
Page 132: ......
Page 154: ...Microsoft Visio 144 LabelMark 5 0 User s Manual...
Page 160: ...Microsoft Excel 150 LabelMark 5 0 User s Manual...


