MasterDirectory User's Guide
24
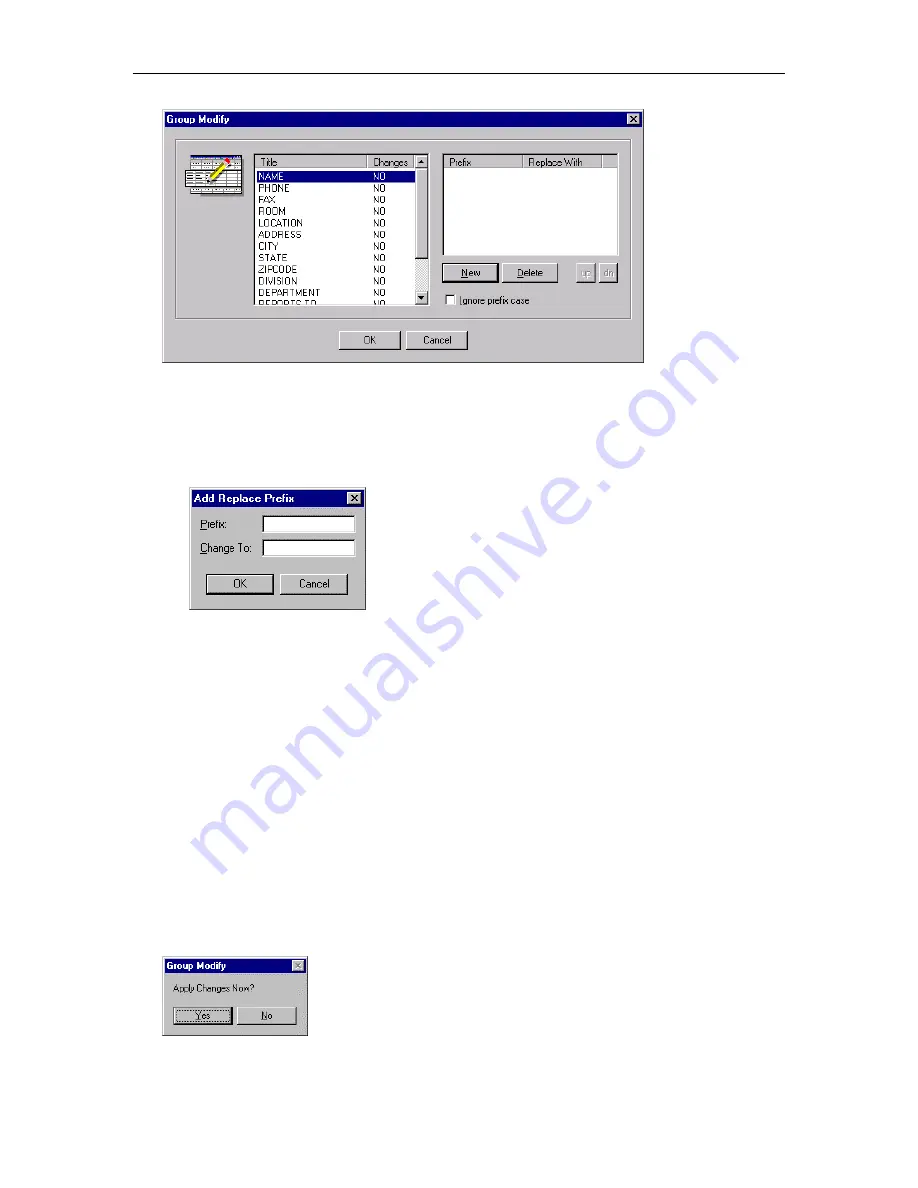
4. If you want to change information in a specific field for all tagged entries:
a.
In the left list box, select the field for which you want to modify the data and choose the
New
button.
The Add Replace Prefix dialog box appears.
b.
In the Prefix box, enter the prefix that you want to replace. If you want to replace the entire
contents of the field, enter an asterisk (*).
c.
In the Change To box, enter the new prefix that you want to add to the selected field and choose
the
OK
button.
The right list box shows the prefix that will be changed and the prefix that will replace it. Also, the
Changes column shows “YES” for the selected field, indicating that you have defined a new prefix.
d.
Repeat steps a to c for any other prefixes that you want to replace in the field(s).
When you are finished, proceed to step 5.
5. Select the
Ignore prefix case
option if you want MasterDirectory ignore the case (that is, uppercase or
lowercase) of the prefix that is being modified. By default, the prefix replacement procedure is case
sensitive. However, if you do not want this procedure to be case sensitive, enable the
Ignore prefix
case
option. A check mark in the
Ignore prefix case
check box indicates that this option is enabled.
6. When you are finished, choose the
OK
button.
The following Group Modify dialog box appears:
Summary of Contents for MasterDirectory
Page 1: ...MasterDirectory Data Manager Version 4 3 User s Guide March 2002...
Page 8: ......
Page 126: ...MasterDirectory User s Guide 118...
Page 164: ...MasterDirectory User s Guide 156...
Page 188: ...MasterDirectory User s Guide 180...
Page 196: ...MasterDirectory User s Guide 188...
Page 210: ...MasterDirectory User s Guide 202...


