


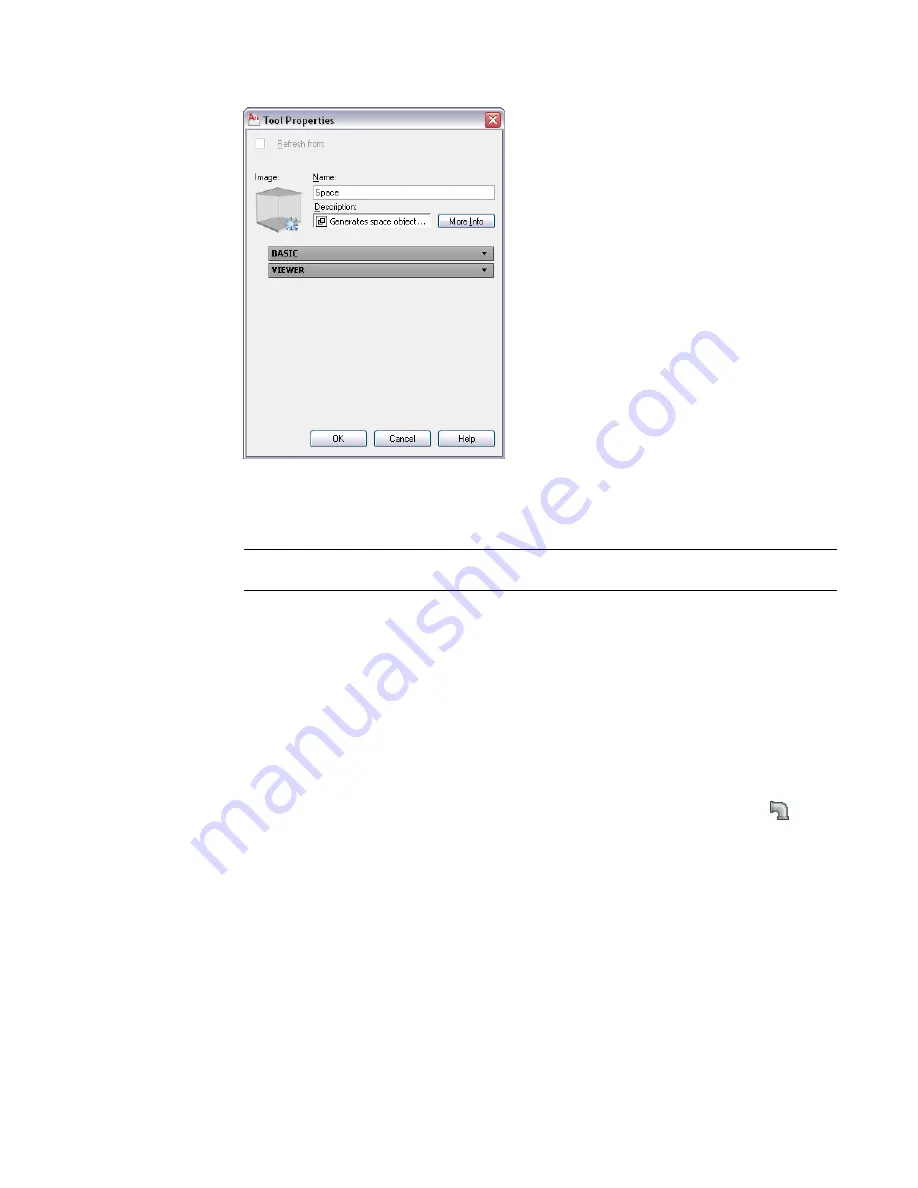
2
Right-click the new command tool, and click Properties.
3
For Name, enter a name for the new command tool.
4
For Description, enter a description of the tool function.
5
For Command, enter the command to execute when the tool is selected.
TIP
For a list of AutoCAD MEP commands, enter
arx
on the command line, and then enter
c
(commands).
6
Click OK.
For information on changing tool properties, see
on page 795. For
information on changing the icon of the new tool, see
on page 795.
Creating Property-Based Tools
You can create a property-based tool from an existing object in a drawing. This capability is available in the
following domains: Piping, Plumbing, Schematic, and Electrical (except for cable tray and conduit). These
instructions describe the procedure in the Piping domain.
1
To insert a pipe fitting in the drawing, click Home tab
➤
Build panel
➤
Pipe Fitting
.
2
Save the drawing.
3
Zoom into the drawing, and then select the pipe fitting object.
4
Drag the selected pipe fitting part onto the Pipe fitting tool palette.
5
Click the object, right-click, and click Properties.
6
Edit tool properties, as described in
on page 795.
794 | Chapter 16 Customizing AutoCAD MEP
Summary of Contents for 235B1-05A761-1301 - AutoCAD MEP 2010
Page 1: ...AutoCAD MEP 2010 User s Guide March 2009 ...
Page 22: ...4 ...
Page 86: ...68 ...
Page 146: ...128 ...
Page 180: ...162 ...
Page 242: ...Modifying the elevation of a duct 224 Chapter 6 Drawing HVAC Systems ...
Page 264: ...246 ...
Page 480: ...462 ...
Page 534: ...516 ...
Page 616: ...598 ...
Page 658: ...640 ...
Page 788: ...770 ...
Page 802: ...784 ...
Page 820: ...802 ...
Page 878: ...860 ...


