7
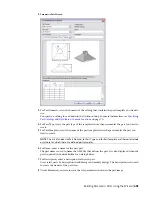
To flip the branch to the other side of the trunk, expand Modifiers in the part browser, right-click
the second (branch) extrusion modifier and click Edit.
The Extrusion Modifier dialog appears.
8
Under Termination, select Flip and click OK.
The branch is flipped to the other side of the trunk.
TIP
To verify which extrusion modifier is associated with a particular feature, click a modifier in the
part browser to have the associated feature highlighted in the modeling area. For complex models,
you can right-click the modifier in the part browser, and then click Rename to enter a logical name
for easy identification, such as “Extruded Branch Modifier.”
Adding Connectors to a Parametric Fitting
Use this procedure to add connectors to the model. The shape of the connector is determined by the shape
of the modifier selected. After the connector has been placed, you can assign the connector type.
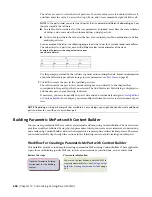
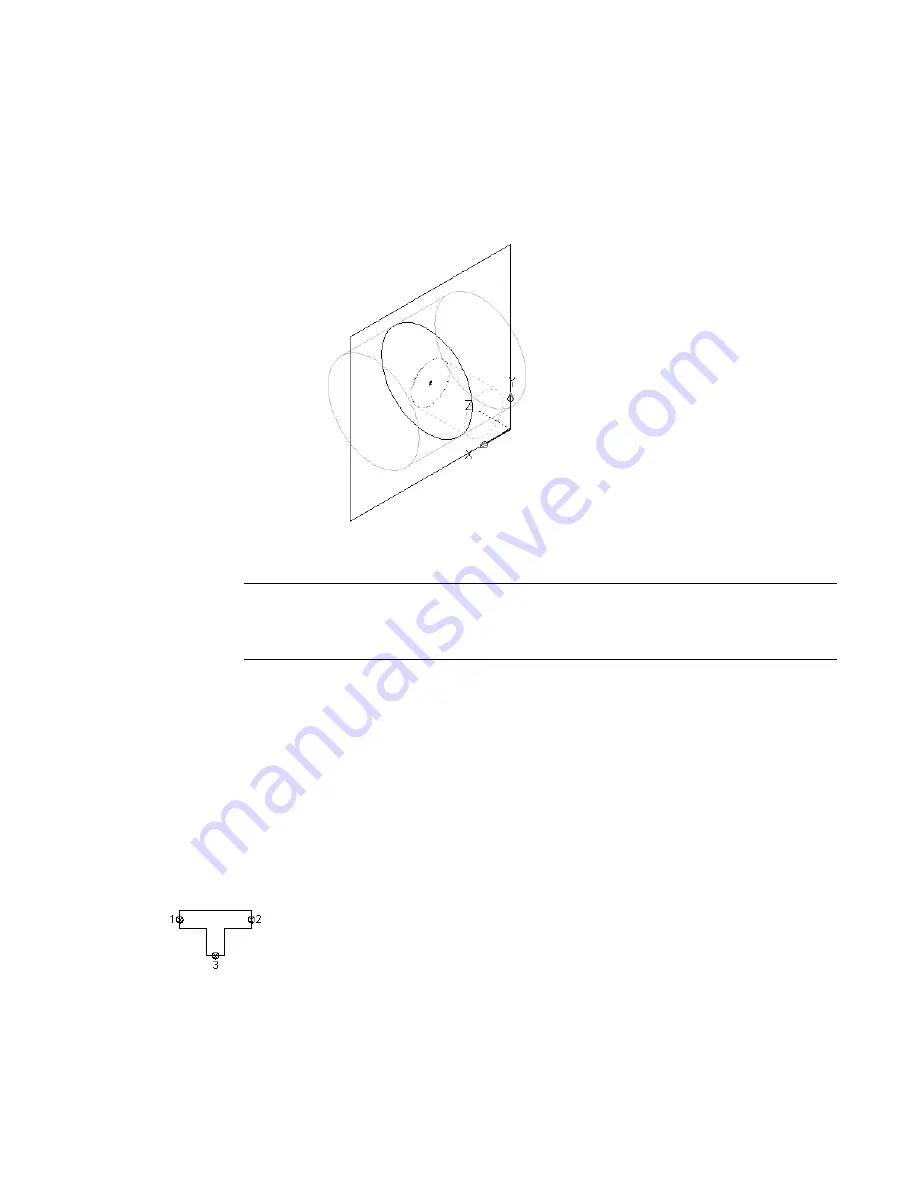
The Content Builder requires a minimum of 3 connectors to create a usable tee fitting. To ensure the fitting
can be added in a drawing with valid connections, the connectors must be added in a specific order. In plan
view, add connectors left to right, then bottom to top. The following example shows connectors placed on
a tee fitting.
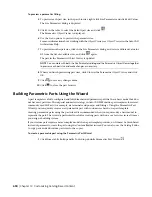
Placing
connectors on a
tee fitting
1
To add a connector, in the part browser, right-click Connections and click Add Connection.
682 | Chapter 14 Customizing Catalog-Based Content
Summary of Contents for 235B1-05A761-1301 - AutoCAD MEP 2010
Page 1: ...AutoCAD MEP 2010 User s Guide March 2009 ...
Page 22: ...4 ...
Page 86: ...68 ...
Page 146: ...128 ...
Page 180: ...162 ...
Page 242: ...Modifying the elevation of a duct 224 Chapter 6 Drawing HVAC Systems ...
Page 264: ...246 ...
Page 480: ...462 ...
Page 534: ...516 ...
Page 616: ...598 ...
Page 658: ...640 ...
Page 788: ...770 ...
Page 802: ...784 ...
Page 820: ...802 ...
Page 878: ...860 ...


