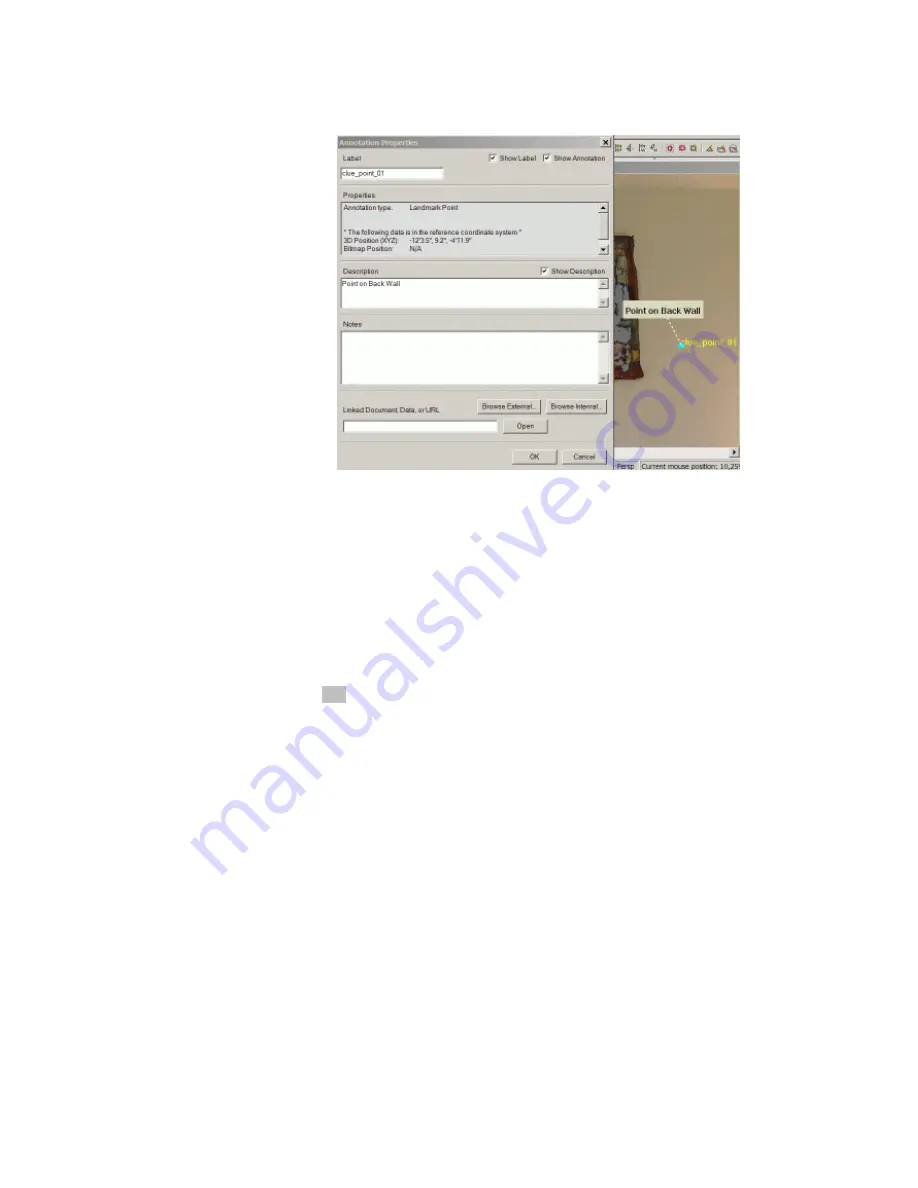
Figure 38 Landmark point dialog box and illustration
You can add additional text in the notes box – this text is not displayed. You can also hyperlink
the point to a file – a photo, a Microsoft Word or text document, or even a web site – which
could have additional information relevant to this point. To hyperlink to a file that is in the
scene tree, click on
Browse Internal
. To hyperlink to any other file – on your computer or on
your network – click on
Browse External
. You also have the option of typing in a web address.
After linking, double clicking on the landmark point will automatically open the linked
document. You also can open the file or web with the
Open
button.
Note: You can bring up the Annotation Properties window for any annotation
with
Ctrl
-
right-click
on the annotation and selecting
Annotation Properties
from
the list of choices. There are several other choices as well, including
Show/Hide
Annotation
,
Delete Annotation
, and
Open Hyperlinked Document
. You can bring
up the same window by selecting and right-clicking on the label in the scene tree.
Annotations in Corresponding Data
When a landmark point is created in a data file (such as clue.wrl), there are often other data files
that are ‘aligned’ with this data. In fact, most model data is created by aligning photos with
range data and aligning multiple range data files. (Alignment is discussed in sections 9 and 10.)
When you create an annotation in one file, it will appear in the correct location in all aligned
data files. For example, if you create a landmark point in clue.wrl like the one shown in Figure
38, it will appear in several other files. Open v1_color.rtpi and im09-1.tif to see the point in the
corresponding range and image data.
DeltaSphere-3000 3D Scene Digitizer
54
9/23/05


