


TMA Grand Master 3.2 – User’s Guide
5 Using TMA Grand Master
4. Select a layout for tte recipient block:
a) Click tte image of tte recipient block for wtict you want to add a layout:
b) Select a pre-defned layout from tte
Select
Layout
drop-down list in tte Layout
Editor window, tten click
Use this layout
. Note, ttat only ttose layouts appear on
tte list wtict include spots of same diameter as set for tools.
c) If tte necessary layout is not yet created, design one (see secton
5.2.1 Creatitg a
Recipiett Block Ltiayout
– step 3 and on).
Important!
A layout assigned to a recipient block can be removed by clicking only if no core is
selected to be transferred, otterwise ttis buton turns inactve. A recipient block
ttat tas an assigned layout witt no selected cores can be removed from its slot, and
afer recording its image, tte representatve image of tte slot on tte interface is
displayed as
Empty
.
Warninn!
Make sure ttat:
•
you tave selected a correct layout for tte inserted block, so ttat
corresponding dimension values, bott of tte layout and tte block, are
identcal. For example, if
Custom block siie
opton is selected, do not ctoose
a layout dimension 24x37 for a block witt a siize of 20x18.
•
tte tool inserted is of tte same diameter as in tte selected layout.
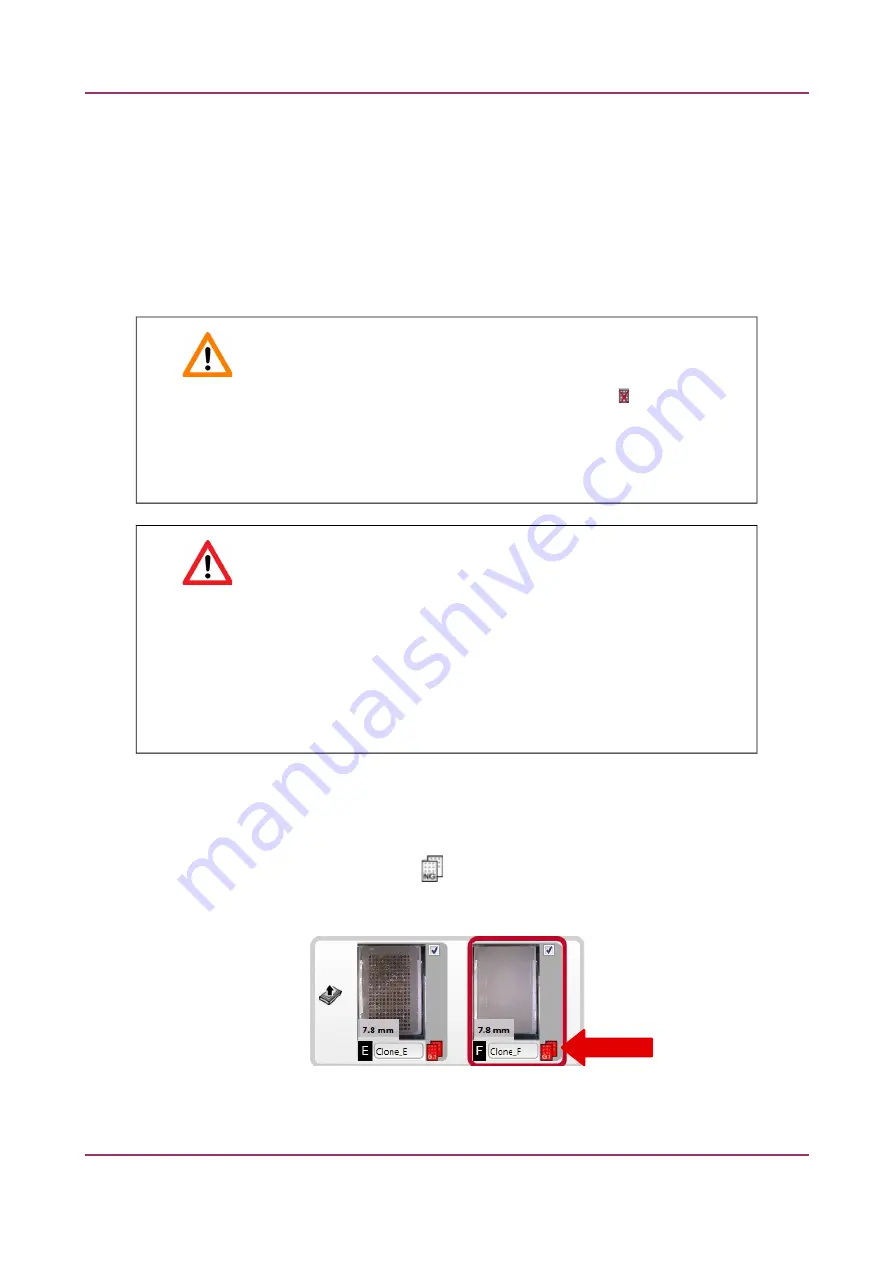
d) You can create
ilone bloiks
wtict means ttat a recipient block can be multplied in
terms of layout and core order, tterefore tte sofware makes it available for you to
group identcal blocks.
To create groups, click tte
tab below tte preview of tte recipient blocks, tten
select tte desired group number ttat is also marked by a specifc color for tte
easier identfcaton.
e) To create several blocks witt diferent layouts, repeat steps a)-c).
August 6, 2020 – Rev. 1
3DHISTECH Ltd.
44(116)


