Highlight
Archive On
and press the button to toggle between On and Off.
NOTE: If you have not set up a storage device for archiving, a message appears notifying you of
this.
Select the Days and Time Range you want archived.
You can accept the Archive Data Range by leaving the default checkmarks in the
Last Archived
and
Continue
boxes. If you wish to enter specific times and dates in
From
and
To
, toggle the checkmarks
Off and then enter the time and date.
Highlight
Recycle
and press the
button to toggle between On and Off. When Recycle is On and the
storage device is full, the newest archived video data will overwrite the oldest archived data. When
Recycle is Off, the DVR will stop archiving video data until more space is made available.
You can save your changes by highlighting
Save
and pressing the
button. Selecting
Cancel
exits the
screen without saving the changes.
Event Settings
Your DVR can be set to detect many different events. You can also determine how it reacts to these
events.
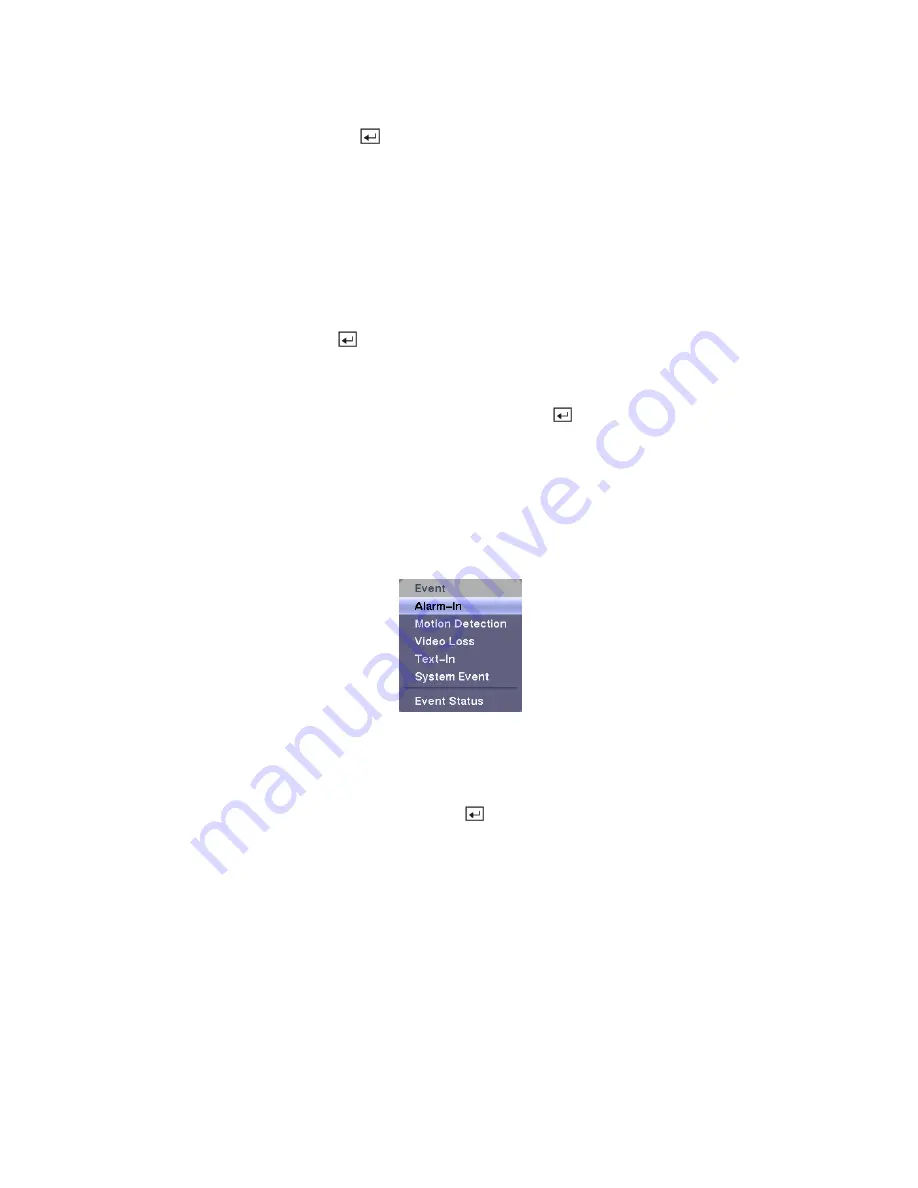
Figure 75 — Event menu.
Alarm-In Screen
Highlight
Alarm-In
in the Event menu and press the button. The
Alarm-In
setup screen appears.


