Using Pagis Pro
4–95
Index
Contents
Straightening pages
In the Editor’s Page menu, the Manual Straighten command
turns the mouse pointer to a “carpenter’s square” (right-angle
ruler). This tool enables you to draw a reference line on the
displayed page and straighten the page along the reference line.
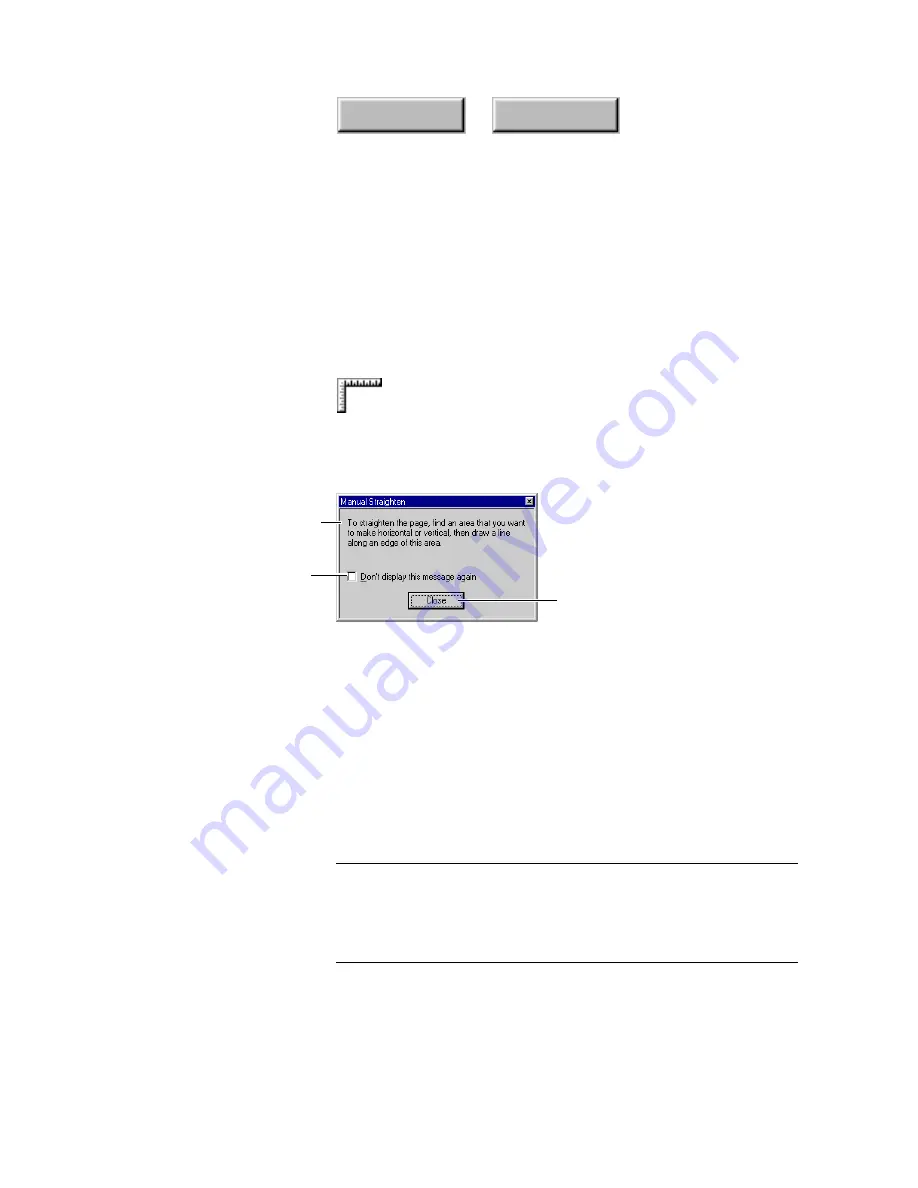
When you click the Manual Straighten command, the Manual
Straighten dialog box appears (Figure 4–43).
Click to hide the dialog box the
next time you use the command
Instructions to use the command
Click to close the dialog box
Figure 4–43.
Manual Straighten dialog box
After you become experienced with using this tool, you can click
the checkbox so that this dialog box no longer appears. Click
Close to close the dialog box.
On the displayed image, click and drag the mouse (the pointer is
now shaped like a carpenter’s square) to form a straight line
along which the image is to be straightened. When the line is as
you want it, release the mouse. In a few moments, the displayed
image is rotated to align with the line.
Notes
Manual Straighten works only on unsegmented pages.
Straightening an image usually leaves some empty areas in the
corners of the original scan rectangle. You can use the
Crop To
Region
command to remove these.
Содержание PAGIS PRO 3.0
Страница 1: ......


