C
Auto Mode
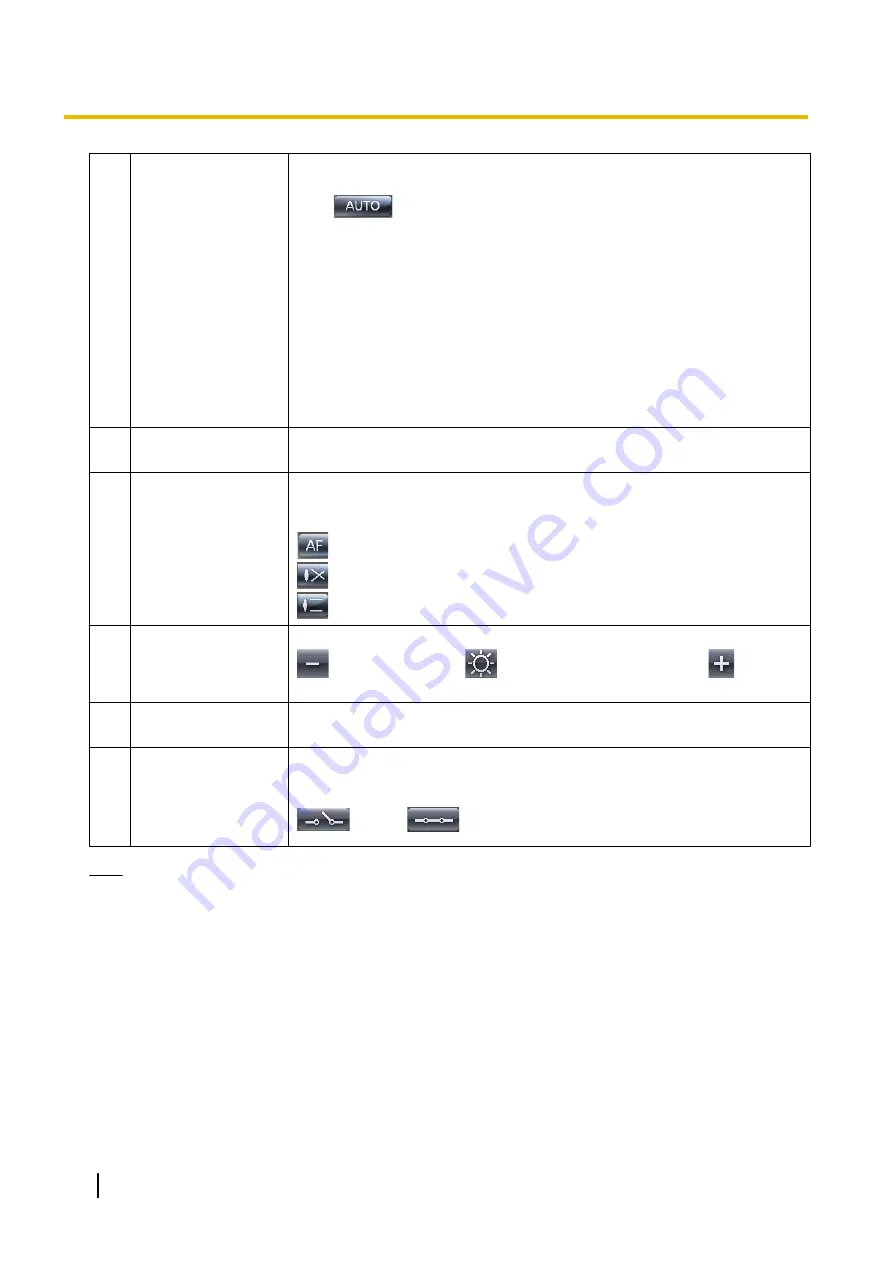
This button becomes active when a camera (including network video
encoders) that has the Auto mode function is selected.
Click
and select [Start Auto track], [Start Auto pan], [Start Preset
Sequence] (with the camera), [Start Patrol 1], [Start Patrol 2], [Start Patrol 3],
[Start Patrol 4], or [Stop] from the displayed menu.
•
See your network camera user manual to check if it has the Auto mode
function.
•
Perform each of the settings with the camera. See your network camera
user manual for more information.
•
The preset sequence function of Auto mode is a function configured with
the camera. The preset sequence function of Auto mode is different to the
preset sequence (
®
•
The selected Auto mode operations stop when pan, tilt, zoom, or focus
operations are performed.
D
Pan Scan/Tilt Scan
Moves the lens throughout the horizontal or vertical range, and returns to the
original position.
E
Focus
This button becomes active when a camera that has the Focus function is
selected.
This function can be used to adjust the focusing length.
: Automatically adjusts the focus (Auto Focus).
: Performs short-range focus.
: Performs long-range focus.
F
Brightness
Adjusts image brightness to 9 levels of brightness.
: Darken the image,
: Standard brightness (default),
: Brighten
the image
G
Backlight ON/
Backlight OFF
Sets the backlight to ON/OFF.
H
Set the external
output of the camera
to Open (High)/Set
the external output of
the camera to GND
Allows you to remotely control external devices that are connected to the
camera.
Set according to the external device that is connected.
: Open,
: Short
Note
•
Functions that can be used will vary according to the camera type.
Buttons that cannot be used will be displayed as unavailable (grayed).
•
This feature cannot be controlled if it has been disabled on the camera.
•
Some of the specifications for WV series network cameras and some BL series network cameras differ
to other cameras. See Page 159 for more information.
74
Operating Instructions
2.4.2 Operating the camera


