Continued on next page
169
Camera
C
apt
ur
in
g Imp
o
rt
a
n
t S
cen
es
Compose message
……
Composes an i-mode mail
message with the shot movie attached.
“Composing and Sending i-mode Mail”
→
P.210
Set as stand-by
……
Sets the shot movie to the standby
screen.
Display size
……
Sets the display mode for the movies.
Actual size
(default)
……
Displays the movie in the
actual size.
Fit in display
……
Enlarges the movie to the
display size.
Edit title
……
Edits the movie title.
Select to save
(Default setting: Camera)
……
Specifies
the folder to save the shot movie.
File restriction
(Default setting: File unrestricted)
……
Specifies whether to allow the redistribution of the shot
movie. “File restriction”
→
P.164
Cancel
……
Deletes the movie and returns to the movie
mode screen.
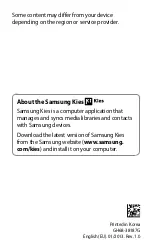
<Chance capture>
Capturing Important Scenes
Even if the available shooting time is reached when
shooting a movie, you can continue the shooting
until the scene you want to shoot comes.
1
Photo mode screen (P.162)
1
“
”
2
Point the camera at the object
d
(Record)
The shooting starts.
You can zoom in/out during the
shooting.
After the available shooting time
is reached, the remaining time
display turns to the “00:00” flash.
3
d
(Stop)
The shooting is finished.
4
d
(Save)
The movie is saved to the folder specified in "Select to
save" (P.168).
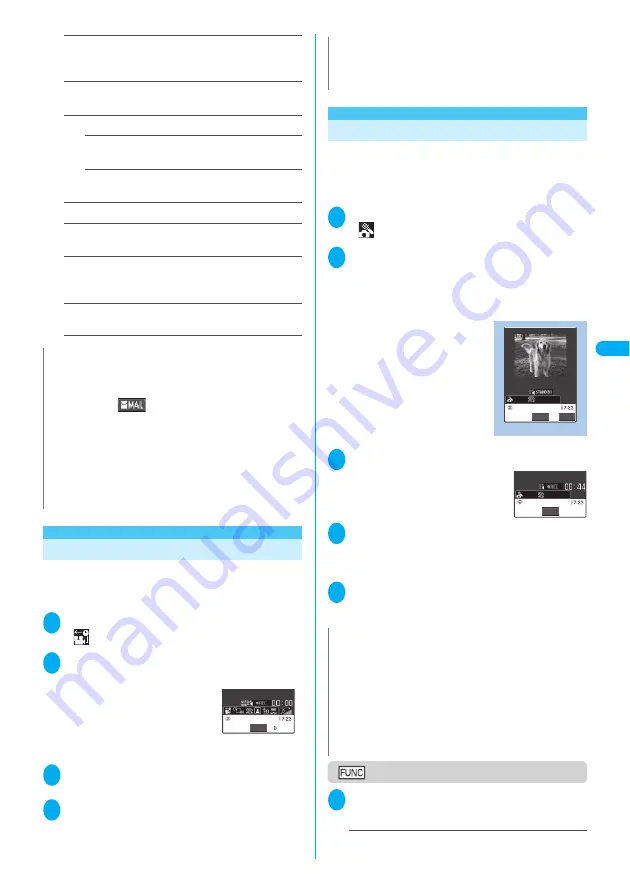
<Picture voice>
Adding Voice-over to a Still Image
You can add the voice-over to a still image of Mail (L)
(176
×
144) or Mail (S) (128
×
96) to make a movie.
<Example: Shoot a still image and add the voice-
over>
1
Photo mode screen (P.162)
1
“
”
2
Point the camera at the object
d
(Record)
The still image is shot.
Shooting still images
→
P.162
The “Recording start screen” appears.
You can set the file size by
selecting “File size setting”
before recording the voice.
3
d
(Record)
The recording starts.
You can check the approximate
seconds left to record on the
screen.
4
d
(Stop)
When the recording finishes, “Recording check screen”
appears.
Function menu of the movie checking screen
→
P.168
5
d
(Save)
The movie is saved to the folder specified in “Select to
save” (P.168).
Recording start screen
1
Recording start screen (P.169)
p
(FUNC) Set the following:
File size setting
……
Sets the file size for recording.
N
<Compose message>
z
The movie to send is saved to the folder specified in “Select to
save”.
z
Pressing
o
(
) in the movie checking screen also
enables you to compose i-mode mail with the movie attached.
z
You cannot attach the movie which exceeds 500K byte.
However, you can trim a part of the movie after saving so that
you can attach the movie to mail.
→
P.283
<Set as stand-by>
z
The movie to set to the standby screen is saved to the folder
specified in “Select to save”.
z
Cannot be set if the movie is voice only.
Stop
▲
▲ ▲▲
▲ ▲
▲▲
▲▲
▲▲
▲▲
▲▲
▲▲
▲▲
▲
▲▲
▲▲▲ ▲▲▲
N
z
You can activate the Chance capture function by pressing
p
(FUNC) in each shooting screen “CHG camera-mode”
“Chance capture” in photo mode screen.
N
z
You can also create the Picture voice by selecting
p
(FUNC)
in each shooting screen “CHG camera-mode” “Picture
voice” in the photo mode screen.
z
If you want to create Picture voice using the existing still
image, follow Step 3 after performing the following steps in
the photo mode screen:
p
(FUNC) in each shooting screen “CHG camera-mode”
“Picture voice” “My picture” Select a folder Select a still
image
Recording start
FUNC
Record
Function menu P.169
Stop
Содержание FOMA N702iS
Страница 54: ......
Страница 252: ......
Страница 263: ...261 i channel i channel 262 Using Channel List to Display Sites 263 Setting i channel 264 i Channel settings...
Страница 300: ......
Страница 340: ......
Страница 370: ...Appendix Using the FOMA Terminal with External Devices Troubleshooting Pictographs List 368 Reading Reading Reading...
Страница 403: ...401 Index Quick Manual Index 402 Quick Manual 412...
Страница 413: ...Index Quick Manual Index 411...