Avoid paper jams
Correctly set the paper type and size to avoid paper jams. For more information, see
Saving energy
Using Hibernate mode
Hibernate is an ultra
‑
low
‑
power saving mode.
Notes:
•
Three days is the default amount of time before the printer enters Hibernate mode.
•
Make sure to wake the printer from Hibernate mode before sending a print job. A hard reset or a long
press of the Sleep button wakes the printer from Hibernate mode.
•
If the printer is in Hibernate mode, then the Embedded Web Server is disabled.
1
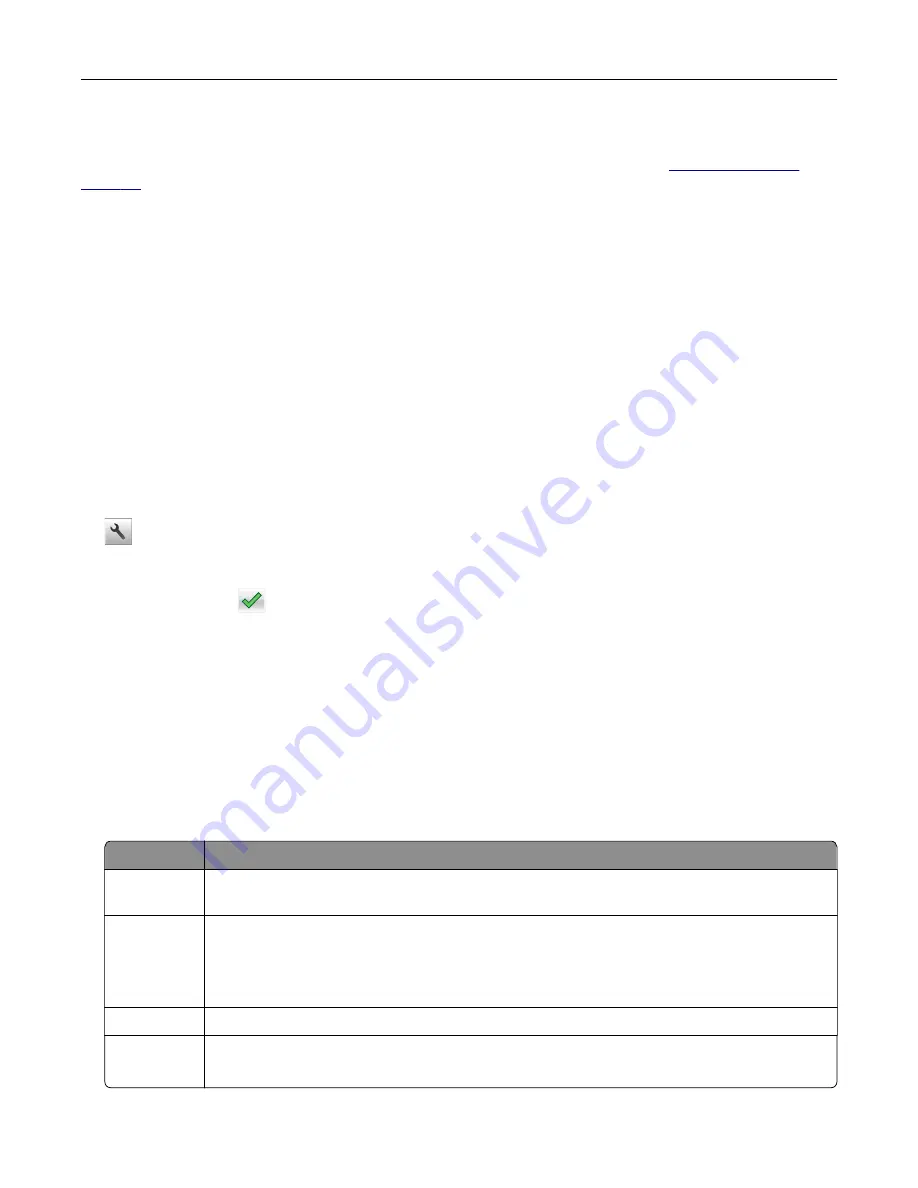
From the home screen, navigate to:
>
Settings
>
General Settings
2
Touch
Press Sleep Button
or
Press and Hold Sleep Button
.
3
Touch
Hibernate
>
.
Using Eco
‑
Mode
1
Open a Web browser, and then type the printer IP address in the address field.
Notes:
•
View the printer IP address on the printer home screen. The IP address appears as four sets of
numbers separated by periods, such as 123.123.123.123.
•
If you are using a proxy server, then temporarily disable it to load the Web page correctly.
2
Click
Settings
>
General Settings
>
Eco
‑
Mode
> select a setting
Use
To
Off
Use the factory default settings for all settings associated with Eco
‑
Mode. Off supports the
performance specifications of the printer.
Energy
Reduce energy use, especially when the printer is idle.
•
Printer engine motors do not start until it is ready to print. You may notice a short delay before
the first page is printed.
•
The printer enters Sleep mode after one minute of inactivity.
Energy/Paper Use all the settings associated with Energy and Paper modes.
Plain Paper
•
Enable the automatic two
‑
sided (duplex) feature.
•
Turn off print log features.
3
Click
Submit
.
Saving money and the environment
124
Содержание MS910 Series
Страница 1: ...MS910 Series User s Guide July 2017 www lexmark com Machine type s 4021 Model s 230...
Страница 133: ...Emptying the hole punch box 1 Open door H 2 Remove and empty the hole punch box Maintaining the printer 133...
Страница 167: ...Fuser area Below the fuser area Duplex area Above the duplex area Clearing jams 167...
Страница 175: ...Door J Note If there is a jammed paper between the nisher bins then remove the paper Areas H1 and H2 Clearing jams 175...
Страница 183: ...Door J Note If there is a jammed paper between the nisher bins then remove the paper Areas H1 and H2 Clearing jams 183...
Страница 185: ...Area H8 Area H9 Clearing jams 185...


