


Use
To
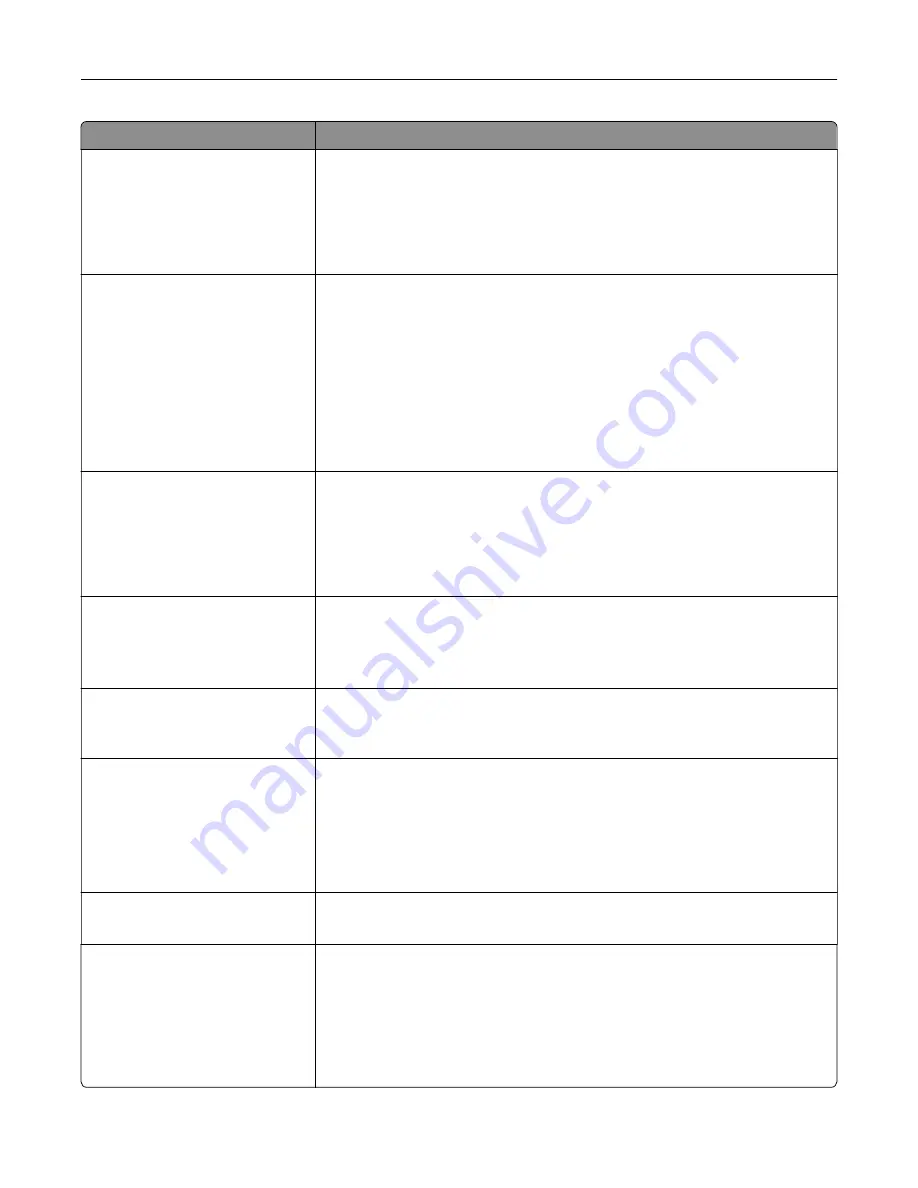
Separator Source
Tray [x]
Multipurpose Feeder
Specify the paper source for the separator sheet.
Notes:
•
Tray 1 (standard tray) is the factory default setting.
•
From the Paper menu, set Configure MP to "Cassette" for Multipurpose
Feeder to appear as a menu setting.
Paper Saver
Off
2
‑
Up
3
‑
Up
4
‑
Up
6
‑
Up
9
‑
Up
12
‑
Up
16
‑
Up
Print multiple
‑
page images on one side of a paper.
Notes:
•
Off is the factory default setting.
•
The number selected is the number of page images that are printed per
side.
Paper Saver Ordering
Horizontal
Reverse Horizontal
Reverse Vertical
Vertical
Specify the positioning of multiple
‑
page images when using Paper Saver.
Notes:
•
Horizontal is the factory default setting.
•
Positioning depends on the number of page images and whether they
are in portrait or landscape orientation.
Paper Saver Orientation
Auto
Landscape
Portrait
Specify the orientation of a multiple
‑
page document.
Note:
Auto is the factory default setting. The printer chooses between
portrait and landscape.
Paper Saver Border
None
Solid
Print a border when using Paper Saver.
Note:
None is the factory default setting.
Staple Job
Auto
Back
Dual
Front
Off
Specify whether printed output is stapled.
Notes:
•
Off is the factory default setting.
•
This menu appears only when a supported staple finisher is installed.
Run Stapler Test
Print a report that confirms that the staple finisher is functioning properly.
Note:
This menu appears only when a supported staple finisher is installed.
Hole Punch
On
Off
Specify whether holes are created on printed outputs for the purpose of
collecting the sheets in a binder or folder.
Notes:
•
Off is the factory default setting.
•
This menu appears only when a supported staple, hole punch finisher is
installed.
Understanding the printer menus
112
Содержание MS910 Series
Страница 1: ...MS910 Series User s Guide July 2017 www lexmark com Machine type s 4021 Model s 230...
Страница 133: ...Emptying the hole punch box 1 Open door H 2 Remove and empty the hole punch box Maintaining the printer 133...
Страница 167: ...Fuser area Below the fuser area Duplex area Above the duplex area Clearing jams 167...
Страница 175: ...Door J Note If there is a jammed paper between the nisher bins then remove the paper Areas H1 and H2 Clearing jams 175...
Страница 183: ...Door J Note If there is a jammed paper between the nisher bins then remove the paper Areas H1 and H2 Clearing jams 183...
Страница 185: ...Area H8 Area H9 Clearing jams 185...


