SERVICE MANUAL
6-4
9G9002 – 2011-08-15
[7]
Click the
Page and Image Options
tab, and then modify any settings according to customer demand.
Important
Do not disable any of the page formatting settings of the laser imager except if instructed by the customer.
[8]
Click
Save
.
[9]
Continue with
“Setting the System Clock”
.
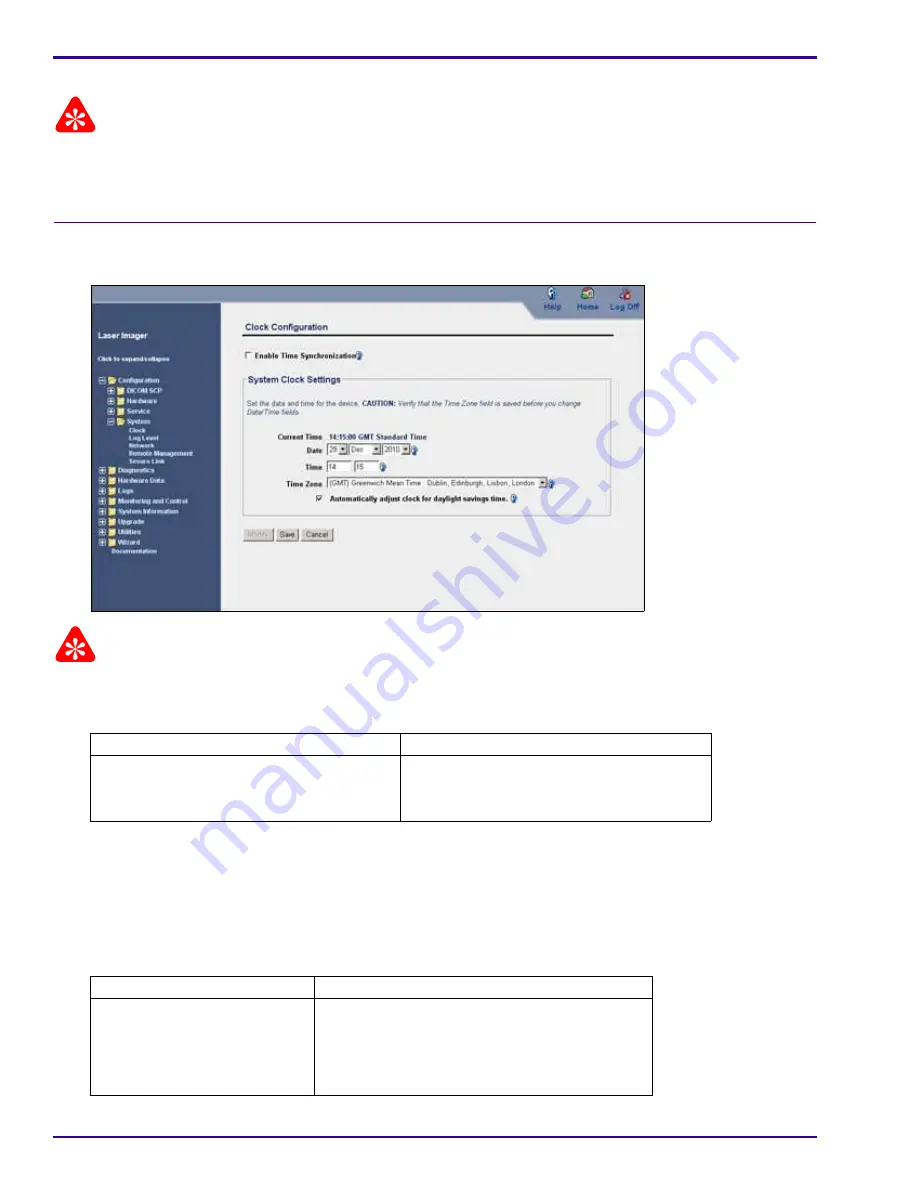
Setting the System Clock
[1]
Select
Configuration > System > Clock
.
Important
The system clock is set in the factory. At installation, the time zone has to be reset if the laser imager is installed in
some other time zone. When you reset the time zone value, the time and date should display correctly.
[2]
Will the clock be set manually or does the customer use a time server for synchronization?
[3]
To correct the Time Zone value:
(a)
Click
Modify
.
(b)
If the
Enable Time Synchronization
check box is selected, clear it.
(c)
Select the correct time zone from the
Time Zone
drop-down list.
(d)
Click
Save
.
[4]
Is the time value correct?
Manually
Server
Continue with Step
3
.
a. Obtain the IP address of the server from
the customer.
b. Perform Steps
16
–
23
.
Yes
No
Continue with Step
5
.
a. Click
Modify
.
b. In the
Time
boxes, type the hour and minute.
c. Click
Save
.
d. Continue with Step
5
.


