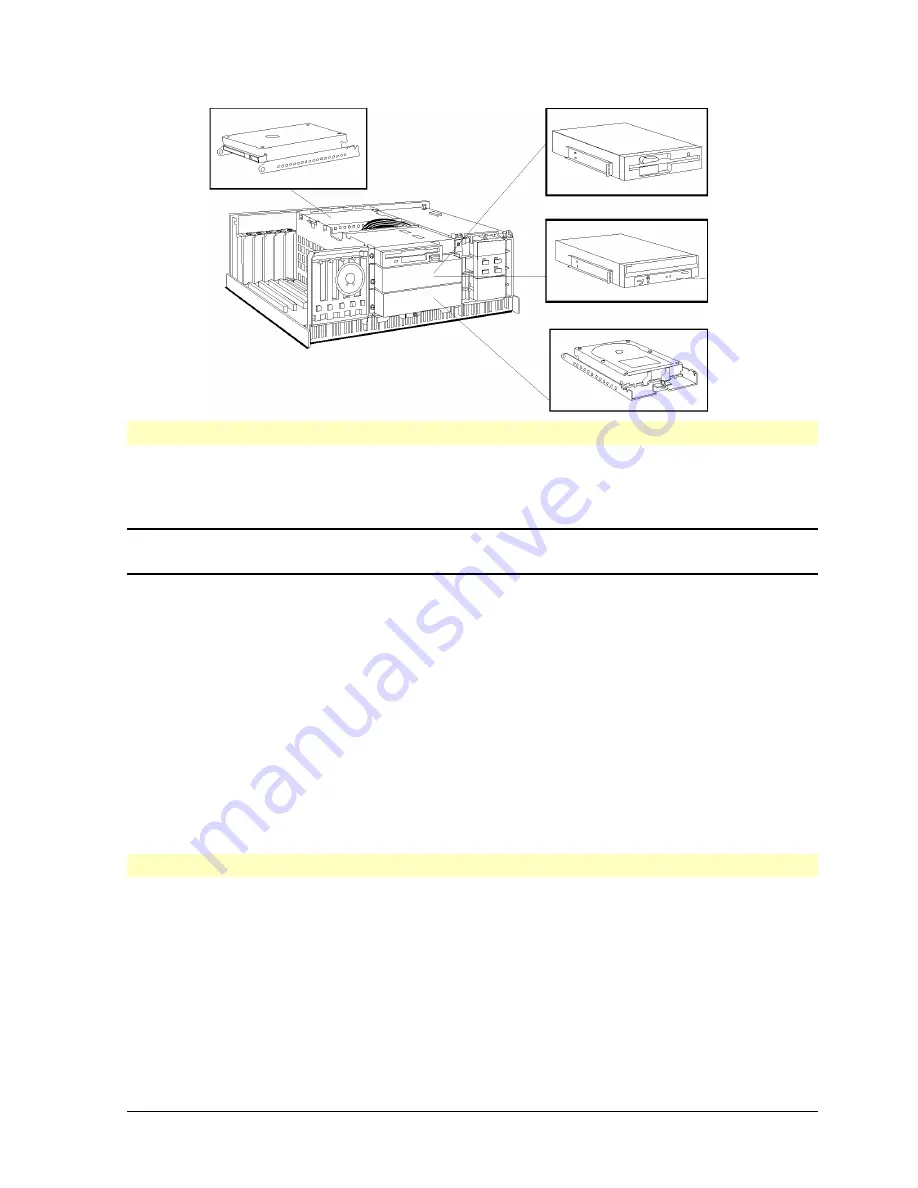
HP Vectra XU PC – Setting Up
Installing Accessories
••
10
Hard
Disk
Flexible
Disk
Drive
CD-
ROM
Drive
Hard Disk
Installing IDE Devices
If you have a PC with a SCSI hard disk drive and you install an unformatted IDE hard disk
drive with no operating system on it, the PC will not boot. This is because after installing an
IDE hard disk drive it will always be the bootable drive.
NOTE
In this case,
before
installing an IDE hard disk drive, make bootable copies of the
operating system.
•
For PCs with the DOS/Windows operating system, use the
Master Diskette Creation
Utility
, located in the
HP Utils
Group in Windows. Refer to the operating system
documentation for information on formatting a drive and installing the operating system.
•
For non-DOS/Windows operating systems, refer to the operating system documentation
for information on how to create a bootable diskette, formatting a drive, and installing
the operating system.
The first IDE hard disk drive you install must then be connected to the longer IDE data
cable. This is the Drive 1 position, as defined in the SETUP program.
When installing an IDE device other than a hard disk drive, connect it as follows:
•
use the longer IDE data cable for a device installed in the middle shelf
•
use the shorter IDE data cable for a device installed in the lower shelf.
Installing SCSI Devices
You can install up to seven SCSI devices. Up to three can be installed internally, the rest
can be installed externally. Set a unique address on each device, from 0 to 6. Make sure
addresses of internal and external devices are different. The operating system loads from
the hard disk drive with the lowest address.
A bootable SCSI hard disk is always configured with default SCSI address 0. Additional
SCSI drives may also be delivered pre-set to SCSI address 0. These drives must be
reconfigured to another SCSI address number, usually with a jumper on the drive. This must
be done to avoid addressing conflicts, as two SCSI devices cannot share the same SCSI
address number.


