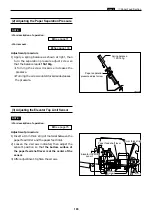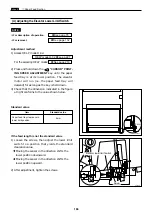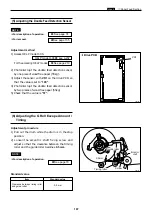
179
,
Electrical system
chap.4
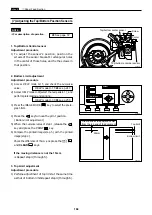
(1) Adjusting Reduction / Enlargement
1. Adjusting the Longitudinal R / E on the
Platemaking Side
Adjustment procedure
1) Set the HELP mode.
Turn the power on with the
PRINTING SPEED
ADJUSTMENT
keys
and
held down.
2) Set to H-30 (Test pattern printing mode). Press
the
key with the 3 and 0 keys held
down.
3) Set the plate darkness to
NORMAL
, perform
platemaking and
paper*
. No need to place the
document.
*DP-460/440/430 : A3
paper
*DP-340/330/330L : B4
paper
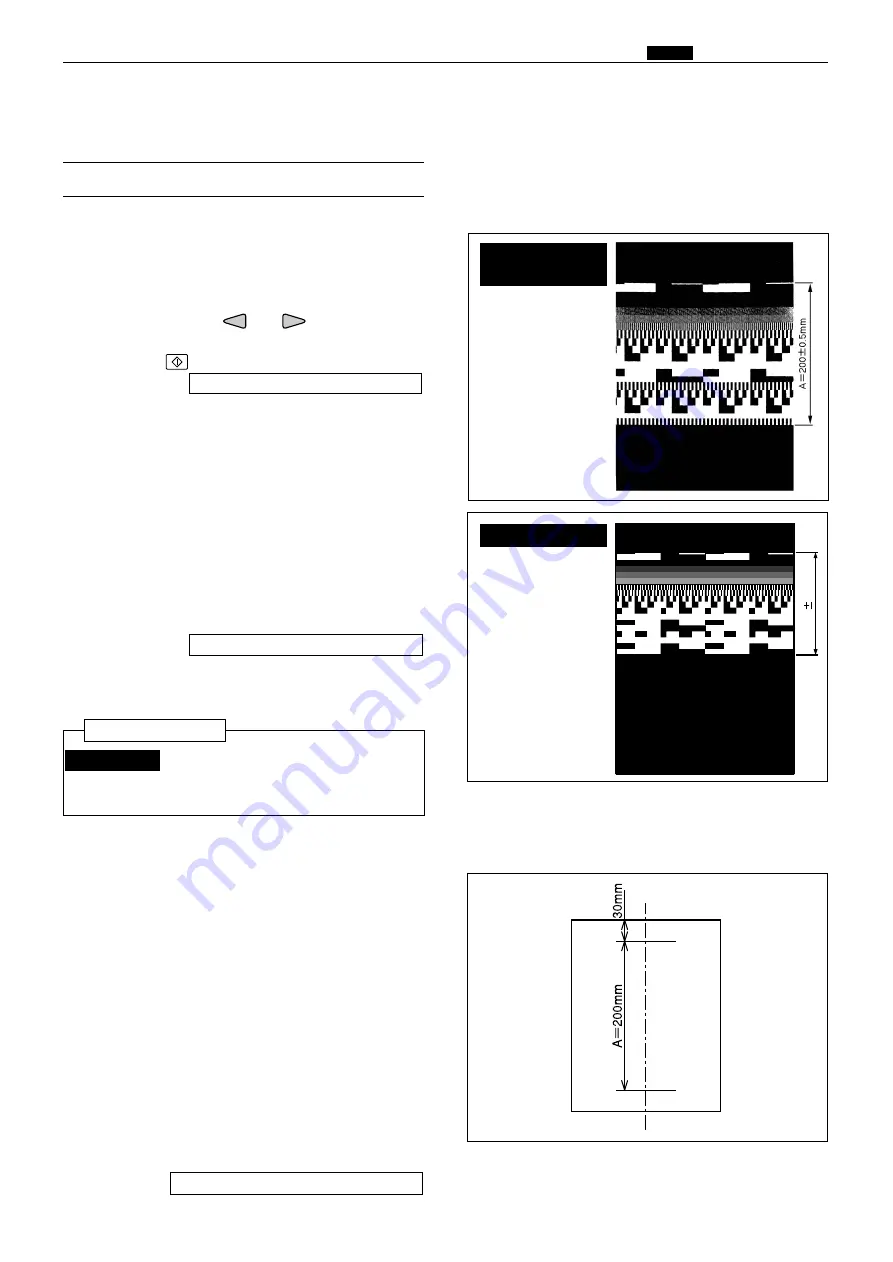
Standard values:
¡
Check that
A
section of the printed test pattern is
200 ± 0.5mm
.
If the clearance is not the standard value:
1) If not, adjust with the H-22.
HELP mode H-22
\
see p.251
Adjustment procedure
1) Prepare a basic document as shown in the figure.
Draw a line
(primary scanning)
at the position
30mm from the top end of the
paper*
and at the
position 200mm from the above line.
*DP-460/440/430 : A3
paper
*DP-340/330/330L : B4
paper
2) Place the document on the document table to
perform platemaking and printing.
Standard values:
¡
Compare the size of
A
section of the printed
image with that of the basic document. Check
that the difference of the size is
±2.0 mm
.
If the clearance is not the standard value:
1) If not, adjust with the H-24.
HELP mode H-24
\
see p.253
Center of the paper
,
Electrical system
23S0312
¡
Test pattern 2
HELP mode H-30
\
see p.259
2. Adjusting the Longitudinal R / E on the
Reading Side
Adjust the longitudinal R / E on the
reading side after the longitudinal R
/ E on the platemaking side.
IMPORTANT :
Before adjustment
A=200 0.5mm
DP-460/440
DP-340/330/330L
DP-430
Содержание Duprinter DP-330
Страница 9: ......
Страница 11: ......
Страница 18: ...c Dimensions chap 1 17 MEMO...
Страница 24: ...4 8 2A 2B 2C 44000A1e b Part Names and Their Functions chap 1 23...
Страница 152: ...151 MEMO...
Страница 193: ...192 MEMO...
Страница 328: ...327 x Overall Wiring Layout chap 8 14 2 Overall Wiring Layout 2 Overall Wiring Layout 2 Drive PCB 1 2 O...
Страница 329: ...328 x Overall Wiring Layout chap 8 15 Overall Wiring Layout 2 Drive PCB 2 2...

