111
3
b
Drum Driving Section ................................................137
(1) Removal of Sub-Frame .........................................137
(2) Removal of Drum Position Cam...........................138
(3) Removal of Drum Gear and Driving Assy...........138
n
Paper Ejection Section ..............................................139
(1) Removal of Paper Stripper Finger /
Sub Paper Stripper Finger...................................139
(2) Removal of Main Motor PCB Unit.......................139
(3) Removal of Paper Ejection Fan Unit ...................140
(4) Removal of Paper Ejection Belt ...........................141
(5) Removal of Jam Sensor
(Photo-receiving PCB Unit)..................................141
(6) Removal of Top Blow Fan Unit ............................142
(7) Removal of Fan/Jam Sensor
(Photo-emitting PCB Unit)...................................142
(8) Removal of Pressure Adjustment Unit................143
(9) Removal of Press Motor........................................143
m
Drum Section .............................................................144
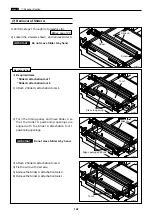
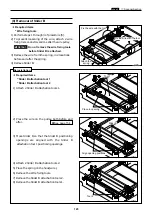
(1) Removal of Screen ...............................................144
(2) Removal of Master Clamp....................................145
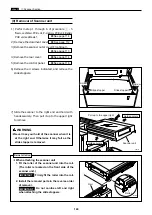
(3) Removal of Base Unit ...........................................145
(4) Removal of Outer Frame (Right) Unit.................146
(5) Removal of Outer Frame (Left) Assy...................147
(6) Removal of Inner Frame ......................................148
(7) Removal of Ink Pump ...........................................149
(8) Removal of Ink Motor...........................................149
(9) Removal of Ink Detection PCB Unit....................150
(10) Removal of Ink Roller Up/Down Motor .............150
•
Always remove the power cord plug from the outlet before
starting work.
•
In principle, do not operate this machine with parts removed.
•
When assembling:
•
Unless specified otherwise, perform the disassembly procedure in
reverse.
•
Make sure that screw types (radius, length) and locations are correct.
•
Be sure to use rosette washers when they are specified.
(Rosette washers are used with installation screws to prevent static
electricity.)
•
To ensure electrical current, a rosette washer is used with the
installation screw on the ground wire. Be sure to use the rosette
washer during assembly.
•
Cautions Regarding Disassembly and Assembly
CAUTION
Содержание Duprinter DP-330
Страница 9: ......
Страница 11: ......
Страница 18: ...c Dimensions chap 1 17 MEMO...
Страница 24: ...4 8 2A 2B 2C 44000A1e b Part Names and Their Functions chap 1 23...
Страница 152: ...151 MEMO...
Страница 193: ...192 MEMO...
Страница 328: ...327 x Overall Wiring Layout chap 8 14 2 Overall Wiring Layout 2 Overall Wiring Layout 2 Drive PCB 1 2 O...
Страница 329: ...328 x Overall Wiring Layout chap 8 15 Overall Wiring Layout 2 Drive PCB 2 2...


