2.
Connecting the Multifunction Printer to the Network
To attach the multifunction printer to a network:
Ensure the multifunction printer, computer, and any other attached devices are turned off and
unplugged.
1.
Connect the multifunction printer to the network using an Ethernet cable or the wireless printer
adapter.
To use a wireless printer adapter, you must install the Multi-Protocol Card first. To install the card, see
"
Installing the Dell Multi-Protocol Card
".
2.
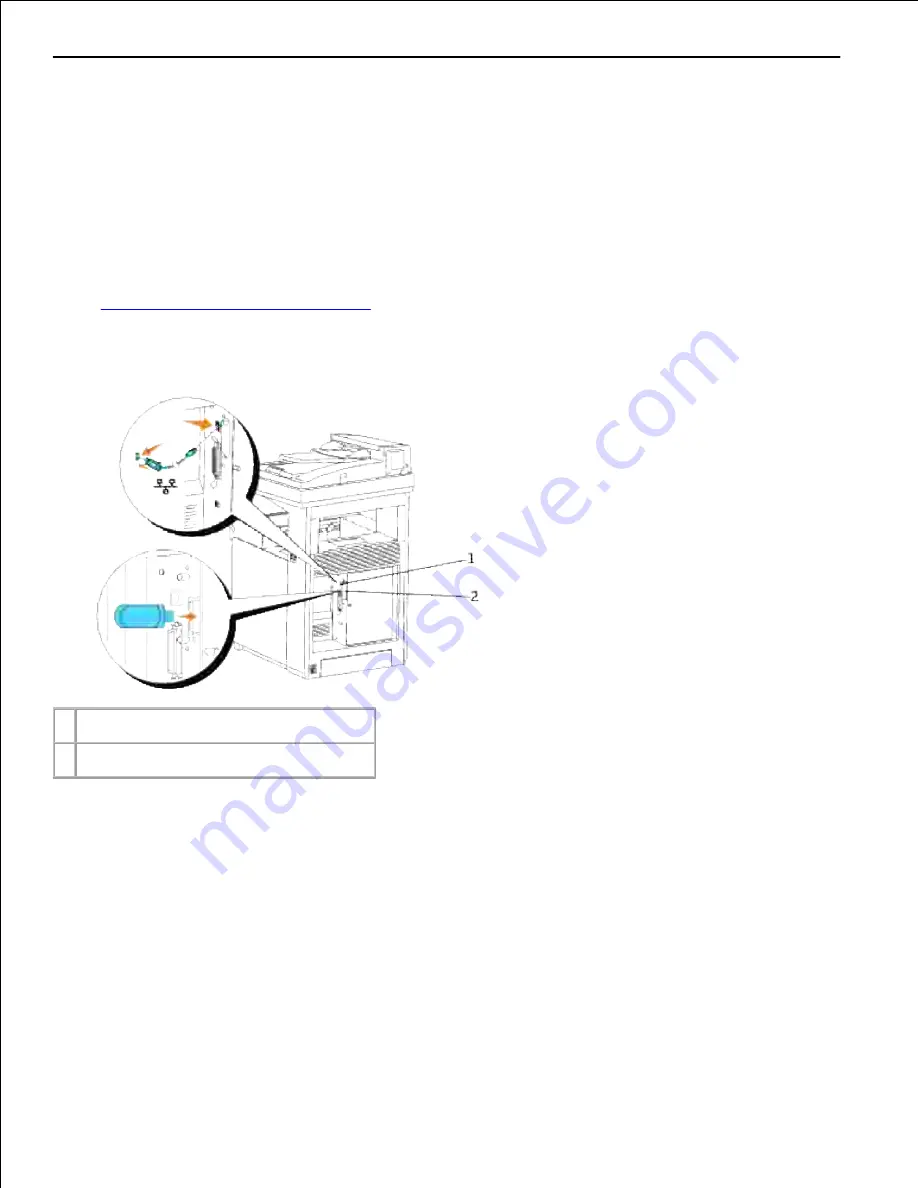
1 Ethernet port
2 Optional wireless printer adapter socket
To connect the multifunction printer to the network, plug one end of an Ethernet cable into the Ethernet port
on the back of the multifunction printer, and the other end into a LAN drop or hub. For a wireless connection,
insert the wireless printer adapter into the wireless printer socket on the back of the multifunction printer.
Turn On the Multifunction Printer
Plug one end of the printer power cable into the socket at the back of the multifunction printer and the
other end into a properly grounded outlet.
1.
Содержание 3115CN
Страница 88: ......
Страница 98: ......
Страница 190: ......
Страница 269: ...5 Press until Disable appears and then press 6 ...
Страница 309: ......
Страница 391: ...Remove the jammed paper and close the transfer belt unit 4 Close the front cover 5 ...
Страница 460: ...Remove the orange protective cover of the installed print cartridge and discard 5 Close the front cover 6 ...
Страница 462: ...Lift the chute gate to its upright position 3 Release the levers at both ends of the fuser unit 4 ...
Страница 465: ...Lower the chute gate to its horizontal position 4 Close the front cover 5 ...
Страница 477: ...Remove the film cover from the installed transfer belt unit and discard 4 Close the front cover 5 ...
Страница 485: ...Remove the orange protective cover of the installed print cartridge and discard 5 Close the front cover 6 ...
Страница 487: ...2 Lift the chute gate to its upright position 3 Release the levers at both ends of the fuser unit 4 ...
Страница 490: ...Lower the chute gate to its horizontal position 4 Close the front cover 5 ...
Страница 511: ...Close the transfer belt unit by pulling it down 5 Close the front cover 6 ...
Страница 513: ...Hold the memory card and pull it out 4 Close the control board cover and turn the screw clockwise 5 ...
Страница 518: ...Close the control board cover and turn the screw clockwise 6 ...


