NOTE:
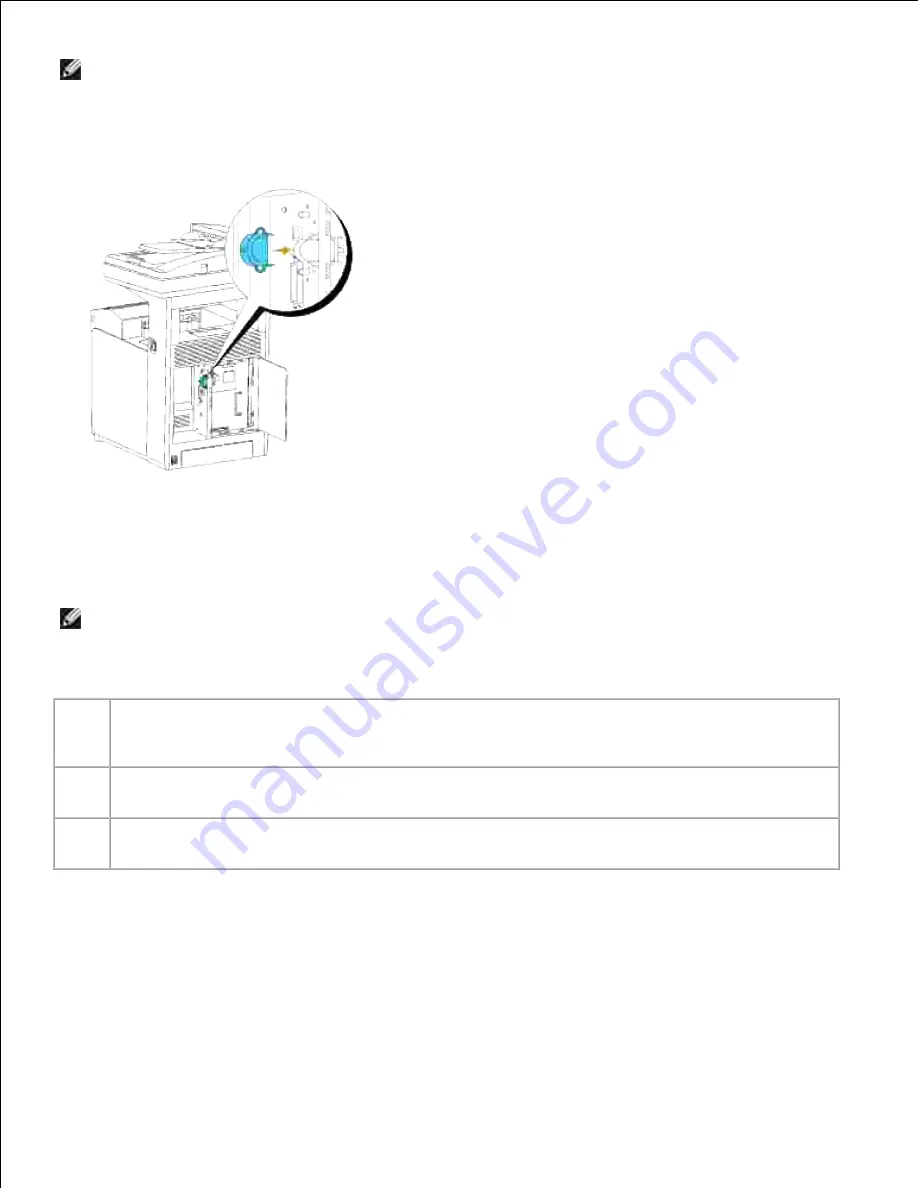
Ensure that the adapter is firmly fixed in the socket and cannot be moved easily.
Attach the wireless printer adapter cap by inserting the cap with the mark facing out until it clicks into
place.
4.
Turn on the multifunction printer and configure the wireless network settings.
5.
Wireless Installation using USB connection
NOTE:
The optional multi-protocol card with the Wireless LAN Adapter attached must be installed on
the multifunction printer. Read this manual or the installation manual found in the wireless network
adapter box to install the optional multi-protocol card and wireless network adapter for the Dell MFP
Laser 3115cn.
Case
1:
Setup the wireless connection in the Infrastructure mode through the USB cable, if you are using
Microsoft
®
Windows
®
XP, Windows 2000, Windows Server
®
2003, Windows Server
®
2008, or
Windows Vista
®
Case
2:
Installation of the printer driver on an existing wirelessly connected Dell Multifunction Color Laser
Printer 3115cn
Case
3:
Construct new wireless network environment for both computer and multifunction printer (When
wireless setting needs to your computer)
Case 1. Setup the wireless connection in the Infrastructure mode
through the USB cable, if you are using Microsoft
®
Windows
®
XP,
Windows 2000, Windows Server
®
2003, Windows Server
®
2008, or
Windows Vista
®
Содержание 3115CN
Страница 88: ......
Страница 98: ......
Страница 190: ......
Страница 269: ...5 Press until Disable appears and then press 6 ...
Страница 309: ......
Страница 391: ...Remove the jammed paper and close the transfer belt unit 4 Close the front cover 5 ...
Страница 460: ...Remove the orange protective cover of the installed print cartridge and discard 5 Close the front cover 6 ...
Страница 462: ...Lift the chute gate to its upright position 3 Release the levers at both ends of the fuser unit 4 ...
Страница 465: ...Lower the chute gate to its horizontal position 4 Close the front cover 5 ...
Страница 477: ...Remove the film cover from the installed transfer belt unit and discard 4 Close the front cover 5 ...
Страница 485: ...Remove the orange protective cover of the installed print cartridge and discard 5 Close the front cover 6 ...
Страница 487: ...2 Lift the chute gate to its upright position 3 Release the levers at both ends of the fuser unit 4 ...
Страница 490: ...Lower the chute gate to its horizontal position 4 Close the front cover 5 ...
Страница 511: ...Close the transfer belt unit by pulling it down 5 Close the front cover 6 ...
Страница 513: ...Hold the memory card and pull it out 4 Close the control board cover and turn the screw clockwise 5 ...
Страница 518: ...Close the control board cover and turn the screw clockwise 6 ...


