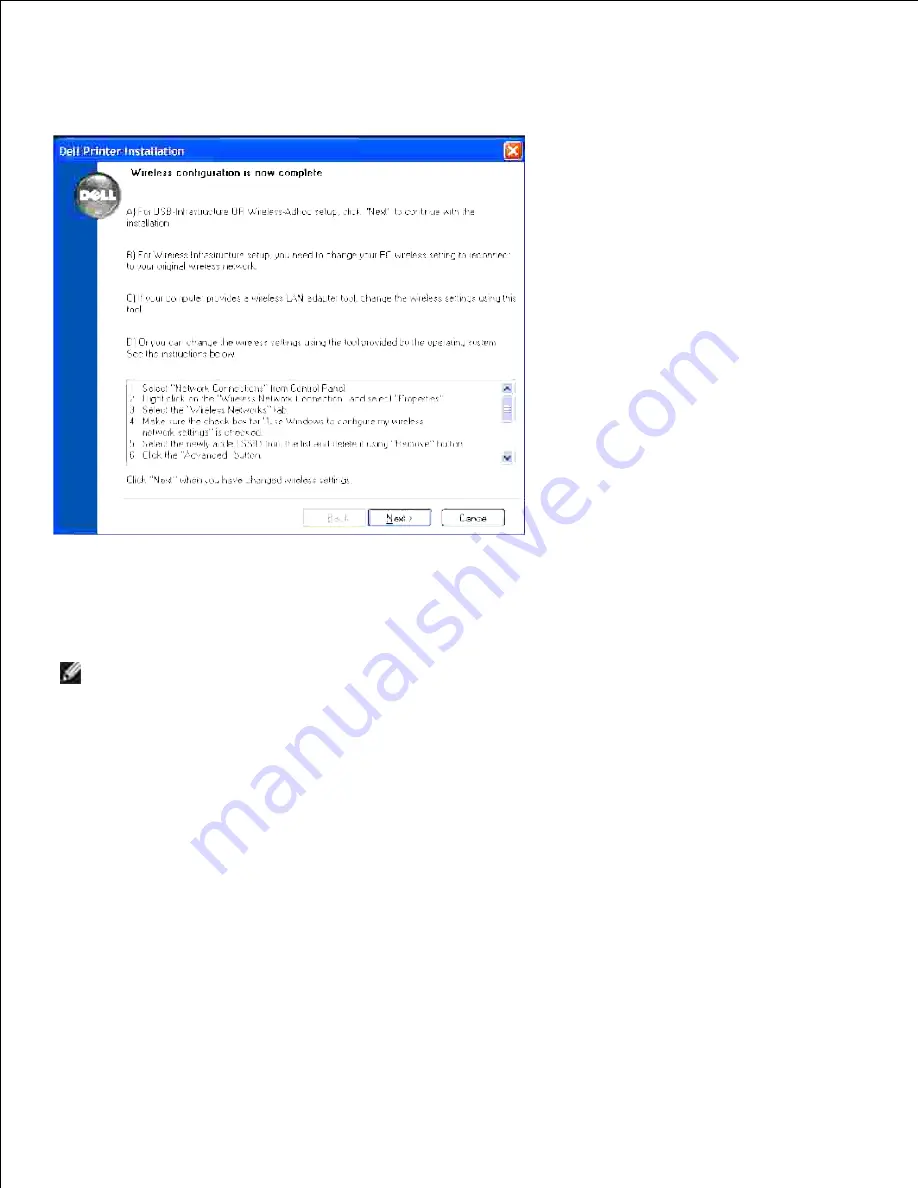
16.
Click
Next
to continue.
17.
You should now see this screen with an IP Address detected for your wireless printer. If you do not see
an IP Address listed next to your printer, click
Update
.
18.
Click
Install
to continue.
19.
NOTE:
If you are unable to locate an IP Address for your printer, check that you have disabled the
Windows Firewall on your computer, and that your computer is properly connected to your wireless
access point or wireless router, and that your USB cable is properly connected to your printer. Click
Cancel
and restart the installation again.
Содержание 3115CN
Страница 88: ......
Страница 98: ......
Страница 190: ......
Страница 269: ...5 Press until Disable appears and then press 6 ...
Страница 309: ......
Страница 391: ...Remove the jammed paper and close the transfer belt unit 4 Close the front cover 5 ...
Страница 460: ...Remove the orange protective cover of the installed print cartridge and discard 5 Close the front cover 6 ...
Страница 462: ...Lift the chute gate to its upright position 3 Release the levers at both ends of the fuser unit 4 ...
Страница 465: ...Lower the chute gate to its horizontal position 4 Close the front cover 5 ...
Страница 477: ...Remove the film cover from the installed transfer belt unit and discard 4 Close the front cover 5 ...
Страница 485: ...Remove the orange protective cover of the installed print cartridge and discard 5 Close the front cover 6 ...
Страница 487: ...2 Lift the chute gate to its upright position 3 Release the levers at both ends of the fuser unit 4 ...
Страница 490: ...Lower the chute gate to its horizontal position 4 Close the front cover 5 ...
Страница 511: ...Close the transfer belt unit by pulling it down 5 Close the front cover 6 ...
Страница 513: ...Hold the memory card and pull it out 4 Close the control board cover and turn the screw clockwise 5 ...
Страница 518: ...Close the control board cover and turn the screw clockwise 6 ...


