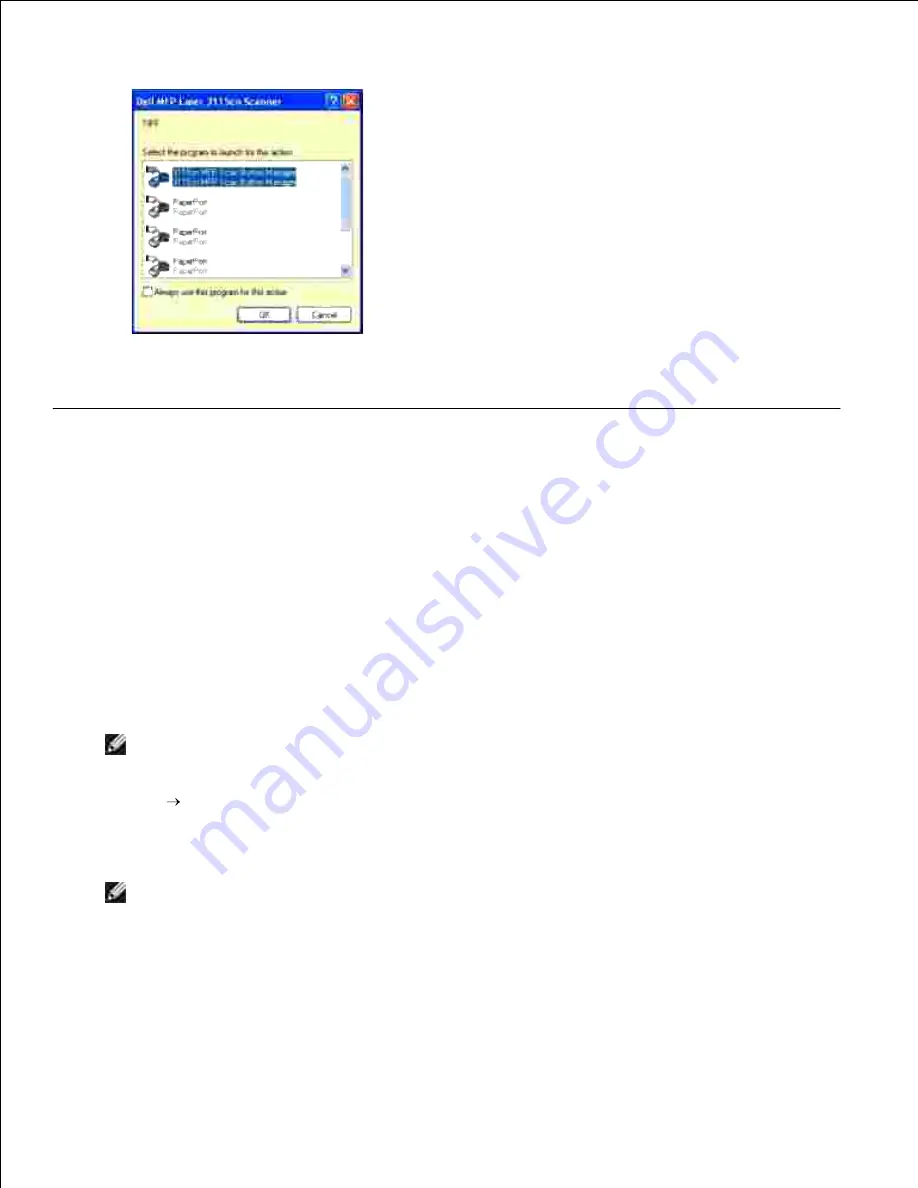
Note that you must use ScanButton Manager on your computer to change the settings for scanning. For
details, see "Printer Settings Utility ".
Scanning Using the TWAIN Driver
Your multifunction printer supports the TWAIN driver for scanning images. TWAIN is one of the standard
components provided by Microsoft
®
Windows
®
2000, Windows XP, Windows Server
®
2003, Windows Server
2008, and Windows Vista
®
, and works with various scanners.
To scan an image from the drawing software:
Load the document(s) face up with top edge in first into the ADF.
OR
Place a single document face down on the document feeder glass.
For details about loading a document, see "Loading an Original Document ".
1.
Start the drawing software, such as
Imaging
for Windows.
2.
NOTE:
When you use Windows XP, Windows Server 2003, or Windows Vista, use
PaperPort
instead of
Imaging
.
Click
File
Scan or Get Photo...
3.
The
Available Scanner
dialog box appears.
NOTE:
If the
Available Scanner
dialog box does not appear, click the
Select...
button in the
left pane of the
Scan or Get Photo
window.
In the
Available Scanner
dialog box, select
Dell MFP Laser 3115cn Scanner
, and then click
OK
.
4.
In the left pane of the
Scan or Get Photo
window, select the
Display scanner dialog box
check box,
and then click
Scan
.
5.
Содержание 3115CN
Страница 88: ......
Страница 98: ......
Страница 190: ......
Страница 269: ...5 Press until Disable appears and then press 6 ...
Страница 309: ......
Страница 391: ...Remove the jammed paper and close the transfer belt unit 4 Close the front cover 5 ...
Страница 460: ...Remove the orange protective cover of the installed print cartridge and discard 5 Close the front cover 6 ...
Страница 462: ...Lift the chute gate to its upright position 3 Release the levers at both ends of the fuser unit 4 ...
Страница 465: ...Lower the chute gate to its horizontal position 4 Close the front cover 5 ...
Страница 477: ...Remove the film cover from the installed transfer belt unit and discard 4 Close the front cover 5 ...
Страница 485: ...Remove the orange protective cover of the installed print cartridge and discard 5 Close the front cover 6 ...
Страница 487: ...2 Lift the chute gate to its upright position 3 Release the levers at both ends of the fuser unit 4 ...
Страница 490: ...Lower the chute gate to its horizontal position 4 Close the front cover 5 ...
Страница 511: ...Close the transfer belt unit by pulling it down 5 Close the front cover 6 ...
Страница 513: ...Hold the memory card and pull it out 4 Close the control board cover and turn the screw clockwise 5 ...
Страница 518: ...Close the control board cover and turn the screw clockwise 6 ...


