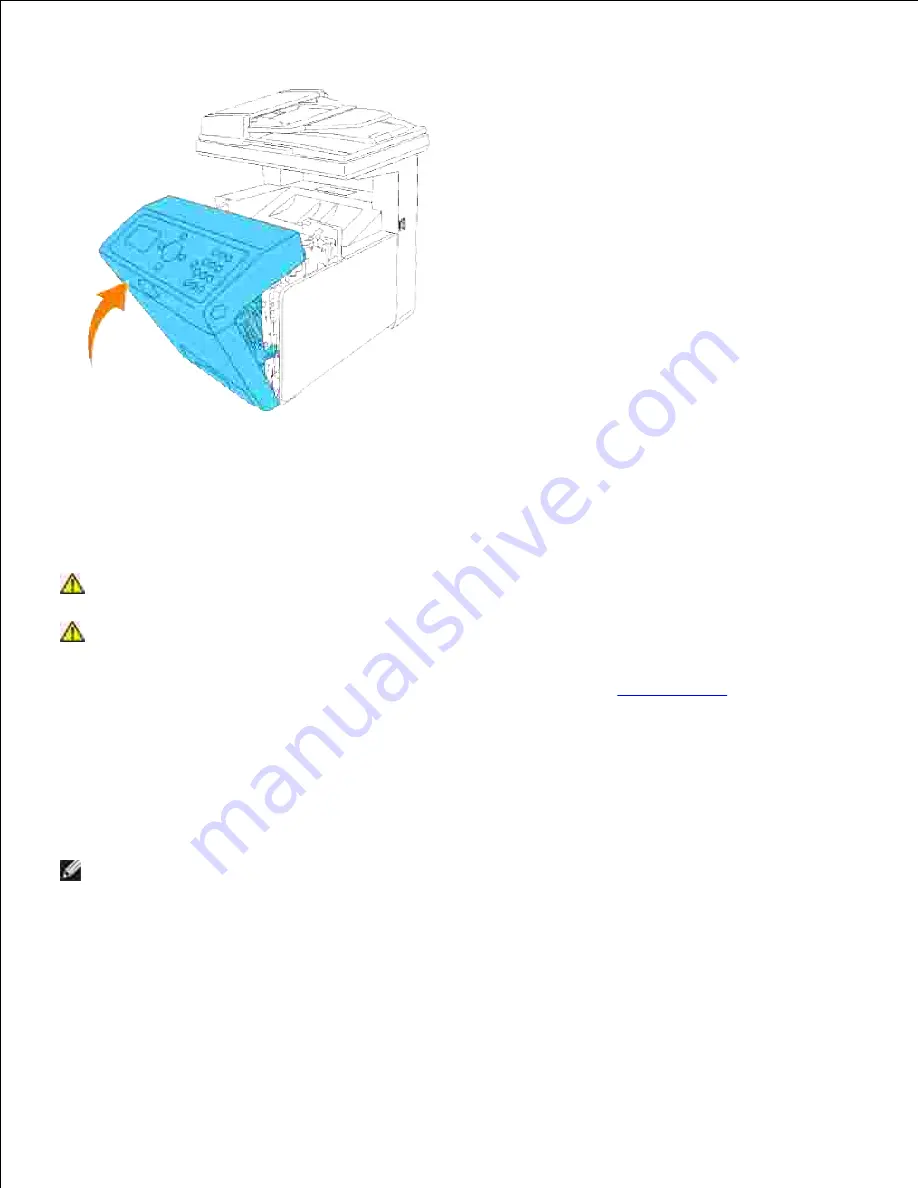
5.
How to replace Rollers
There are three separator rollers in the multifunction printer which need to be replaced periodically. One is in
the tray and the others are inside the multifunction printer. Basically, all the separator rollers are replaced in
the same way as described in this section.
CAUTION:
To prevent electric shock, always turn off the multifunction printer and
disconnect the power cable from the grounded outlet before performing maintenance.
CAUTION:
Before performing any of the following procedures, read and follow the safety
instructions in your
Owner's Manual
or
Product Information Guide
.
Dell separator rollers are available only through Dell. To order by phone, see "
Contacting Dell
" in the
Owner's
Manual
or in this manual.
Dell recommends Dell separator rollers for your multifunction printer. Dell does not provide warranty
coverage for problems caused by using accessories, parts, or components not supplied by Dell.
Removing the Used Separator Roller in Tray
NOTE:
Remove any print jobs from the tray before pulling the tray out of the multifunction printer.
Pull the tray out of the multifunction printer until it stops. Hold the tray with both hands, lift the front
slightly, and remove it from the multifunction printer.
1.
Содержание 3115CN
Страница 88: ......
Страница 98: ......
Страница 190: ......
Страница 269: ...5 Press until Disable appears and then press 6 ...
Страница 309: ......
Страница 391: ...Remove the jammed paper and close the transfer belt unit 4 Close the front cover 5 ...
Страница 460: ...Remove the orange protective cover of the installed print cartridge and discard 5 Close the front cover 6 ...
Страница 462: ...Lift the chute gate to its upright position 3 Release the levers at both ends of the fuser unit 4 ...
Страница 465: ...Lower the chute gate to its horizontal position 4 Close the front cover 5 ...
Страница 477: ...Remove the film cover from the installed transfer belt unit and discard 4 Close the front cover 5 ...
Страница 485: ...Remove the orange protective cover of the installed print cartridge and discard 5 Close the front cover 6 ...
Страница 487: ...2 Lift the chute gate to its upright position 3 Release the levers at both ends of the fuser unit 4 ...
Страница 490: ...Lower the chute gate to its horizontal position 4 Close the front cover 5 ...
Страница 511: ...Close the transfer belt unit by pulling it down 5 Close the front cover 6 ...
Страница 513: ...Hold the memory card and pull it out 4 Close the control board cover and turn the screw clockwise 5 ...
Страница 518: ...Close the control board cover and turn the screw clockwise 6 ...


