Understanding Fonts
Typefaces and fonts
Bitmapped and Scalable Fonts
Resident Fonts
Symbol Sets
Typefaces and fonts
A font is a set of characters and symbols created with a distinct design. The distinct design is called a
typeface. The typefaces you select add personality to a document. Well-chosen typefaces make a document
easier to read.
The multifunction printer has numerous resident fonts in PCL 5/PCL 6 and Adobe PostScript 3. See "
Resident
Fonts
" for a listing of all resident fonts.
Weight and style
Typefaces are often available in different weights and styles. These variations modify the original typeface so
you can, for example, emphasize important words in text or highlight book titles. The different weights and
styles are designed to complement the original typeface.
Weight refers to the thickness of the lines that form the characters. Thicker lines result in darker characters.
Some words commonly used to describe the weight of a typeface are bold, medium, light, black, and heavy.
Style refers to other typeface modifications, such as tilt or character width. Italic and oblique are styles
where the characters are tilted. Narrow, condensed, and extended are three common styles that modify the
character widths.
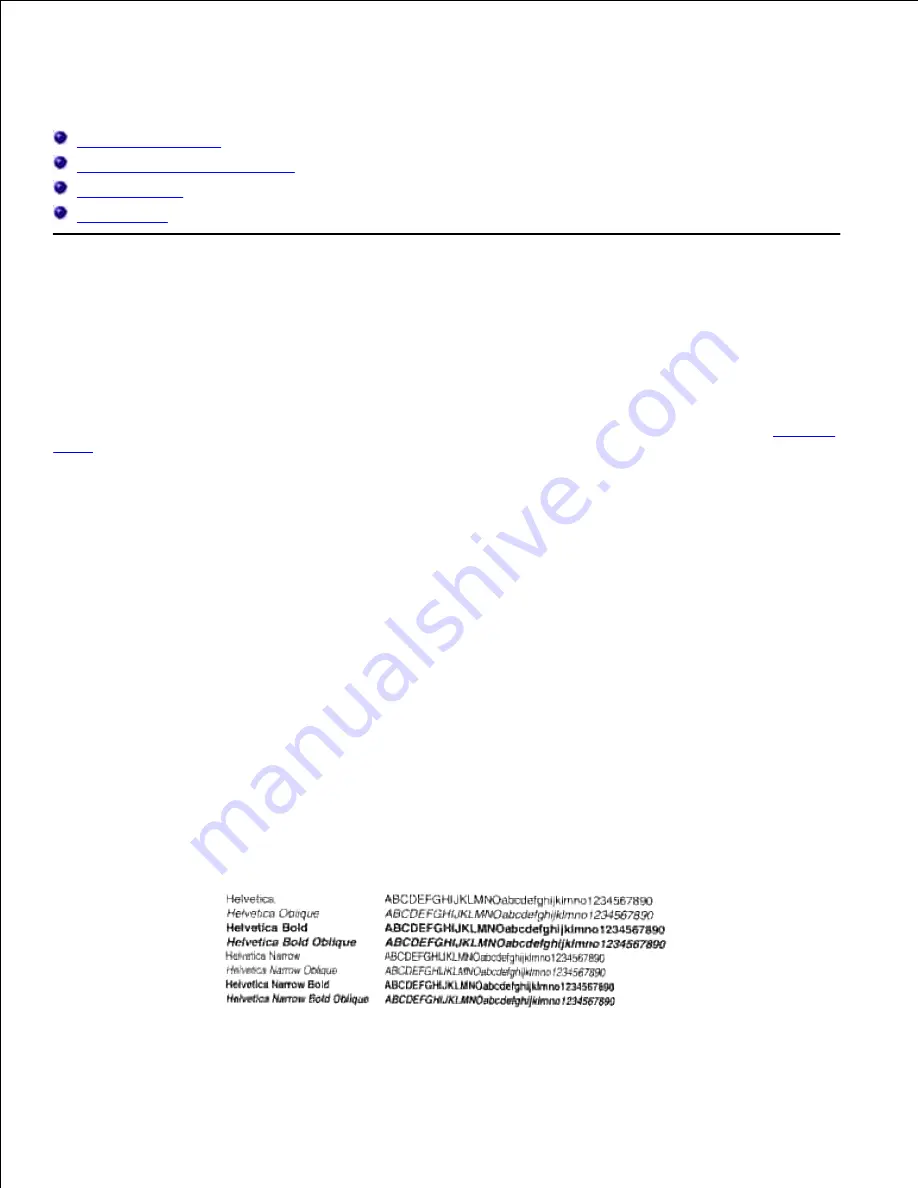
Some fonts combine several weight and style modifications; for example, Helvetica Narrow Bold Oblique. A
group of several weight and style variations of a single typeface is called a typeface family. Most typeface
families have four variations: regular, italic (oblique), bold, and bold italic (bold oblique). Some families have
more variations, as the following illustration for the Helvetica typeface family shows:
Содержание 3115CN
Страница 88: ......
Страница 98: ......
Страница 190: ......
Страница 269: ...5 Press until Disable appears and then press 6 ...
Страница 309: ......
Страница 391: ...Remove the jammed paper and close the transfer belt unit 4 Close the front cover 5 ...
Страница 460: ...Remove the orange protective cover of the installed print cartridge and discard 5 Close the front cover 6 ...
Страница 462: ...Lift the chute gate to its upright position 3 Release the levers at both ends of the fuser unit 4 ...
Страница 465: ...Lower the chute gate to its horizontal position 4 Close the front cover 5 ...
Страница 477: ...Remove the film cover from the installed transfer belt unit and discard 4 Close the front cover 5 ...
Страница 485: ...Remove the orange protective cover of the installed print cartridge and discard 5 Close the front cover 6 ...
Страница 487: ...2 Lift the chute gate to its upright position 3 Release the levers at both ends of the fuser unit 4 ...
Страница 490: ...Lower the chute gate to its horizontal position 4 Close the front cover 5 ...
Страница 511: ...Close the transfer belt unit by pulling it down 5 Close the front cover 6 ...
Страница 513: ...Hold the memory card and pull it out 4 Close the control board cover and turn the screw clockwise 5 ...
Страница 518: ...Close the control board cover and turn the screw clockwise 6 ...


