NOTE:
PaperPort application for Microsoft Windows Vista may not be available, for more information
see the Dell Support website at
www.support.dell.com
.
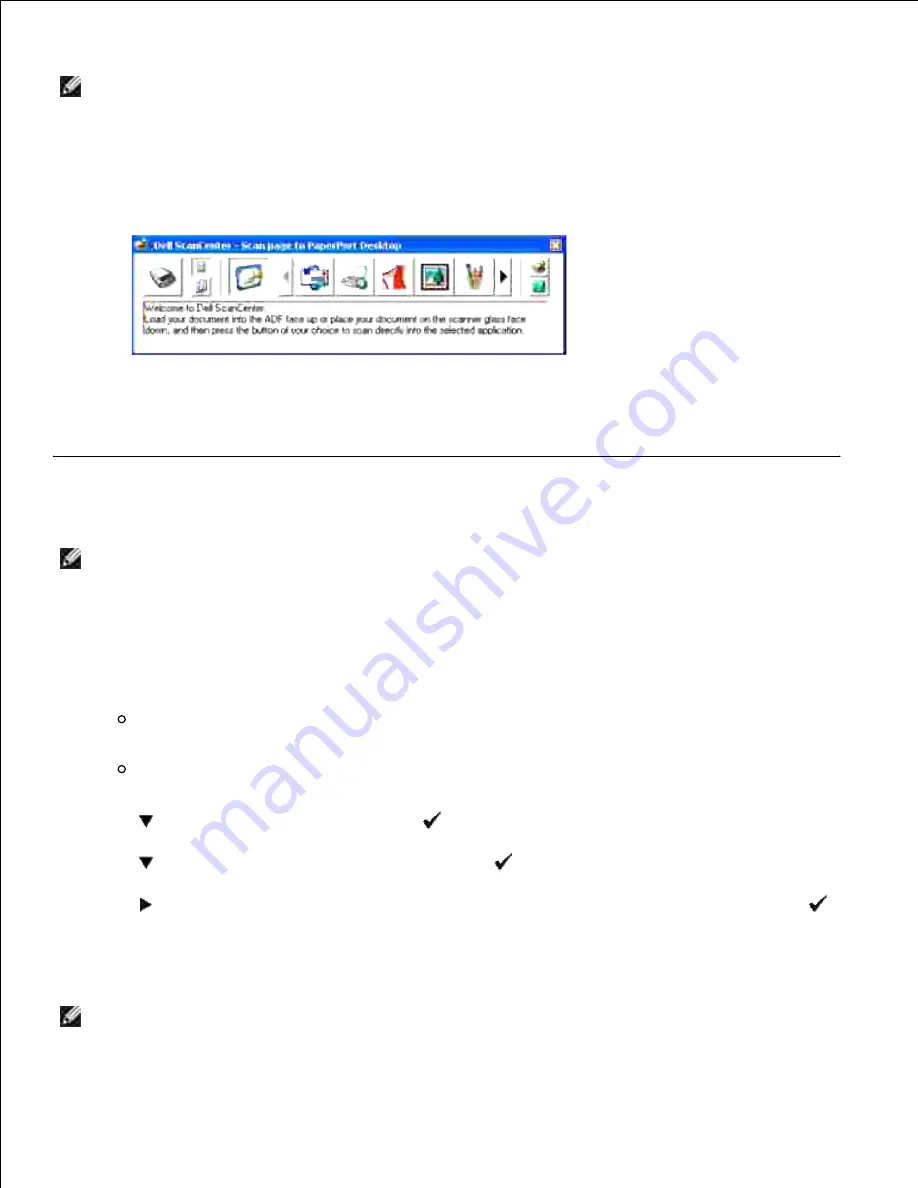
Dell ScanCenter is a PaperPort application that enables you to scan items and send them directly to
PaperPort or other programs on your computer without first running PaperPort. Dell ScanCenter runs as a
separate application from the
Windows Start
menu and displays the Dell ScanCenter bar. For more
information about using Dell ScanCenter, refer to the
PaperPort's Help
menu.
Icons on the Dell ScanCenter bar represent the programs that are limited to PaperPort and to Dell
ScanCenter. To scan and send an item to a program, click the program icon and then scan the item. Dell
ScanCenter automatically starts the selected program when the scan is complete.
Scanning From Operator Panel
NOTE:
Ensure that the multifunction printer is connected to the computer by using the USB cable.
Load the document(s) face up with top edge in first into the ADF.
OR
Place a single document face down on the document feeder glass.
For details about loading a document, see "Loading an Original Document ".
1.
Do either of the following:
Scanning from the document feeder glass
Select
Document Glass
from ScanButton Manager.
Scanning form the ADF
Select
Document Feeder
from ScanButton Manager.
2.
Press
until
>SCAN
appears, and then press
.
3.
Press
until
>Scan to Application
, and then press
.
4.
Press
to select an application file to which you want to send the scanned image, and then press
.
5.
Press
Start
. The selected application window opens. Adjust the scan settings and start scan. For
details, refer to the user's guide of the application.
6.
NOTE:
If the following dialog box appears on your PC, select
3115cn MFP Scan Button Manager
,
and then click
OK
.
Содержание 3115CN
Страница 88: ......
Страница 98: ......
Страница 190: ......
Страница 269: ...5 Press until Disable appears and then press 6 ...
Страница 309: ......
Страница 391: ...Remove the jammed paper and close the transfer belt unit 4 Close the front cover 5 ...
Страница 460: ...Remove the orange protective cover of the installed print cartridge and discard 5 Close the front cover 6 ...
Страница 462: ...Lift the chute gate to its upright position 3 Release the levers at both ends of the fuser unit 4 ...
Страница 465: ...Lower the chute gate to its horizontal position 4 Close the front cover 5 ...
Страница 477: ...Remove the film cover from the installed transfer belt unit and discard 4 Close the front cover 5 ...
Страница 485: ...Remove the orange protective cover of the installed print cartridge and discard 5 Close the front cover 6 ...
Страница 487: ...2 Lift the chute gate to its upright position 3 Release the levers at both ends of the fuser unit 4 ...
Страница 490: ...Lower the chute gate to its horizontal position 4 Close the front cover 5 ...
Страница 511: ...Close the transfer belt unit by pulling it down 5 Close the front cover 6 ...
Страница 513: ...Hold the memory card and pull it out 4 Close the control board cover and turn the screw clockwise 5 ...
Страница 518: ...Close the control board cover and turn the screw clockwise 6 ...


