


2-15
Installing the Pr
inter
2
Installing the Toner Cartridges
Installing the Toner Cartridges
The toner cartridges to which packing materials are attached are already installed
in the printer.
Be sure to take out the toner cartridges once, and then remove the packing
materials using the following procedure.
CAUTION
Take care not to allow the toner to come into contact with your hands or
clothing, as this will dirty your hands or clothing. If they become dirty, wash
them immediately with cold water. Washing with warm water will set the toner
and make it impossible to remove the toner stains.
IMPORTANT
Dispose of the packing materials according to local regulations.
NOTE
•
For details on how to handle a toner cartridge, see "Precautions for Handling Toner
Cartridges," on p. 6-15.
•
The packing materials may be changed in form or position to be placed, or may be added
or removed without notice.
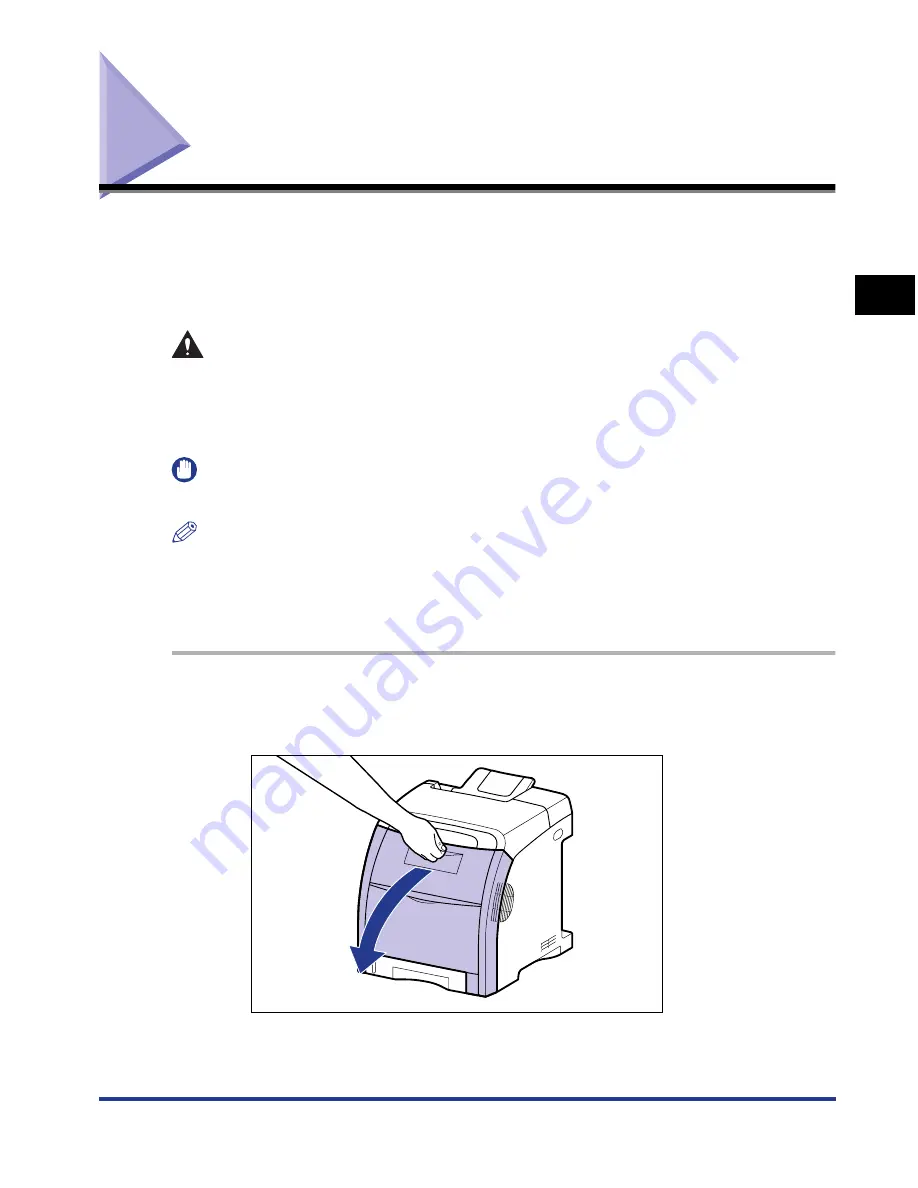
1
Open the front cover.
Holding the opening of the front cover, open it gently.
Содержание i-SENSYS LBP5300 Series
Страница 2: ...LBP5300 Laser Printer User s Guide ...
Страница 39: ...1 12 Before You Start 1 Optional Accessories ...
Страница 132: ...3 57 Setting Up the Printer Driver and Printing Loading and Outputting Paper 3 8 Click OK to start printing ...
Страница 140: ...3 65 2 sided Printing Loading and Outputting Paper 3 9 Click OK to start printing ...
Страница 141: ...3 66 2 sided Printing Loading and Outputting Paper 3 ...
Страница 335: ...5 102 Printing a Document 5 Printer Status Window ...
Страница 359: ...6 24 Routine Maintenance 6 To Correct a Phenomenon of Out of Register Colors of the Printer 3 Click OK ...
Страница 381: ...6 46 Routine Maintenance 6 Handling the Printer ...
Страница 403: ...7 22 Troubleshooting 7 Paper Jams 1 Turn the power of the printer OFF 2 Open the top cover ...
Страница 406: ...7 25 Troubleshooting 7 Paper Jams 5 Install the fixing unit 6 Close the top cover 7 Turn the printer ON ...
Страница 470: ...9 7 Appendix 9 Dimensions of Each Part PAPER FEEDER PF 93 405 568 165 4 mm Front Surface ...


