6-21
Routine Maintenance
6
Calibrating the Printer
Performing Calibration Immediately after the Printer is
Turned ON
You can specify whether calibration should be performed immediately after the
printer is turned ON.
IMPORTANT
•
When [Print Priority] is selected, calibration is performed at the completion of the first
printing after the printer is turned ON. When calibration is performed for some reason by
the completion of the first printing after the printer is turned ON, however, calibration is
not performed even after the completion of the first printing.
•
Even if [Calibration Priority] is selected, calibration may not be performed immediately
after the printer is turned ON depending on the inside state of the printer.
NOTE
When calibration is performed immediately after the printer is turned ON, excessive time
is required until the printer is ready to print.
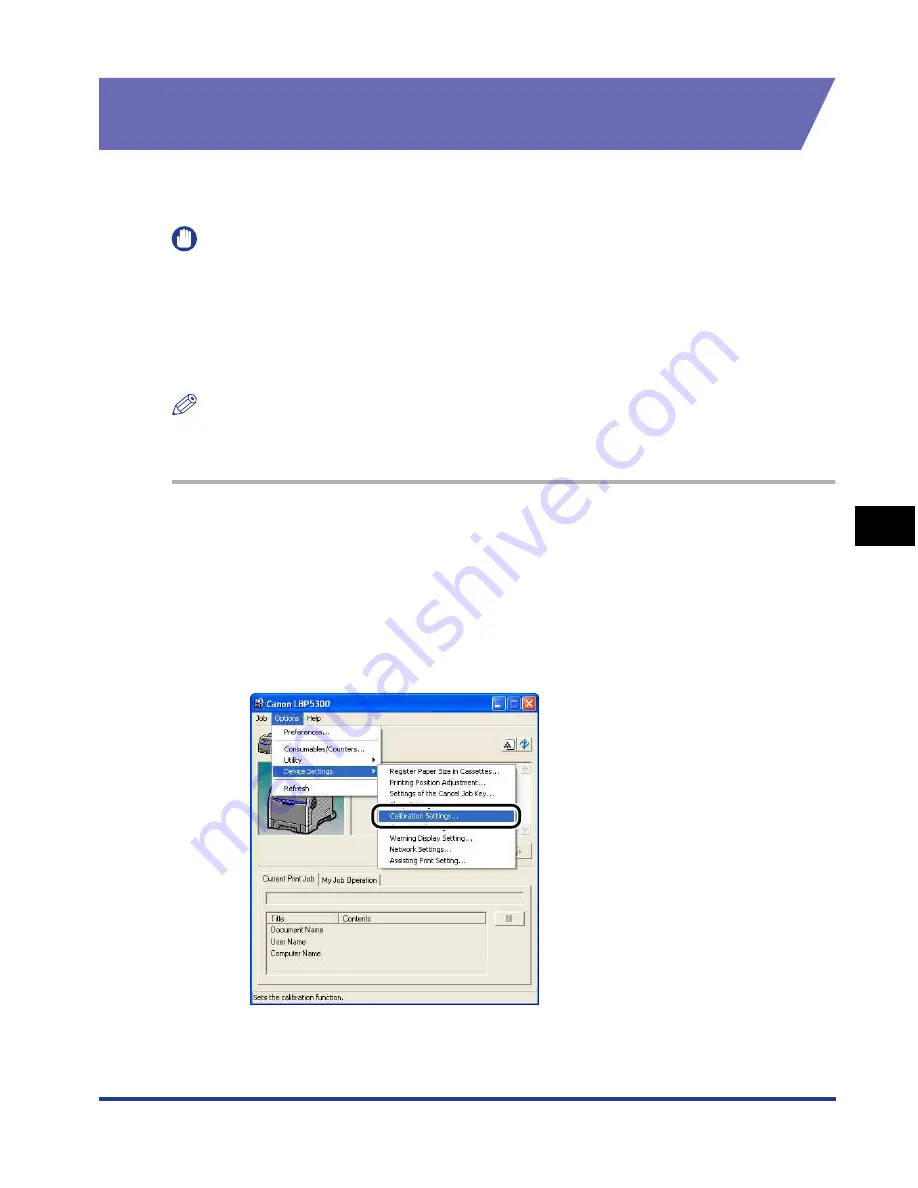
1
Display the Printer Status Window.
For details on methods for displaying the Printer Status Window, see "Displaying
the Printer Status Window," on p. 5-93.
2
From the [Options] menu in the Printer Status Window, select
[Device Settings]
➞
[Calibration Settings].
Содержание i-SENSYS LBP5300 Series
Страница 2: ...LBP5300 Laser Printer User s Guide ...
Страница 39: ...1 12 Before You Start 1 Optional Accessories ...
Страница 132: ...3 57 Setting Up the Printer Driver and Printing Loading and Outputting Paper 3 8 Click OK to start printing ...
Страница 140: ...3 65 2 sided Printing Loading and Outputting Paper 3 9 Click OK to start printing ...
Страница 141: ...3 66 2 sided Printing Loading and Outputting Paper 3 ...
Страница 335: ...5 102 Printing a Document 5 Printer Status Window ...
Страница 359: ...6 24 Routine Maintenance 6 To Correct a Phenomenon of Out of Register Colors of the Printer 3 Click OK ...
Страница 381: ...6 46 Routine Maintenance 6 Handling the Printer ...
Страница 403: ...7 22 Troubleshooting 7 Paper Jams 1 Turn the power of the printer OFF 2 Open the top cover ...
Страница 406: ...7 25 Troubleshooting 7 Paper Jams 5 Install the fixing unit 6 Close the top cover 7 Turn the printer ON ...
Страница 470: ...9 7 Appendix 9 Dimensions of Each Part PAPER FEEDER PF 93 405 568 165 4 mm Front Surface ...


