5-28
Pr
inting a Document
5
Using the Various Printing Functions
■
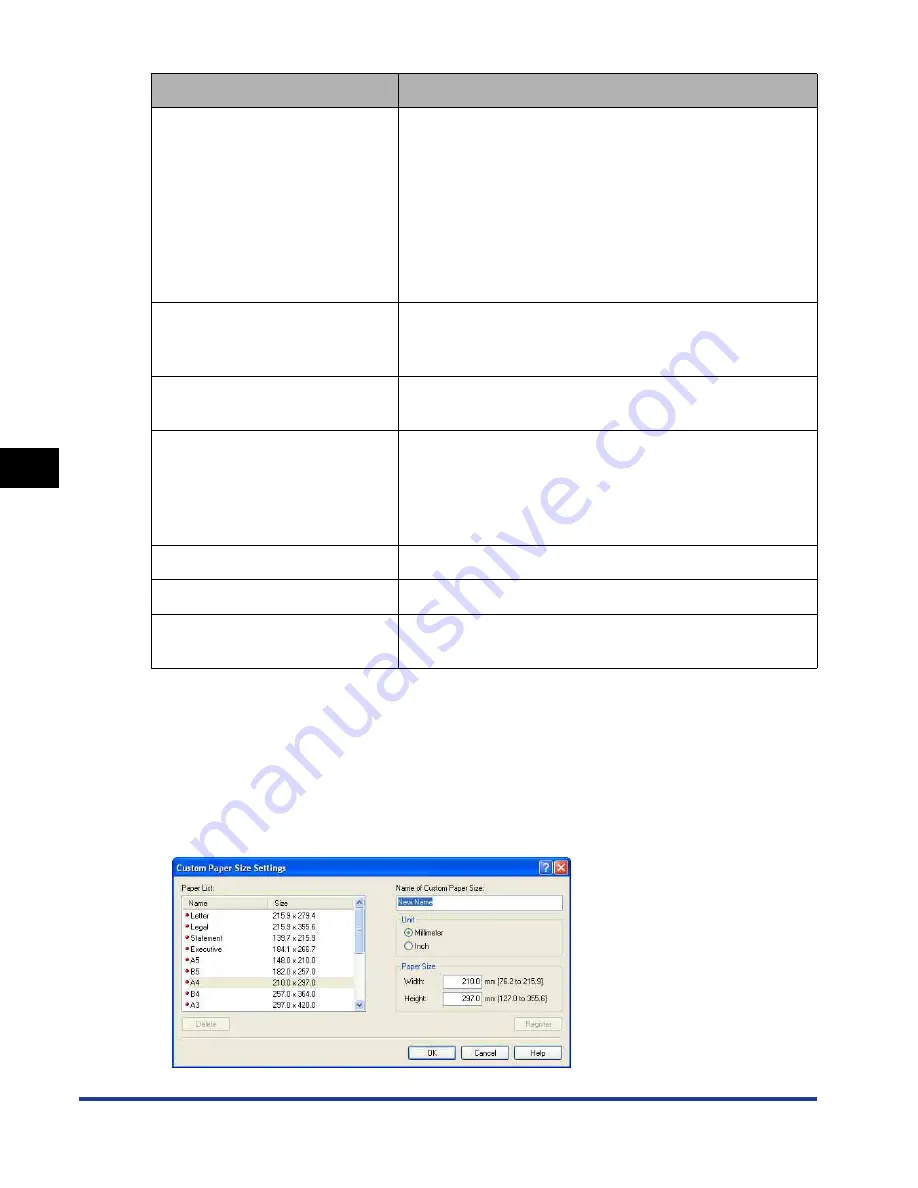
[Custom Paper Size Settings] Dialog Box
The following dialog box is displayed by clicking [Custom Paper Size].
This dialog box allows you to specify the height and width of custom paper size, which is
different from the standard paper sizes.
On Windows 98/Me, up to 30 custom paper sizes can be added. On Windows 2000/XP/
Server 2003/Vista, the number depends on the system environment.
[Page Layout] (See p. 5-49)
- [N Pages per Sheet] (N=1, 2, 4, 6, 8, 9, 16)
Prints multiple pages on one sheet of paper. Some
applications provide a function to print a document as
a collated set of copies. Do not use this function with
[N Pages per Sheet].
- [Poster [N x N]] (N = 2, 3, 4)
Magnifies a single page image and print it out on
multiple sheets of paper. You can join these printouts
together to make one large poster.
[Page Order]
You can specify the page order layout for printing when
[Page Layout] is set to [N Pages per Sheet] (N = 2, 4, 6,
8, 9, 16).
[Manual Scaling] (See p. 5-52)
Selecting this check box allows you to enter the value for
scaling the printed document manually.
[Watermark] (See p. 5-54)
You can superimpose watermarks (such as [COPY],
[DRAFT], etc.) over the documents created by an
application. Select the check box for this option and
select a watermark to print with the document. Select the
watermark from the drop-down list on the right.
[Edit Watermark] (See p. 5-55)
Displays a dialog box for modifying the watermarks.
[Custom Paper Size]
Displays a dialog box for specifying custom paper sizes.
[Page Options] (See p. 5-56)
Allows you to print printing date, user name, page
numbers, or a border.
Setting/Button
Contents
Содержание i-SENSYS LBP5300 Series
Страница 2: ...LBP5300 Laser Printer User s Guide ...
Страница 39: ...1 12 Before You Start 1 Optional Accessories ...
Страница 132: ...3 57 Setting Up the Printer Driver and Printing Loading and Outputting Paper 3 8 Click OK to start printing ...
Страница 140: ...3 65 2 sided Printing Loading and Outputting Paper 3 9 Click OK to start printing ...
Страница 141: ...3 66 2 sided Printing Loading and Outputting Paper 3 ...
Страница 335: ...5 102 Printing a Document 5 Printer Status Window ...
Страница 359: ...6 24 Routine Maintenance 6 To Correct a Phenomenon of Out of Register Colors of the Printer 3 Click OK ...
Страница 381: ...6 46 Routine Maintenance 6 Handling the Printer ...
Страница 403: ...7 22 Troubleshooting 7 Paper Jams 1 Turn the power of the printer OFF 2 Open the top cover ...
Страница 406: ...7 25 Troubleshooting 7 Paper Jams 5 Install the fixing unit 6 Close the top cover 7 Turn the printer ON ...
Страница 470: ...9 7 Appendix 9 Dimensions of Each Part PAPER FEEDER PF 93 405 568 165 4 mm Front Surface ...


