


4-79
Setting Up the Pr
inting En
vironment
4
Printing from a Network Computer by Sharing the Printer on a Network
Installing from CD-ROM Setup
1
Insert the supplied "LBP5300 User Software" CD-ROM into
the CD-ROM drive.
If the CD-ROM is already in the drive, eject the disk and re-insert it into the drive.
IMPORTANT
•
If you are using Windows Vista and the [AutoPlay] dialog box appears, click [Run
AUTORUN.EXE].
•
If CD-ROM Setup does not appear, display it using the following procedures. (The
CD-ROM drive name is indicated as "D:" in this manual. The CD-ROM drive name
may differ depending on the computer you are using.)
- If you are using an operating system other than Windows Vista, select [Run] from
the [Start] menu, enter "D:\English\MInst.exe", and then click [OK].
- If you are using Windows Vista, enter "D:\English\MInst.exe" in [Start Search]
under the [Start] menu, and then press the [ENTER] key on your keyboard.
NOTE
If you are using Windows Vista and the [User Account Control] dialog box appears,
click [Allow].
2
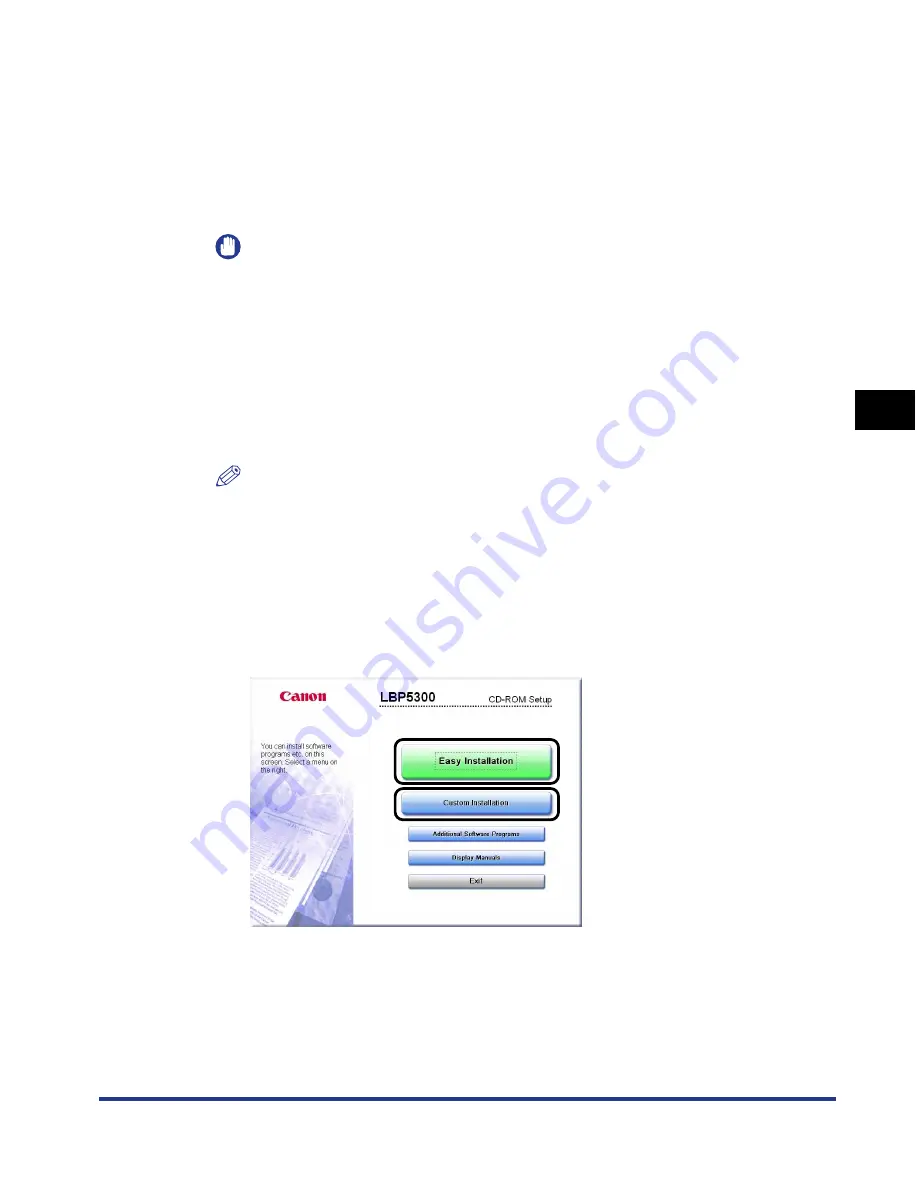
Click [Easy Installation] or [Custom Installation].
[Easy Installation] allows you to install the printer driver and the instruction
manuals simultaneously. If you do not install the manuals, select [Custom
Installation].
Содержание i-SENSYS LBP5300 Series
Страница 2: ...LBP5300 Laser Printer User s Guide ...
Страница 39: ...1 12 Before You Start 1 Optional Accessories ...
Страница 132: ...3 57 Setting Up the Printer Driver and Printing Loading and Outputting Paper 3 8 Click OK to start printing ...
Страница 140: ...3 65 2 sided Printing Loading and Outputting Paper 3 9 Click OK to start printing ...
Страница 141: ...3 66 2 sided Printing Loading and Outputting Paper 3 ...
Страница 335: ...5 102 Printing a Document 5 Printer Status Window ...
Страница 359: ...6 24 Routine Maintenance 6 To Correct a Phenomenon of Out of Register Colors of the Printer 3 Click OK ...
Страница 381: ...6 46 Routine Maintenance 6 Handling the Printer ...
Страница 403: ...7 22 Troubleshooting 7 Paper Jams 1 Turn the power of the printer OFF 2 Open the top cover ...
Страница 406: ...7 25 Troubleshooting 7 Paper Jams 5 Install the fixing unit 6 Close the top cover 7 Turn the printer ON ...
Страница 470: ...9 7 Appendix 9 Dimensions of Each Part PAPER FEEDER PF 93 405 568 165 4 mm Front Surface ...


